
Raider 2WD V6-3.7L (2008)
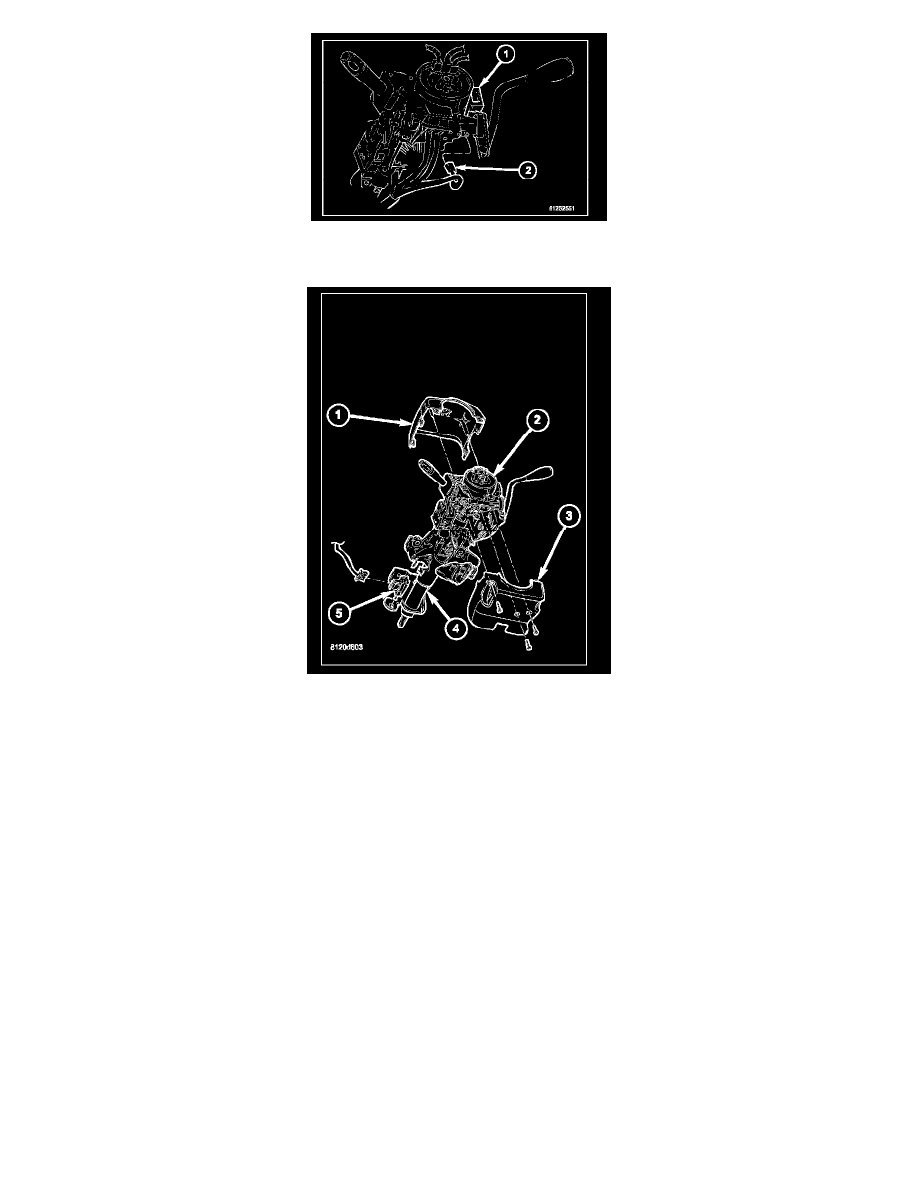
3. Reconnect the wire harness connector (2) to the SKREEM (1).
4. On vehicles equipped with the optional remote start system, reconnect the coaxial cable to the coaxial connector receptacle on the SKREEM.
5. Position the lower shroud (3) onto the steering column (4).
6. From below the steering column, install and tighten the one center screw that secures the lower shroud to the steering column. Tighten the screw to
2 N.m (20 in. lbs.).
7. Position the upper shroud (1) onto the steering column over the lower shroud. On vehicles equipped with an automatic transmission, be certain to
engage the gearshift lever gap hider into the opening in the right side of both shroud halves.
8. Align the snap features on the upper shroud with the receptacles in the lower shroud and apply hand pressure to snap them together.
9. Install and tighten the two outboard screws that secure the upper shroud to the lower shroud. Tighten the screws to 2 N.m (20 in. lbs.).