
Raider 2WD V6-3.7L (2008)
CAUTION: Keep the inner bottom end of the upper C-pillar trim panel away from the cab back trim panel when installing the upper C-pillar
trim panel to prevent scratching the back trim panel.
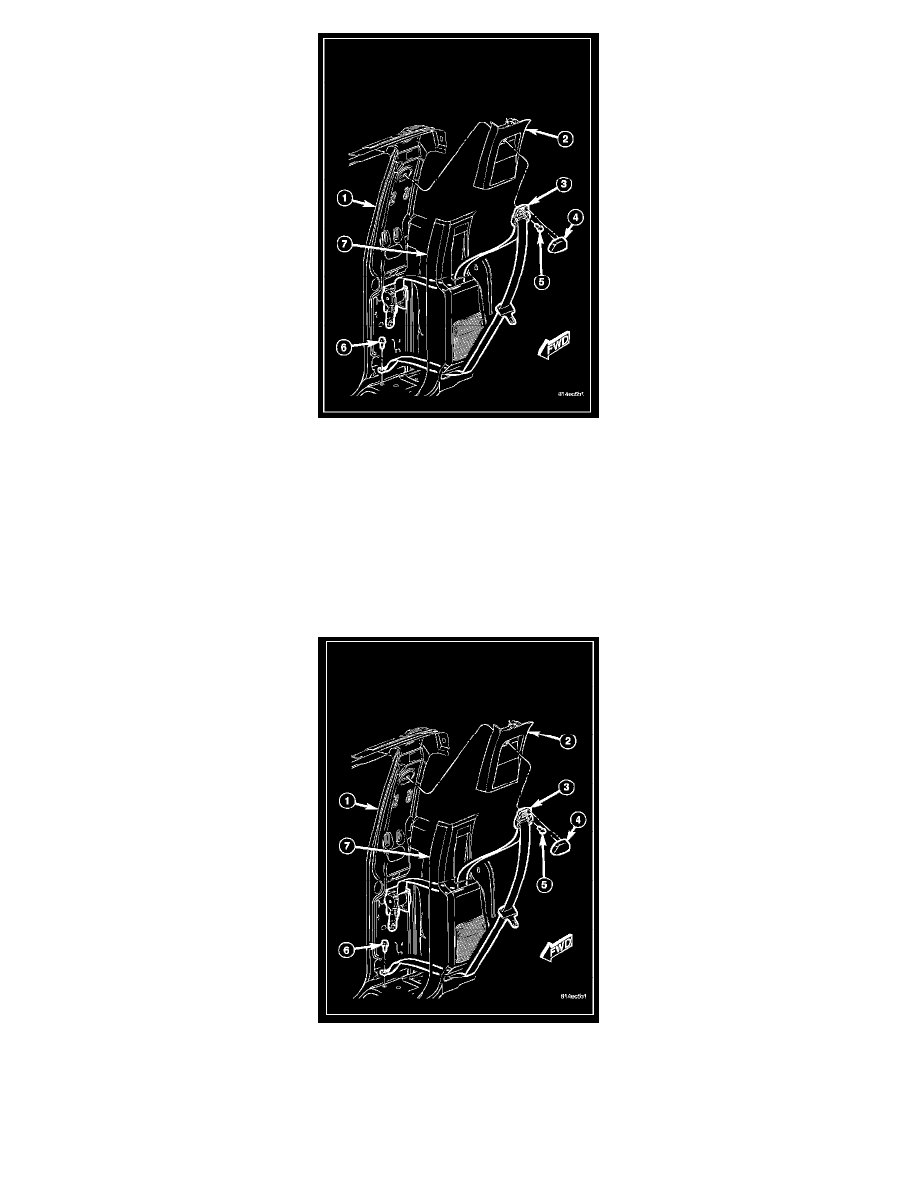
1. Keeping the inner bottom end of the upper C-pillar trim panel (2) away from the cab back trim panel, slide the upper retaining tab of the trim panel
into the hole in the C-pillar and engage the retaining tabs that secure the trim panel to the C-pillar.
2. Position the seat belt turning loop (3) to the mounting hole in the upper C-pillar trim panel and install the screw (5) that secures the seat belt
turning loop to the C-pillar. Tighten the screw to 39 N.m (29 ft.lbs.).
3. Engage the upper edge of the trim cover (4) over the top of the turning loop. Then, squeeze the lower end of the trim cover and the turning loop
together firmly and evenly until the engagement tabs of the trim cover snap into the slots of the turning loop.
Double Cab
1. Slide the upper retaining tab of the upper C-pillar trim panel (2) into the hole in the C-pillar and engage the retaining tabs that secure the trim
panel to the C-pillar.
2. Position the seat belt turning loop (3) to the mounting hole in the upper C-pillar trim panel and install the screw (5) that secures the seat belt
turning loop to the C-pillar. Tighten the screw to 39 N.m (29 ft.lbs.).
3. Engage the upper edge of the trim cover (4) over the top of the turning loop. Then, squeeze the lower end of the trim cover and the turning loop
together firmly and evenly until the engagement tabs of the trim cover snap into the slots of the turning loop.