Raider 2WD V6-3.7L (2008)

Crankshaft Main Bearing: Service and Repair
MAIN BEARING FITTING
SELECT FIT IDENTIFICATION
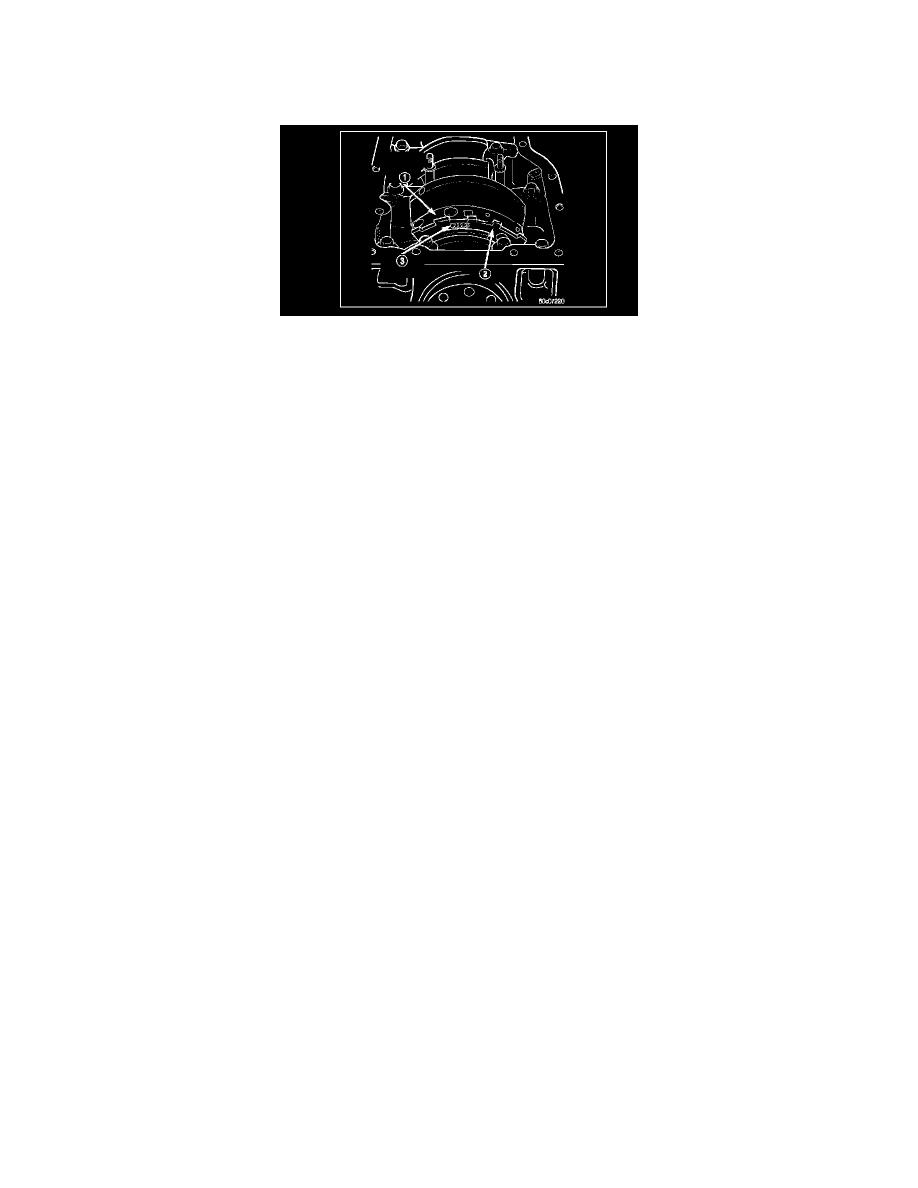
The main bearings are "select fit" to achieve proper oil clearances. For main bearing selection, the crankshaft position sensor target wheel (2) has
grade identification marks (3) stamped into it. These marks are read from left to right, corresponding with journal number 1, 2, 3, 4. The crankshaft
position sensor target wheel (2) is mounted to the number 6 counter weight (1) on the crankshaft.
INSPECTION
Wipe the inserts clean and inspect for abnormal wear patterns and for metal or other foreign material imbedded in the lining. Normal main bearing
insert wear patterns are illustrated.
Inspect the back of the inserts for fractures, scrapes, or irregular wear patterns.
Inspect the upper insert locking tabs for damage. Replace all damaged or worn bearing inserts.
MAIN BEARING JOURNAL DIAMETER (CRANKSHAFT REMOVED)
Remove the crankshaft from the cylinder block.
Clean the oil off the main bearing journal.
Determine the maximum diameter of the journal with a micrometer. Measure at two locations 90° apart at each end of the journal.
The maximum allowable taper is 0.008 mm (0.0004 inch.) and maximum out of round is 0.005 mm (0.002 inch). Compare the measured diameter with
the journal diameter specification (Main Bearing Fitting Chart). Select inserts required to obtain the specified bearing-to-journal clearance.
Install the crankshaft into the cylinder block.
Check crankshaft end play.
CRANKSHAFT MAIN BEARING SELECTION
1. Service main bearings are available in four grades. The chart below identifies the four service grades available.
