
Raider 2WD V6-3.7L (2008)
Dome Lamp Bulb: Service and Repair
Bulb - Rear
BULB - REAR REMOVAL
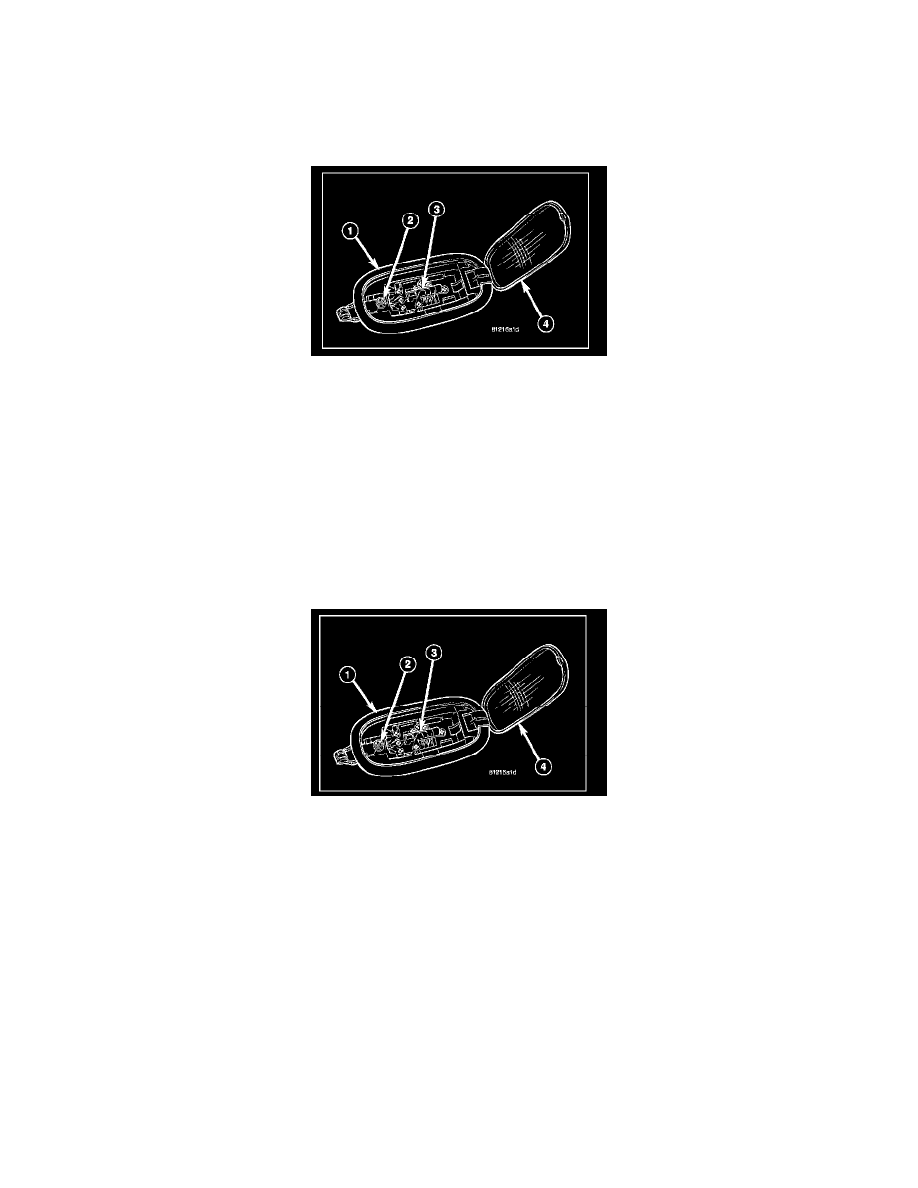
NOTE: There are two types of dome lamps available in this vehicle: one with a switch (2) that is activated by depressing the lamp lens, and one without
a switch. The bulb types and service procedures are identical for both of these lamps.
1. Disconnect and isolate the battery negative cable.
2. Insert the tip of a small flat-bladed screwdriver into the notch on one side of the rear dome lamp between the lens (4) and the lamp housing (1).
3. Gently pry the notched edge of the lens downward until it unsnaps from the housing.
4. Swing the notched end of the lens downward far enough to access the bulb (3).
5. Carefully unsnap the bulb from the two bulb holders within the rear dome lamp housing.
BULB - REAR INSTALLATION
CAUTION: Always use the correct bulb size and type for replacement. An incorrect bulb size or type may overheat and cause damage to the
lamp, the socket or the lamp wiring.
NOTE: There are two types of dome lamps available in this vehicle: one with a switch (2) that is activated by depressing the lamp lens, and one without
a switch. The bulb types and service procedures are identical for both of these lamps.
1. Align the ends of the bulb (3) with the two bulb holders within the rear dome lamp housing (1).
2. Carefully press the bulb firmly and evenly into the bulb holders until it snaps into place.
3. Swing the notched end of the lens (4) up into position against the housing, then press upward on the lens firmly and evenly until it snaps into the
housing.
4. Reconnect the battery negative cable.