
Raider 2WD V6-3.7L (2008)
2. Scroll through the list of controllers and highlight the PCM.
3. Select Misc. Function.
4. Highlight "Learn ETC".
5. Select "Start".
6. Follow the on screen instructions. Select Next after each step. Select Finish after completing the last step.
NOTE:
-
Due to the PCM programming procedure, a DTC may be set in other modules (TCM, BCM, MIC, SKREEM, etc.) within the vehicle, if so
equipped. Some DTC's may cause the MIL to illuminate. From the Home screen select System View. Then select All DTCs. Press Clear All
Stored DTCs if there are any DTCs shown on the list.
-
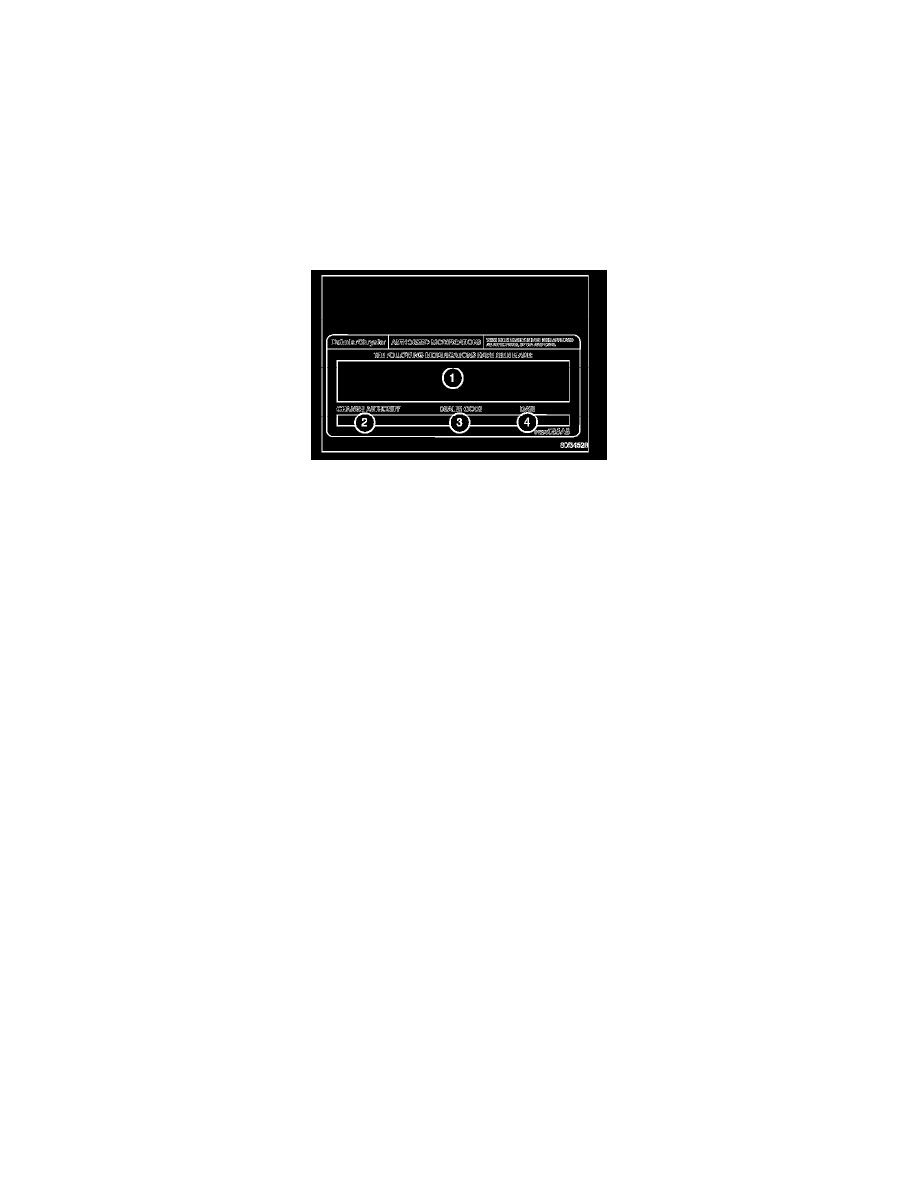
The following step is required by law when reprogramming a PCM and/or TCM.
17. Type the necessary information on the Authorized Modification Label p/n 04275086AB and attach near the VECI label.
REPAIR PROCEDURE USING SOFTWARE UPDATE CD TO RETRIEVE THE FLASH FILE:
NOTE:
-
If this flash process is interrupted/aborted, the flash should be restarted.
-
For detailed information on the operation of the StarSCAN(R) or equivalent, refer to the Quick Reference documentation provided in the
StarSCAN(R) or equivalent documentation kit.
1. Open the hood, install a battery charger and verify that the charging rate provides approximately 13.5 volts. Set the battery charger timer to maintain
the charging voltage for the duration of the flash process.
2. Connect the CH9404 StarSCAN(R) or equivalent vehicle cable to the StarSCAN(R) or equivalent and the vehicle.
3. Power ON the StarSCAN(R) or equivalent.
4. Retrieve the old ECU part number. Using the StarSCAN(R) or equivalent at the "Home" screen:
1. Select "ECU View".
2. Touch the screen to highlight the PCM in the list of modules.
3. Select "More Options".
4. Select "ECU Flash".
5. Record the part number at the top of the "Flash PCM" screen for later reference.
5. Replace the PCM with the appropriate Generic PCM.
6. Insert the StarSCAN(R) or equivalent Software Update CD into the TechCONNECT or equivalent PC. The StarSCAN(R) or equivalent Software
Update CD will start automatically. Select "Download Flash Updates".
7. At the "Select a method for looking up controller flash updates" screen:
1. Select "Enter part number" Enter the "Part Number" recorded in Step 21 when prompted to do so.
2. Using the mouse highlight the appropriate "Calibration" Select "Next".
3. Follow the on screen instructions. (4) When completed, proceed to Step 25.
8. With the StarSCAN(R) or equivalent powered OFF, connect the USB Key and Gender Changer to the StarSCAN(R) or equivalent USB port.