
Tredia L4-1795cc 1.8L SOHC Turbo (1984)
Instrument Cluster / Carrier: Service and Repair
1.
Disconnect battery ground cable.
2.
Remove horn cover pad, then using suitable wheel puller remove steering wheel.
3.
Remove glove box, then the instrument panel under cover.
4.
Remove floor heater duct, then the instrument panel lower cover.
5.
Remove left side defroster duct and heater control cables.
6.
Remove fuse block from instrument panel, then disconnect all instrument panel electrical connectors.
7.
Remove heater control panel.
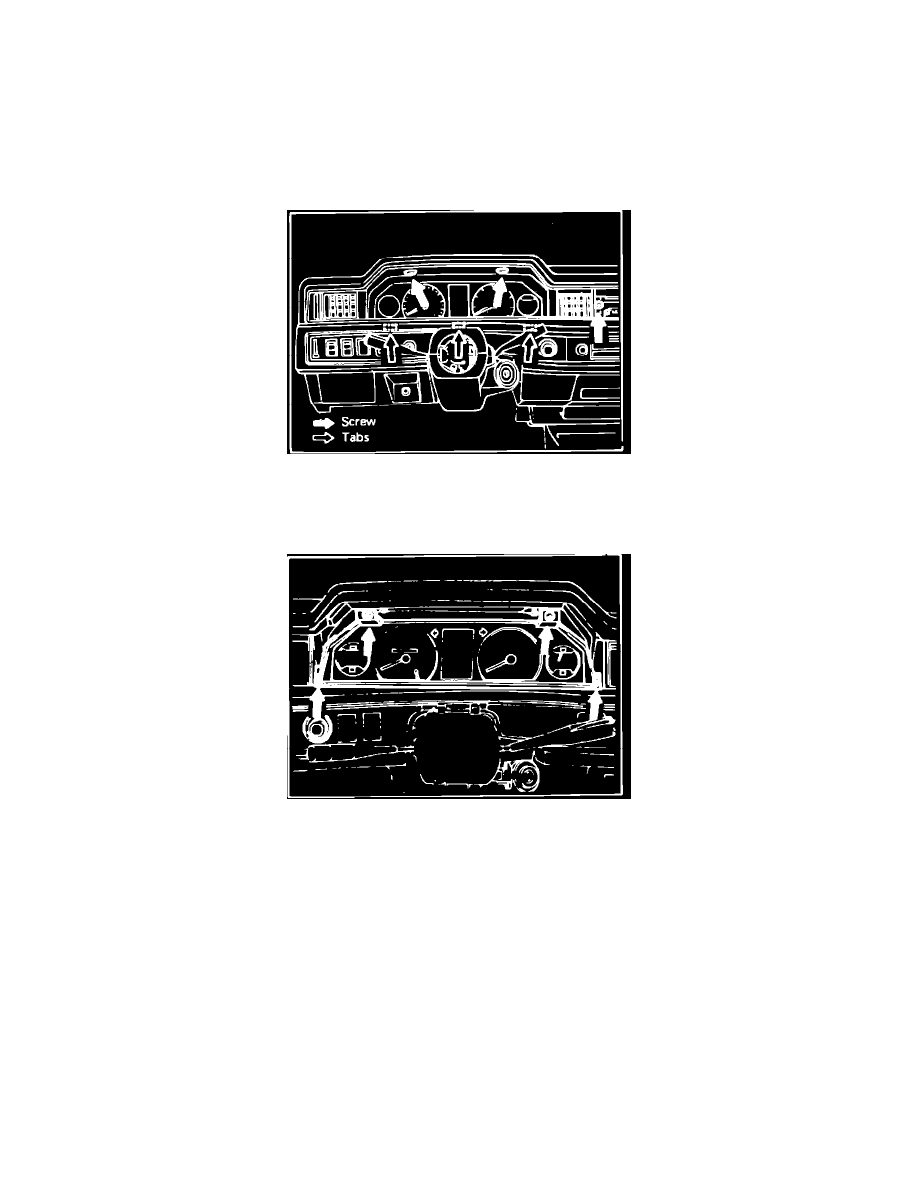
Fig. 7 Instrument cluster upper trim panel screw locations. Tredia
8.
Remove trim panel attaching screws, then the trim panel by prying tabs from instrument cluster case, Fig. 7.
9.
Disconnect speedometer cable from back of instrument cluster.
Fig. 8 Instrument cluster mounting screw locations. Tredia
10.
Remove instrument cluster attaching screws, Fig. 8.
11.
Pull instrument cluster slightly forward to gain access to rear of cluster, then disconnect all electrical connectors.
12.
Remove instrument cluster.
13.
Reverse procedure to install.