
Achieva L4-144 2.4L DOHC VIN T SFI (1996)
-
If disassembly of the hydraulic modulator/master cylinder assembly was due to a ABS hydraulic functional test that did not pass, the "Automated
Motor Pack Diagnosis Test" should be performed at this time to isolate the motor pack or hydraulic modulator.
-
No repair of the motor pack is authorized. Replace as an assembly.
ASSEMBLE
1. Motor pack to hydraulic modulator, reposition brake pipes.
IMPORTANT
-
Take care in handling the motor pack. If dropped or damaged during handling the motor pack must be replaced.
-
Align each of the three motor pack pinions with the hydraulic modulator gears.
2. Four Torx head screws.
TIGHTEN
-
Torx head screws to 5 Nm (44 lb. in.).
3. Gear cover to hydraulic modulator/master cylinder assembly.
4. Torx head screws attaching gear cover.
TIGHTEN
-
Torx bolts to 4 Nm (36 lb. in.).
5. Connect motor pack electrical connector.
6. Install air box assembly.
7. Clip to engine compartment fuse/relay center.
8. Battery to vehicle.
9. Air cleaner duct clamps and electrical connections.
10. Using Tech 1, perform "rehome" procedure.
Gear Replacement
CAUTION: To help avoid personal injury, due to a retained load on the ABS hydraulic modulator, the gear tension relief function of the Tech
1 must be performed prior to removal of the ABS hydraulic modulator/master cylinder assembly. Refer to "Gear Tension Relief Sequence".
NOTICE: Complete overhaul of the hydraulic modulator/master cylinder assembly is not authorized, only the following steps. These steps will break the
unit down into major components for replacement purposes.
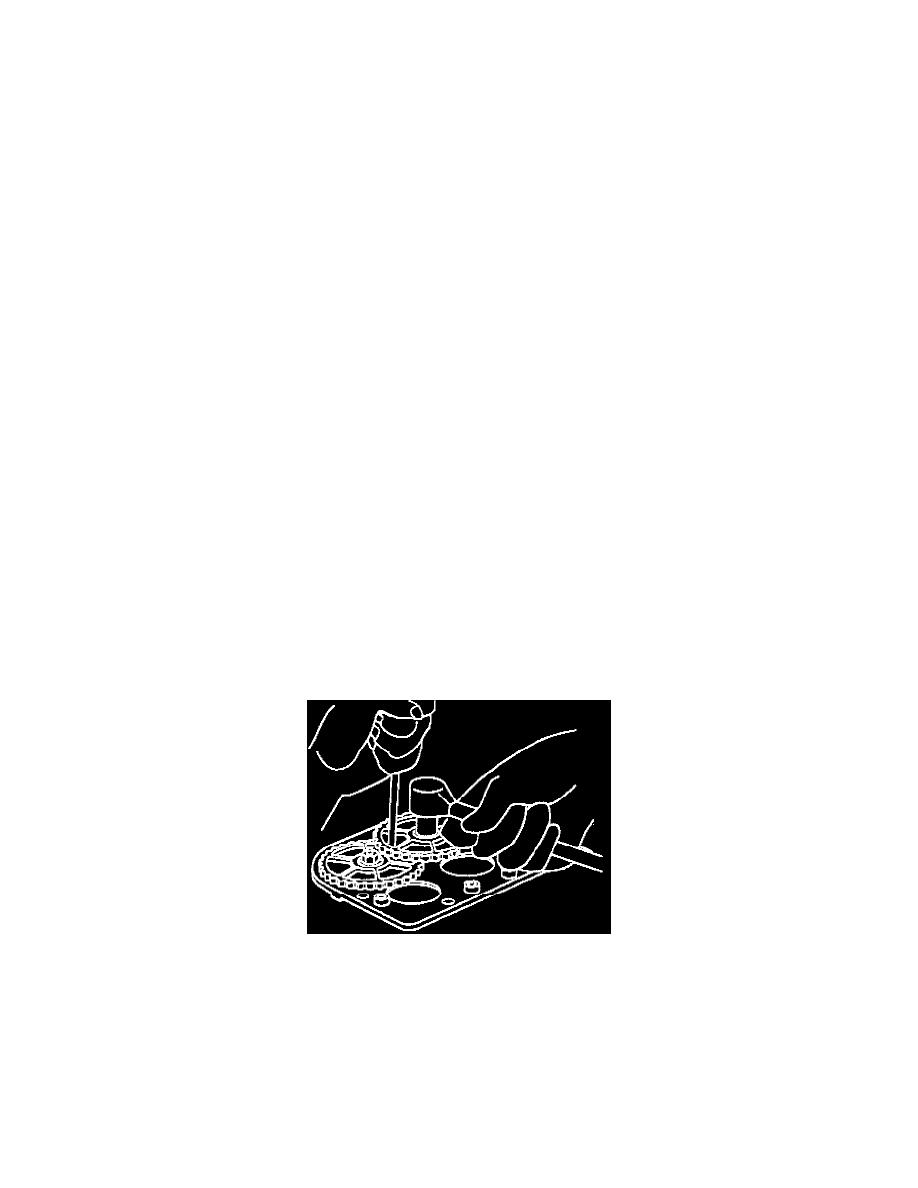
GEAR REPLACEMENT
Gear Removal