Achieva L4-144 2.4L DOHC VIN T SFI (1996)

7. Remove the oil pump assembly.
8. Rotate the engine crankshaft until the number one piston is at TDC.
9. Use J 41088 to prevent the balance shafts from turning while loosening the bolt.
IMPORTANT: The balance shaft driven sprocket bolt is left-hand threaded and must be loosened by rotating it in a clockwise direction.
10. Remove the balance shaft driven sprocket bolt.
11. Remove the driven sprocket from the shaft.
IMPORTANT: Mark the surface of the driven sprocket if it is going to be reused. This will insure that the chain continues to ride on the same
tooth surface. If a new driven sprocket will be installed, either surface can be placed against the shaft.
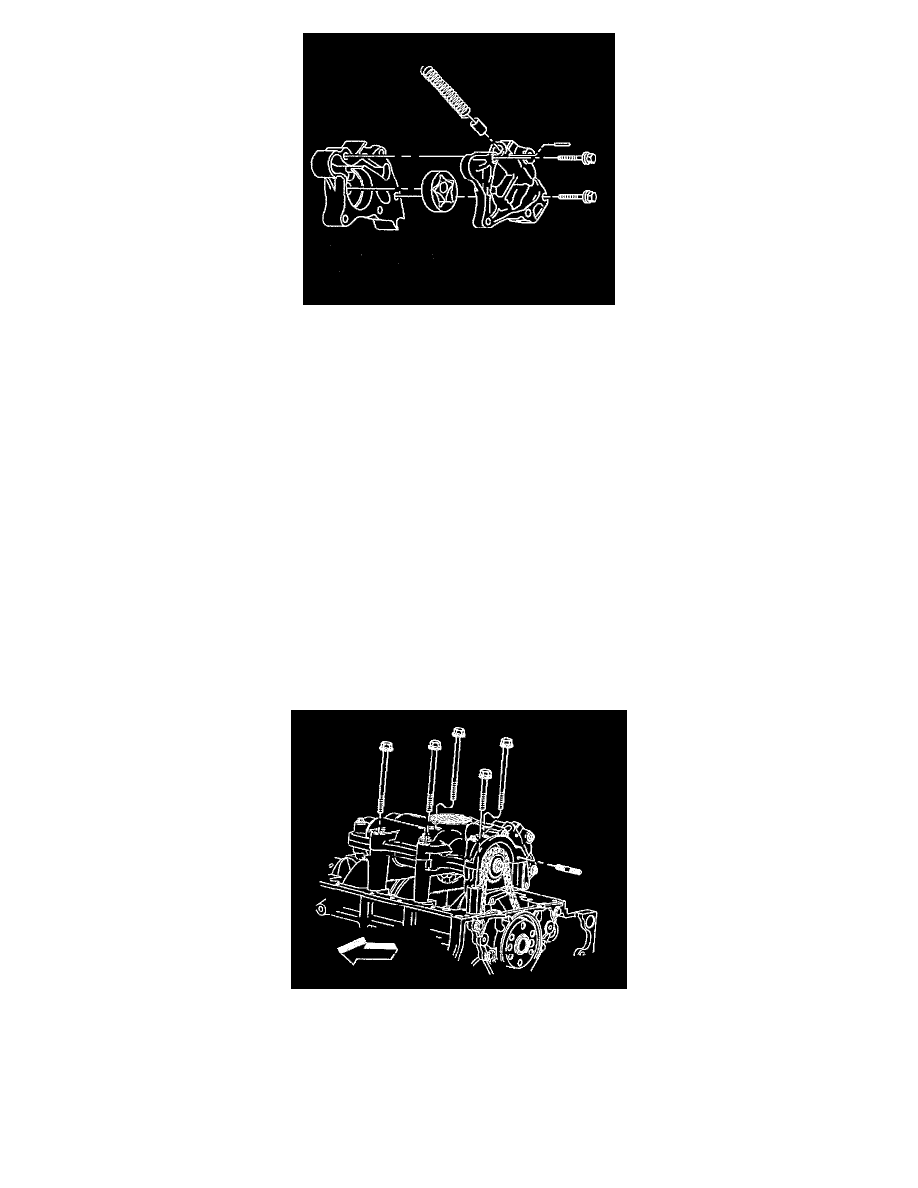
12. Remove the balance shaft assembly fasteners and remove the assembly to the bench.
13. Check the balance shaft end play prior to disassembling the balance shaft housing.
-
Set up the indicator to read off the back of the shafts.
-
Press against the one shaft and note the movement.
-
Repeat the above step on the other shaft.
-
Compare against specifications.
-
If out of specs, check the thrust plate for wear. Replace if necessary. If the end play is out of specs and the thrust plate is not worn, replace the
balance shafts.
INSTALLATION PROCEDURE
1. Install the balance shaft assembly to the engine block. Use GM P/N 123454493 on the housing to block bolts.
-
Tighten the balance shaft assembly to the engine block bolts to specifications.
NOTICE: Refer to Fastener Notice in Service Precautions.
2. Install the balance shaft driven sprocket.
-
Tighten the bolt to 30 Nm (22 ft. lbs.) + 45° Use J 41088 to hold balance shafts in the correct timed location.
