
Alero L4-144 2.4L DOHC VIN T SFI (2000)
Power Door Lock Switch: Procedures
REMOVAL PROCEDURE
1. Use a flat bladed tool in order to pry the lower switch bezel trim panel screw access cover.
2. Remove the lower switch bezel trim panel screws.
3. Use a flat bladed tool in order to pry the lower switch bezel trim panel away from the switch bezel.
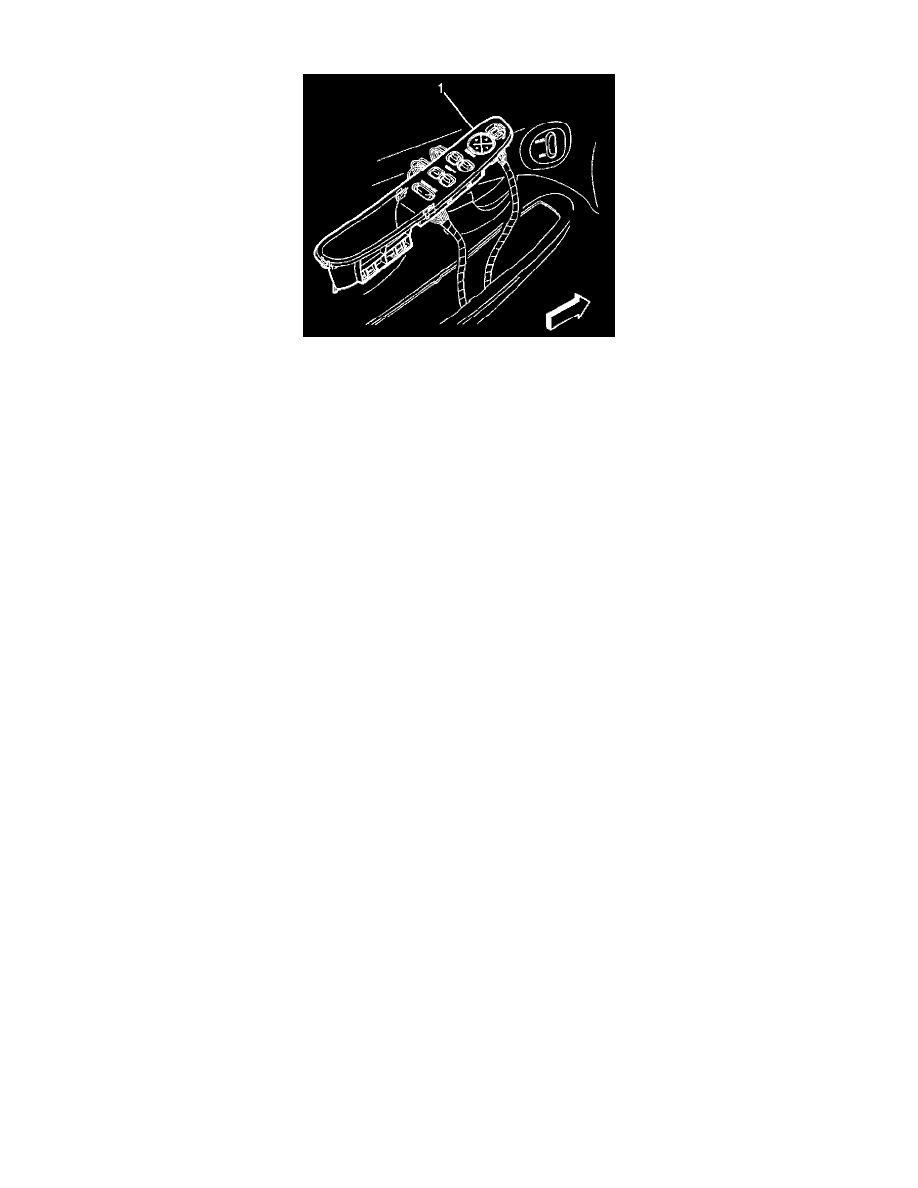
4. Use a flat bladed tool in order to pry the front door switch bezel assembly (1) upward. Pry from the rear of the bezel.
5. Disconnect the power door lock switch electrical connectors.
6. Release the power door lock switch retainers.
7. Remove the power door lock switch from the front door switch bezel assembly (1).
INSTALLATION PROCEDURE
1. Install the power door lock switch to the front door switch bezel assembly (1). Ensure that the retainers are locked into position.
2. Connect the power door lock switch electrical connectors.
3. Install the front door switch bezel assembly (1) to the front door trim panel.
4. Install the lower switch bezel trim panel. Ensure that the retainers lock into position.
NOTE: Refer to Fastener Notice in Service Precautions.
5. Install the lower switch bezel trim panel screws.
Tighten
Tighten the lower switch bezel trim panel screws to 10 N.m (89 lb in).
6. Install the lower switch bezel trim panel screw access cover. Ensure the retainers lock into position.