
Alero L4-144 2.4L DOHC VIN T SFI (2000)
9. Complete the following procedures using pressure bleeding equipment that is connected and pressurized:
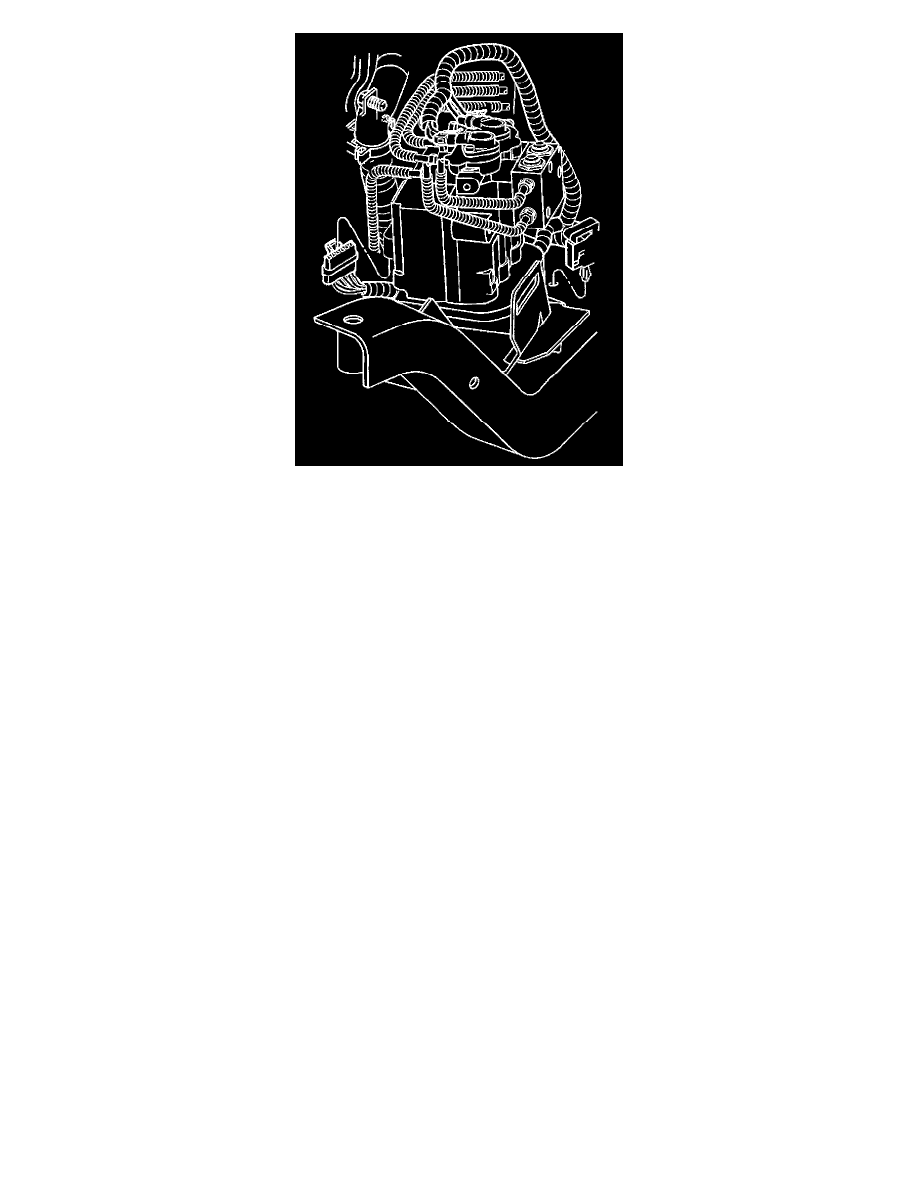
9.1.
Attach a clear plastic bleeder hose to the rearward bleeder valve on the brake modulator.
9.2.
Submerge the opposite hose end in a clean container that is partially filled with clean brake fluid.
9.3.
Slowly open the bleeder valve. Allow the fluid to flow until no air is seen in the fluid.
9.4.
Close the valve when the fluid flows without any air bubbles.
Important: Use a shop cloth in order to catch escaping brake fluid. Prevent the fluid from running down the motor pack case or into the electrical
connector. Do not allow brake fluid to contact any painted surfaces as surface damage will occur. If brake fluid does contact any surface, flush the
surface with water in order to lessen the damage.
9.5.
Repeat the previous 4 steps until no air bubbles are present.
9.6.
Relocate the bleeder hose on the forward brake modulator bleeder valve.
9.7.
Submerge the opposite hose end in a clean container partially filled with clean brake fluid.
9.8.
Slowly open the bleeder valve. Allow the fluid to flow until no air is seen in the fluid.
9.9.
Close the valve when the fluid flows without any air bubbles.
^
Tighten the ABS modulator bleeder valves to 9 Nm (80 inch lbs.).