
Alero L4-144 2.4L DOHC VIN T SFI (2000)
^
Tighten rear caliper bleeder valves to 7 Nm (62 inch lbs.).
^
Tighten the rear wheel cylinder bleeder valves to 7 Nm (62 inch lbs.).
14. Lower the vehicle.
15. Remove the J 29532 and the J 35589.
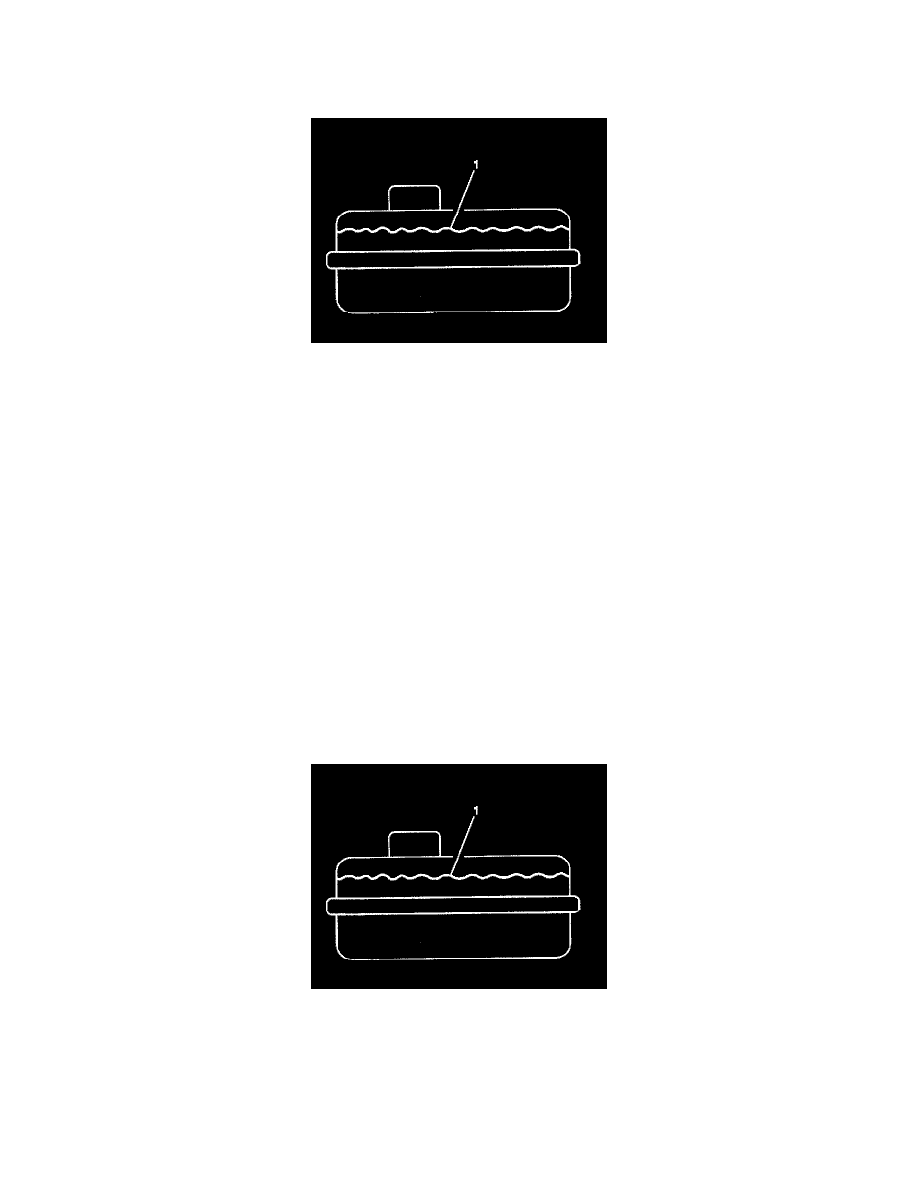
16. Inspect the brake fluid level in the reservoir (1). Fill the reservoir to the proper level if necessary.
17. Reinstall the brake fluid reservoir cap.
18. Install the battery tray.
19. Cycle the ignition to the ON then OFF position. Do not start the engine.
20. Apply the brake pedal with moderate force and hold the brake pedal. Note the pedal travel and feel.
21. If the pedal feels firm and constant and pedal travel is not excessive, start the engine. With the engine running, re-check the pedal travel.
22. If the pedal travel is still firm and constant and pedal travel is not excessive, perform a road test on the vehicle. Make several normal (non-ABS)
stops from a moderate speed in order to ensure proper brake system function. Allow adequate cooling time between stops.
23. If pedal travel feels soft or has excessive travel either initially or after the engine start, use the following procedure:
23.1.
Using the scan tool, release then apply each motor 2-3 times and cycle each solenoid 5-10 times.
23.2.
When finished, perform the motor rehome procedure to ensure the pistons are in the upmost position.
23.3. If a scan tool is not available, remove your foot from the brake pedal. Start the engine and allow the engine to run for at least 10 seconds in
order to initialize the ABS. Do not drive the vehicle.
23.4.
After 10 seconds, turn the ignition off.
23.5.
Repeat the initialization procedure 5 times in order to ensure that any trapped air has been dislodged. Repeat the pressure bleeding
procedures starting at Step 1.
24. Perform a road test on the vehicle. Make several normal (non-ABS) stops from a moderate speed in order to ensure proper brake system function.
Allow adequate cooling time between stops.
Manual Bleeding Procedure
Important: In the following procedure, use a suitable container and/or shop cloths in order to catch and prevent the brake fluid from contacting any
painted surfaces.
1. Remove the battery tray.
2. Clean the brake fluid reservoir cover and the surrounding area.
3. Remove the brake fluid reservoir cover.
4. Inspect the brake fluid level (1). Fill the reservoir to the correct level if necessary.
5. Install the brake fluid reservoir cover.
Notice: Refer to Fastener Notice in Service Precautions.