
Alero L4-144 2.4L DOHC VIN T SFI (2000)
Timing Cover: Service and Repair
Timing Chain Housing Replacement
Removal Procedure
^
Tools Required
-
J 24420-C Crankshaft Balancer Puller
-
J 28467-360 Engine Support
-
J 38122-A Crankshaft Balancer Holder
-
J 36008-A Camshaft Sprocket Alignment Pins
Caution: Refer to Battery Disconnect Caution in Service Precautions.
Important: You can replace the timing chain housing-to-cylinder block gasket and the camshaft housing gasket without removing the timing chain
housing from the vehicle.
Removal of the timing chain housing is only required when additional service is being performed on the timing chain housing.
1. Disconnect the negative battery cable.
2. Drain the cooling system. Refer to Draining and Filling Cooling System in Cooling System.
3. Remove the engine front cover. Refer to Engine Front Cover Replacement.
4. Raise and support the vehicle. Refer to Vehicle Lifting.
5. Disconnect the heater hose from the thermostat housing in order to drain the cylinder block completely.
Important: The timing chain must be marked prior to removal. If the chain is installed with the wear pattern in the opposite direction, noise and
increased wear may occur.
6. Remove the timing chain tensioner and timing chain. Refer to Timing Chain, Sprockets, and Tensioner Replacement.
7. Remove the nuts which secure the coolant pump assembly to the timing chain housing. Refer to Water Pump Replacement in Cooling System.
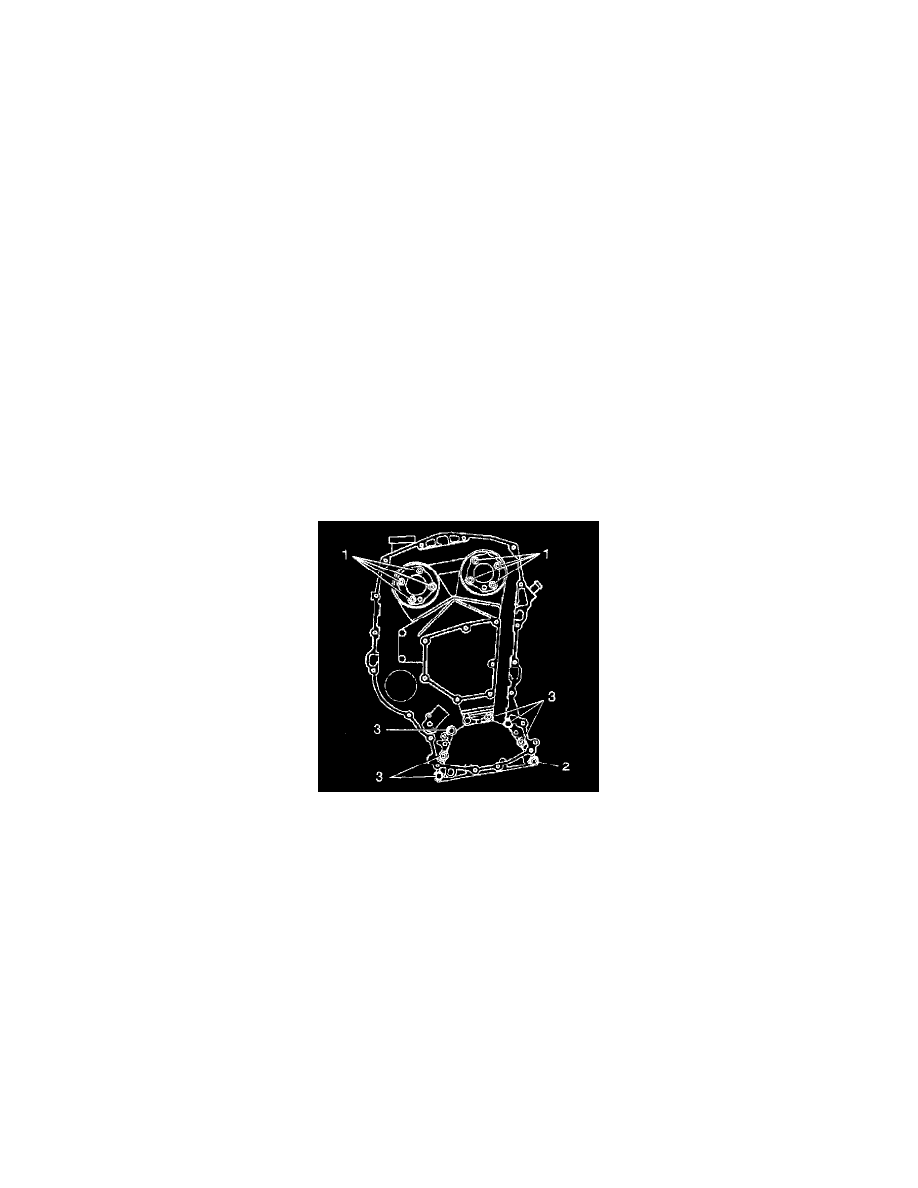
8. Remove the fasteners which secure the timing chain housing to the block.
9. Remove the 4 bolts which secure the oil pan to the front cover.
10. Remove the lowest front cover retaining stud from the timing chain housing, in order to prevent catching on the body.
11. Lower the vehicle.