Alero L4-144 2.4L DOHC VIN T SFI (2000)

Water Pump: Service and Repair
Removal Procedure
Caution: Refer to Battery Disconnect Caution in Service Precautions.
Notice: Refer to Use GM Goodwrench DEX-COOL Coolant in Service Precautions.
1. Disconnect the negative battery cable.
2. Drain the coolant. Recover the coolant. Refer to Draining and Filling Cooling System.
3. Disconnect the electrical connectors.
4. Remove 1he exhaust manifold heat shield.
5. Remove the heat wrap from the heater hose.
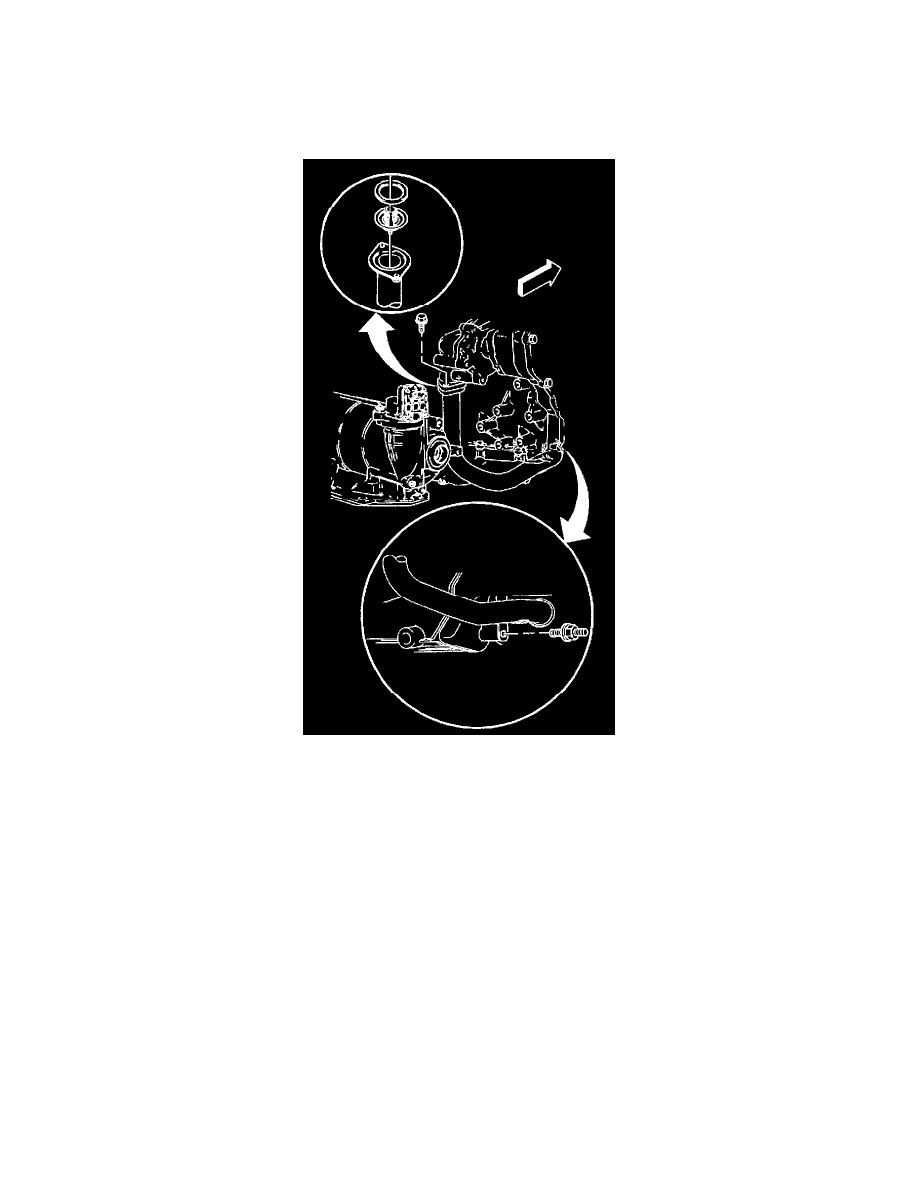
6. Remove the coolant inlet housing bolt through the exhaust manifold.
7. Raise the vehicle. Refer to Vehicle Lifting.
8. Remove the exhaust manifold brace-to-manifold bolt.
9. Remove the manifold-to-exhaust pipe studs.
10. Remove the heater outlet pipe bracket-to-transmission bolt.
11. Remove the coolant inlet housing assembly-to-water pump cover bolt.
12. Disconnect the exhaust pipe from the exhaust manifold. Refer to Catalytic Converter Replacement in Powertrain Management.
Important: Do not rotate flex coupling more than 4 degrees as damage may occur.
13. Pull down and back on the exhaust manifold pipe in order to disengage the pipe from the exhaust manifold.
14. Disconnect the coolant inlet pipe from the oil pan. Remove the pipe.
15. Lower the vehicle.
16. Remove the brake vacuum pipe from the cam housing.
17. Remove the exhaust manifold to cylinder head retaining nuts.
18. Remove the exhaust manifold. Refer to Exhaust Manifold Replacement.
19. Remove the seals and the gaskets of the exhaust manifold.
20. Disconnect the heater hose quick connect from the heater outlet pipe.
