Aurora V6-214 3.5L VIN H SFI (2001)

1. Ensure the protective tape is still in place.
Important: DO NOT allow the SHARP edges of the trim to come in contact with the soft vinyl trim on the console.
2. Position the trim plate to the console.
3. Connect the electrical connectors.
4. Engage the retainer clips.
1. 4.1 Use one hand to carefully push the left hand side of the console away from the trim plate.
2. 4.2 Use the other hand to grasp the left hand side of the trim plate through the chrome ring.
3. 4.3 Align the retainer clips on the left side of the trim plate to the openings in the console.
4. 4.4 Repeat steps 4.1 - 4.3 for the right side.
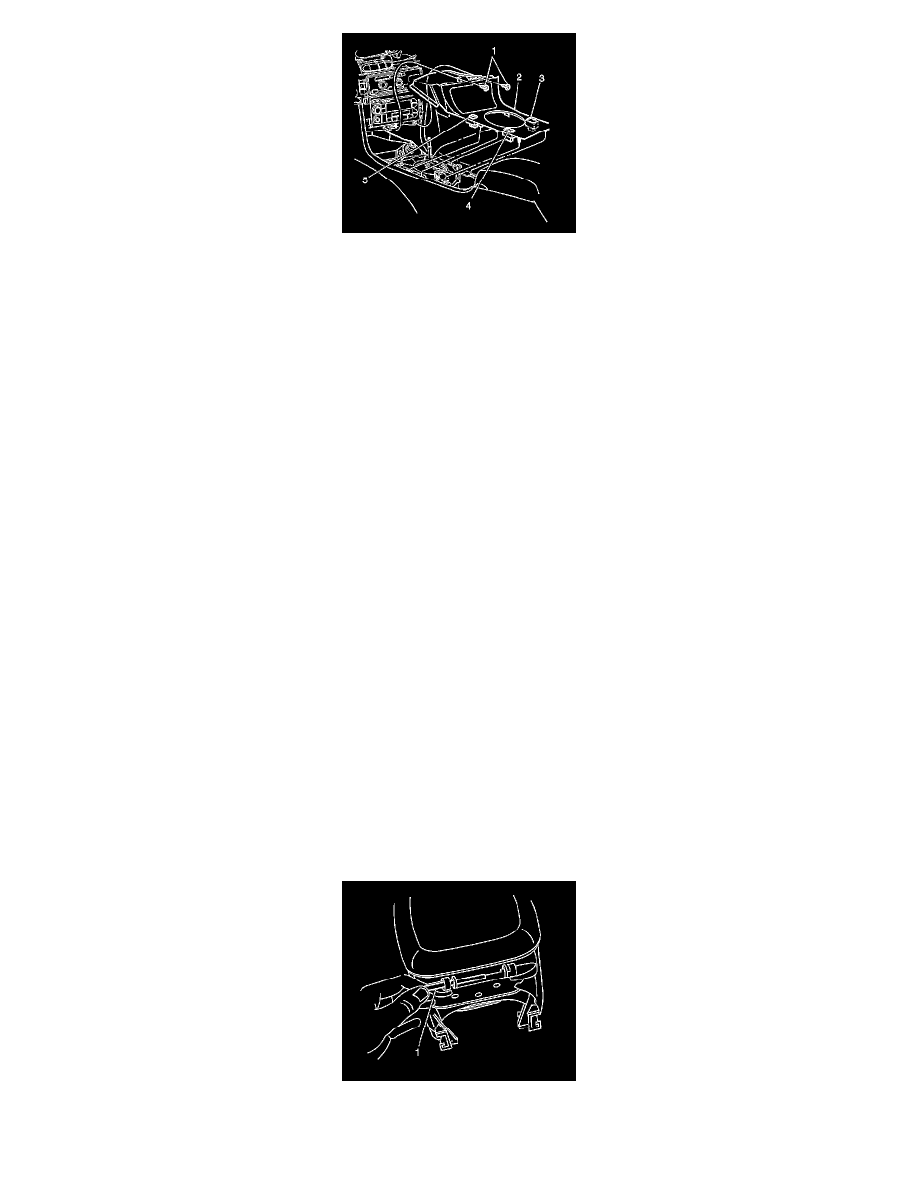
5. Apply even downward pressure on the trim plate (2) to engage the retaining clips. DO NOT USE FORCE!
Notice: Refer to Fastener Notice in Cautions and Notices.
6. Install the screws (1).
Tighten the screws to 2 Nm (18 lb in).
7. Install the center IP trim plate. Refer to Instrument Panel Center Trim Panel Replacement (See: Instrument Panel, Gauges and Warning
Indicators/Instrument Cluster / Carrier/Service and Repair/Instrument Panel Center Trim Panel Replacement).
8. Remove the protective tape.
9. Install the shift lever knob.
10. Shift the vehicle into park.
11. Remove the blocks from the wheels.
12. Disengage the parking brake.
Front Floor Console Compartment Door Replacement
Front Floor Console Compartment Door Replacement
Removal Procedure
1. Remove the rear console trim plate. Refer to Console Rear Trim Plate Replacement (See: Console Rear Trim Plate Replacement).
2. Remove the two clips holding the pin (1) into the console.
3. Remove the pin (1) in order to remove the door assembly.
