
Aurora V6-214 3.5L VIN H SFI (2001)
14. Record the measured specification and, if necessary, adjust the clearance with the proper thickness selective thrust washer and reassemble. Refer
to step 3.
15. Remove the dial indicator set and the post.
Notice: Refer to Fastener Notice in Service Precautions.
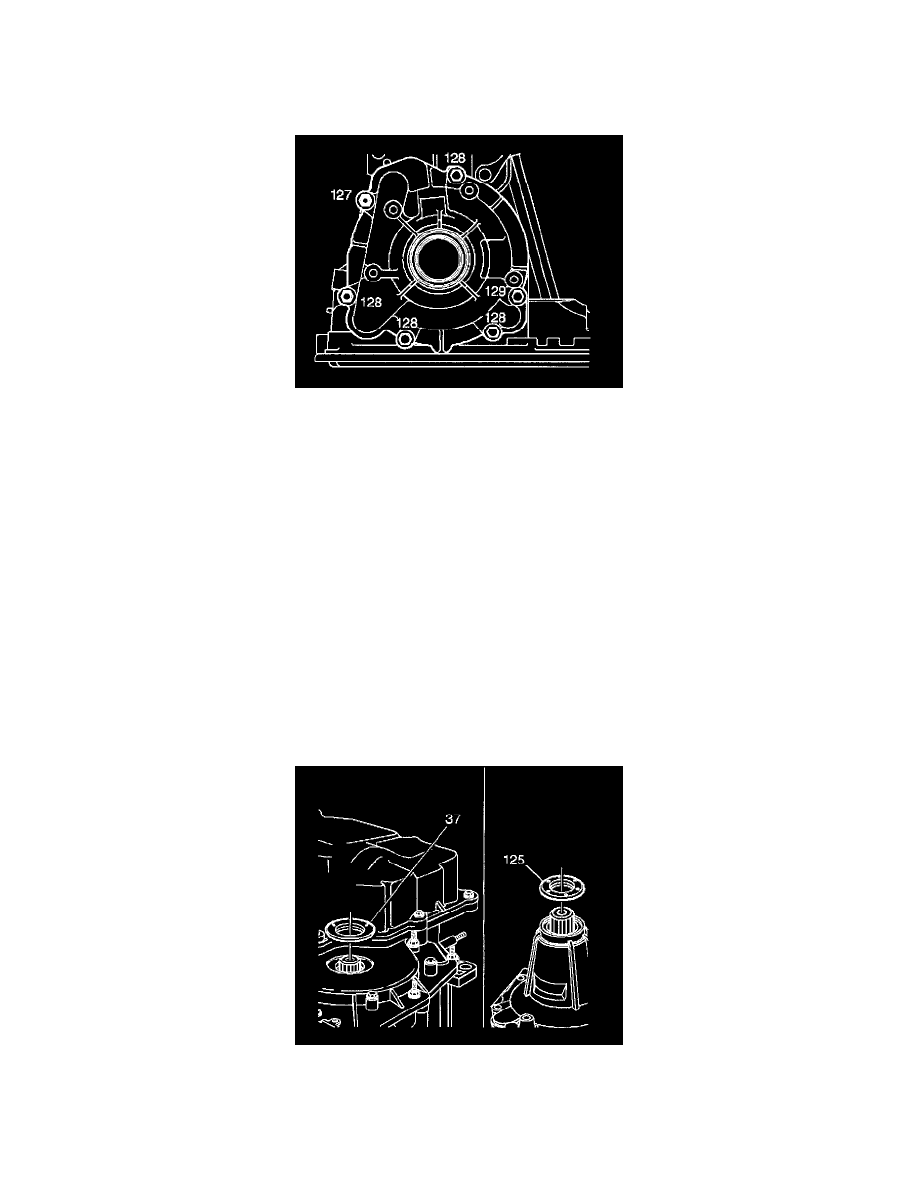
16. Install the stud (127).
^
Tighten the bolt (128) and the stud (127) to 50 - 55 Nm (37 - 40 ft. lbs.).
^
Tighten the bolt (129) to 20 - 27 Nm (15 - 20 ft. lbs.).
17. Connect the vehicle speed sensor.
18. Install the ground wire to case.
19. Install the transmission brace.
20. Install the wiring harness.
21. Install the right drive axle.
22. Remove the safety stands.
23. Lower the vehicle.
24. Remove the engine support fixture.
25. Fill the transmission with fluid.
26. Check the fluid level.
Case Extension Axle Seal (Right) Replacement
Case Extension Axle Seal (Right) Replacement
^
Tools Required
-
J39051-1 Axle Shaft Seal Installer Set
Removal Procedure
1. Remove the right drive axle.
Important Be careful not to damage the transmission case extension when removing the seal with a screwdriver.
2. Remove the drive axle seal (125). First use a screwdriver to pry outer the seal from the transmission. Use pliers in order to remove the remaining