
Aurora V6-214 3.5L VIN H SFI (2001)
7.
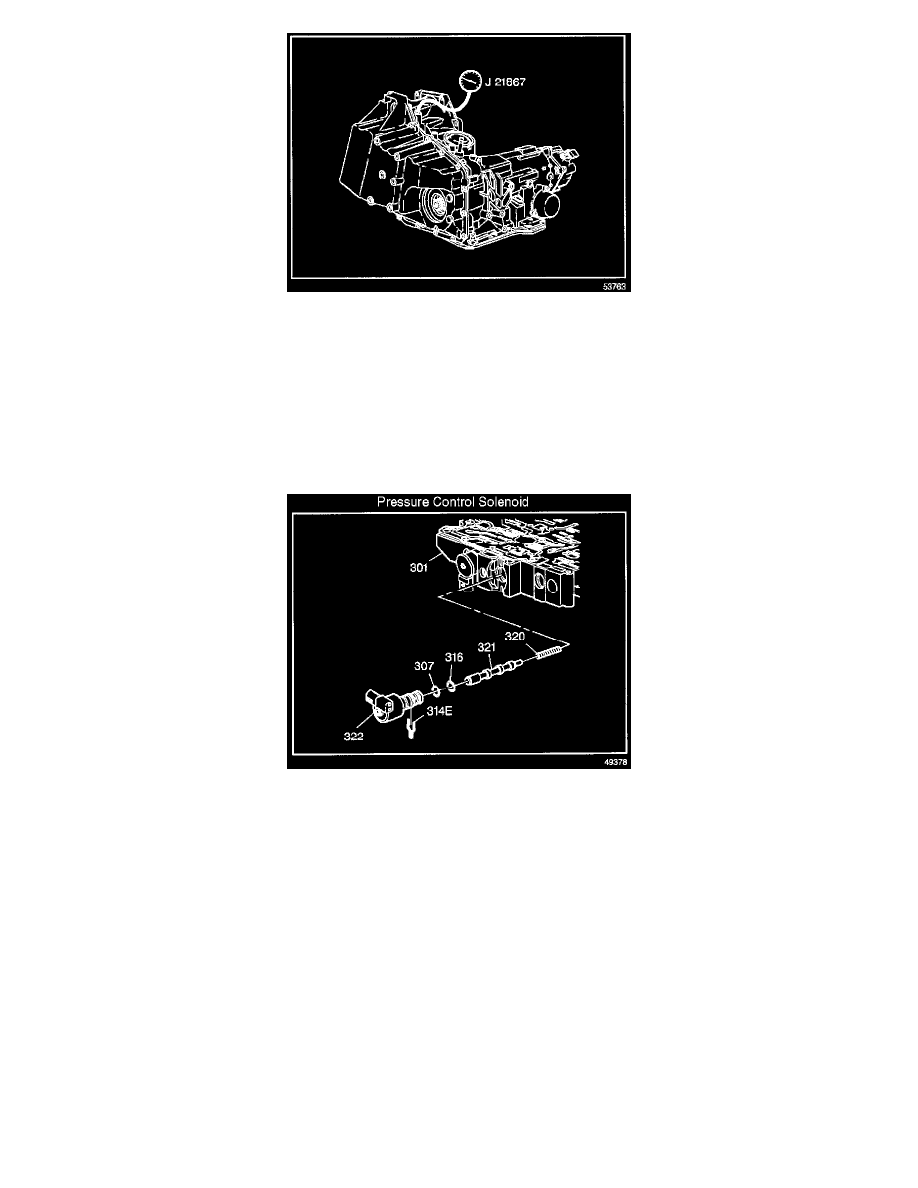
Turn the engine OFF. Remove the oil pressure test hole plug and install the J 21867.
8.
Put the gear selector in PARK range and set the parking brake.
9.
Start the engine and allow the engine to warm up at idle.
Notice:
Total test running time should not be longer than two minutes, or else transmission damage could occur.
10.
Access the PC solenoid valve control test on the Scan Tool.
11.
Increase the PC solenoid as shown actual current from 0.0 to 1.0 amps in 0.1 amp increments. Allow the pressure to stabilize for five seconds after
each pressure change. Read the corresponding line pressure on the J 21867.
12.
Refer to the Line Pressure specification table. Compare the data to the table.
13.
If pressure readings differ greatly from the table, refer to Incorrect Line Pressure.
14.
Remove the J 21867.
15.
Apply sealant, P/N 12345382 (in Canada, P/N 10953489), to the oil pressure test hole plug.
Notice:
Refer to Fastener Notice in Cautions and Notices.
16.
Install the oil pressure test hole plug.
Tighten
Tighten the oil pressure test hole plug to 12 N.m (106 lb in).