
Aurora V8-4.0L VIN C (1996)
Fuel Tank Unit: Service and Repair
Fuel Sender Assembly Replacement
Fuel Sender Assembly
Removal Procedure
Tool Required - J 39765 Fuel Sender Locknut Wrench
Notice: Do Not handle the fuel sender assembly by the fuel pipes. Due to the length of the fuel pipes, the amount of leverage generated by handling the
fuel pipes could damage the joints.
Important: Always replace the fuel sender 0-rings when reinstalling the fuel sender assembly.
1. Remove negative battery cable.
2. Relieve the fuel system fuel pressure. Refer to the Fuel Pressure Release.
3. Drain the fuel tank to no more than 1/4 of a tank full.
4. Remove the spare tire cover, the jack, and the spare tire.
5. Pull back the trunk liner.
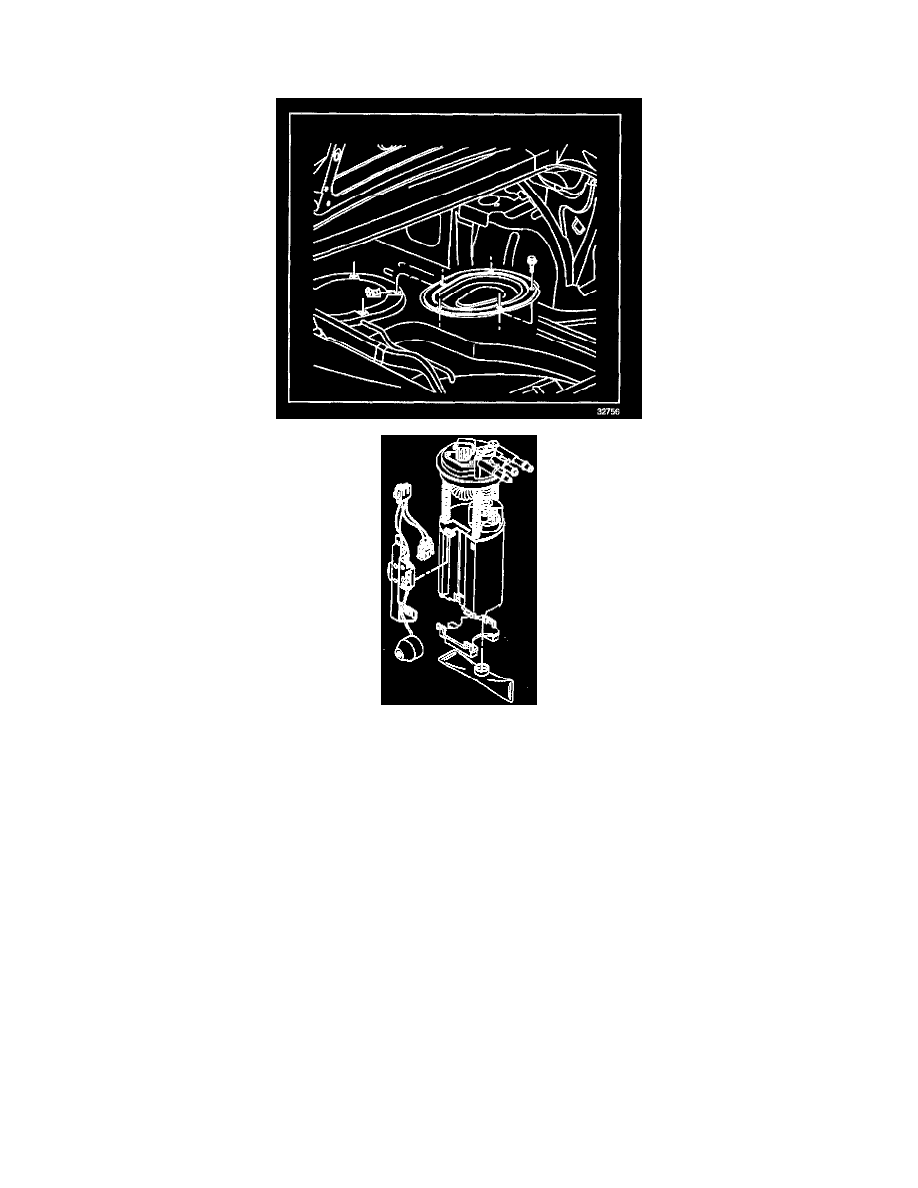
6. Remove the fuel sender access panel. See illustration.
7. Remove the quick-connect fittings at the fuel sender assembly.
8. Remove the electrical connector at the fuel sender.
9. Remove the fuel sender retaining ring using the J 39765 Fuel Sender Spanner Wrench.
Important: When removing the modular fuel sender assembly from the fuel tank, the reservoir bucket on the fuel sender assembly is full of fuel. The
modular fuel sender assembly must be tipped slightly during removal in order to avoid damage to the float. Place any remaining fuel into an approved
container once the modular fuel sender assembly is removed from the fuel tank. The modular fuel sender assembly will spring-up when the locking
ring is removed.