
Aurora V8-4.0L VIN C (1996)
Fuel Tank Unit: Service and Repair
Service
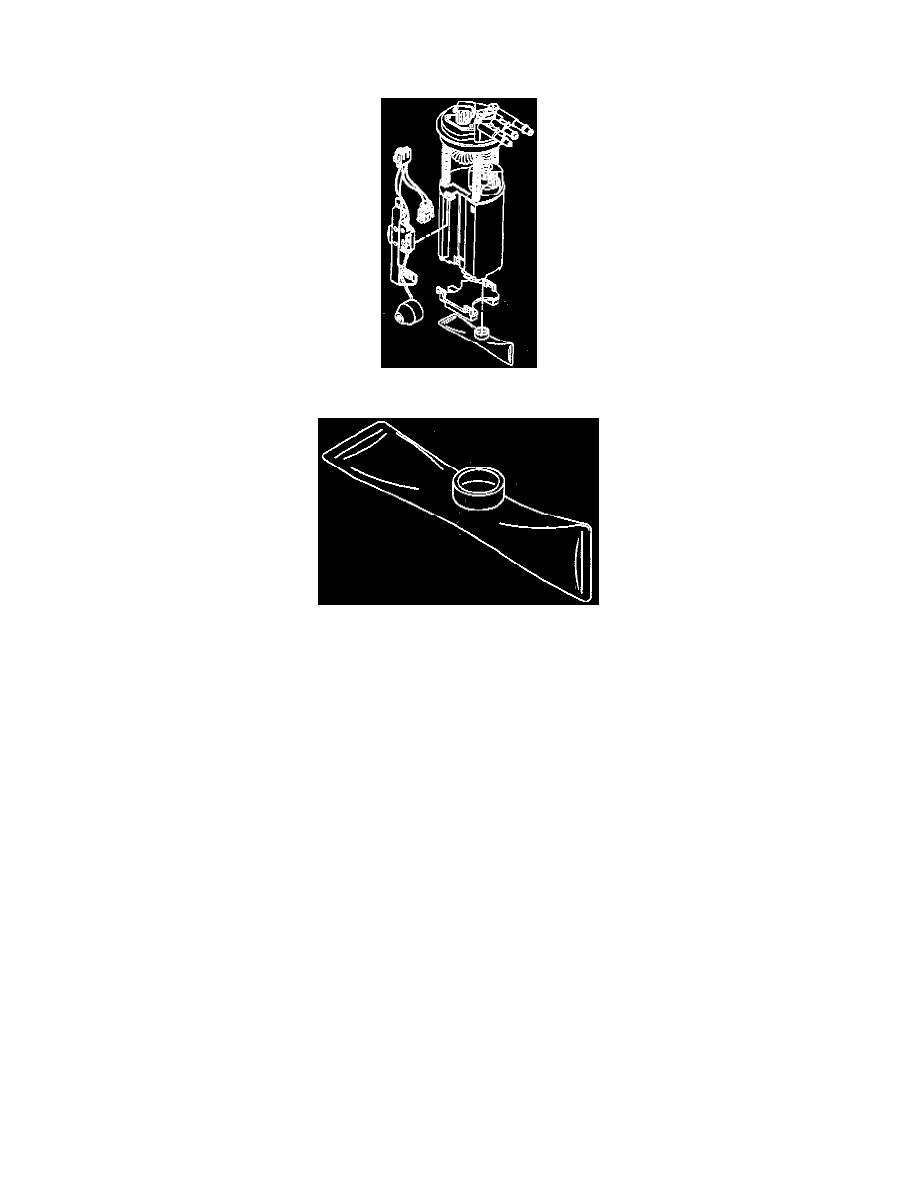
Fuel Sender Assembly
Fuel Sender Strainer
Removal Procedure
CAUTION: Do Not handle the fuel sender assembly by the fuel pipes. Due to the length of the fuel pipes, the amount of leverage generated by handling
the fuel pipes could damage the joints.
1. Relieve the fuel system fuel pressure. Refer to the Fuel Pressure Release.
2. Drain the fuel tank to no more than 1/4 of a tank full.
Important: The modular fuel sender support assembly will spring-up when the locking ring is moved.
3. Remove the fuel sender assembly.
Disassemble Procedure
1. Note the position of the fuel sender strainer for installation.
2. Support the reservoir with one hand and grasp the fuel sender strainer with the other hand.
3. Pull the fuel sender strainer off of the fuel pump.
4. Inspect the fuel sender strainer. If the fuel sender strainer is contaminated, the fuel tank should be cleaned.
5. Discard the fuel sender strainer after inspection.
6. Disassemble the rubber pad off of the bottom of the modular fuel sender.
7. Disassemble the electrical connectors from the sensor assembly of the fuel pump and the cover assembly.
8. Disassemble the fuel level sensor assembly.
Assemble Procedure
1. Assemble the fuel level sensor assembly.
2. Assemble the electrical connectors to the fuel pump and the cover assembly.
3. Assemble the rubber pad on the bottom of the modular fuel sender.
4. Position the new fuel sender strainer on the modular fuel sender and push on the outer edge of the fuel sender strainer until the fuel sender strainer
is fully seated.