
Bravada V6-4.3L VIN W (1997)
20. Install the brake washer onto the armature shaft.
21. Inspect the bearing in the commutator end frame.
-
Do not lubricate the bearing. Roller type bearings are permanently lubricated.
-
Replace the bearing if it is damaged or dry using a small bearing puller.
-
Recess the bearing 2 mm (0.08 in) into the housing.
22. Install the commutator end frame onto the armature shaft.
23. Align the commutator end frame and the frame with field.
24. Install the identification tag onto one through bolt.
25. Install the starter motor through bolts.
If the through bolts have different heads, install as noted during disassembly.
Tighten
Tighten the bolts to 8.5 N.m (75 lb in).
26. Inspect the drive clearance.
27. Install the solenoid terminal field lead.
Tighten
Tighten the field lead screw to 8.5 N.m (75 lb in).
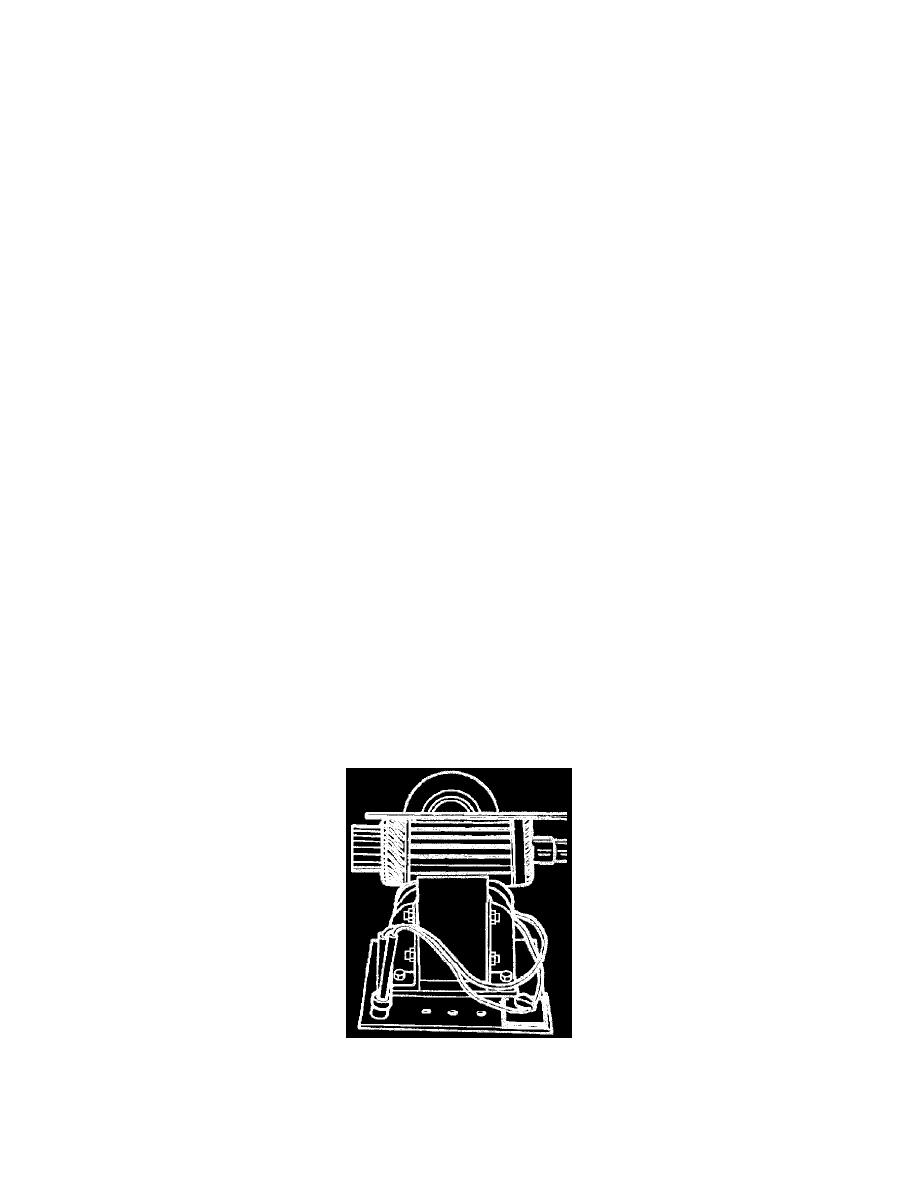
28. Install the starter motor.
Starter Motor Inspection
CLEANING AND INSPECTION PROCEDURE
TOOLS REQUIRED
-
J 21008-A Self Powered Test Light
-
J 39200 Digital Multimeter
NOTE: Do not clean the starter motor parts in a degreasing tank. Soaking parts will dissolve the permanent lubrication and may damage the electrical
insulation. This will shorten starter motor life.
1. Clean all parts by wiping with a dry cloth.
2. Inspect the bushing or the armature bearing fit in the following locations:
-
The end frame
-
The shift lever housing
-
The drive end frame housing (If the bushings or the bearings are damaged, install new ones.)
3. Lubricate the bushings before assembling the starter motor.
-
Avoid over lubrication.
-
Do not lubricate the roller bearings, if equipped.
-
The roller bearings are permanently lubricated when manufactured.
4. Inspect the armature shaft for runout or scoring. If the condition of the armature shaft is in doubt, install a new shaft.
5. Inspect the commutator for discolored or uneven conductors.
-
Do not turn the commutator on a lathe.
-
Do not undercut the insulation.
-
Clean the commutator with No. 240 grit emery cloth.
-
Blow away any copper dust.
-
If the commutator can not be cleaned satisfactorily, install a new armature.
Testing Armature For Short Circuits
6. Inspect the armature for short circuits using the following procedure:
-
Rotate the armature in a "growler."
-
Use a steel strip (such as a hacksaw blade) held on the armature, parallel to the shaft.