
Bravada 2WD L6-4.2L VIN S (2002)
Roof Rack Frame: All Technical Service Bulletins
Body/Frame - Roof Rack Wind Noise
File in Section: 08 - Body and Accessories
Bulletin No.: 02-08-67-005
Date: May, 2002
INFORMATION
Subject:
Proper Position and Installation of Roof Rack Cross Rails to Reduce Wind Noise
Models:
2002 Chevrolet and GMC S/T Utility Models
(TrailBrazer, TrailBlazer EXT, Envoy, Envoy XL)
2002 Oldsmobile Bravada
Some of the above vehicles may exhibit wind noise related to the roof rack. In an effort to reduce wind noise, Engineering has identified a specific
position and installation for the roof rack cross rails.
^
Beginning on September 6, 2001 the TrailBlazer, Envoy, and Bravada were built with the roof rack cross rails installed in the reverse direction
(arrows towards rear of vehicle).
^
Early calendar year 2002 the TrailBlazer EXT and Envoy XL were built with the roof rack cross rails installed in the reverse direction (arrows
towards rear of vehicle).
^
Early calendar year 2002 the directional arrows were removed from the cross rails on all models to eliminate any confusion as to which direction is
correct.
It has been found that some dealers are changing the direction of the cross rails thinking they were installed incorrectly.
To obtain the optimum position and installation of the roof rack cross rails that produce the least wind noise, use the following procedure:
1.
If the cross rails have directional arrows, they should be installed in the reverse direction (arrows toward rear of vehicle). Remove the cross rails
and rotate as necessary.
2.
If the directional arrows are not present, installation can be verified by checking the location of the cross rail eyelets. When the location of the
cross rail eyelets. When installed in the reverse direction, the cross rail eyelets will face the rear of the vehicle. Remove the cross rails and rotate as
necessary.
3.
Once the specified direction has been established, adjust the position of the cross rails, so that one cross rail is positioned at the rear most end of
the vehicle. The other cross rail should then be positioned at approximately midpoint of the rear door glass.
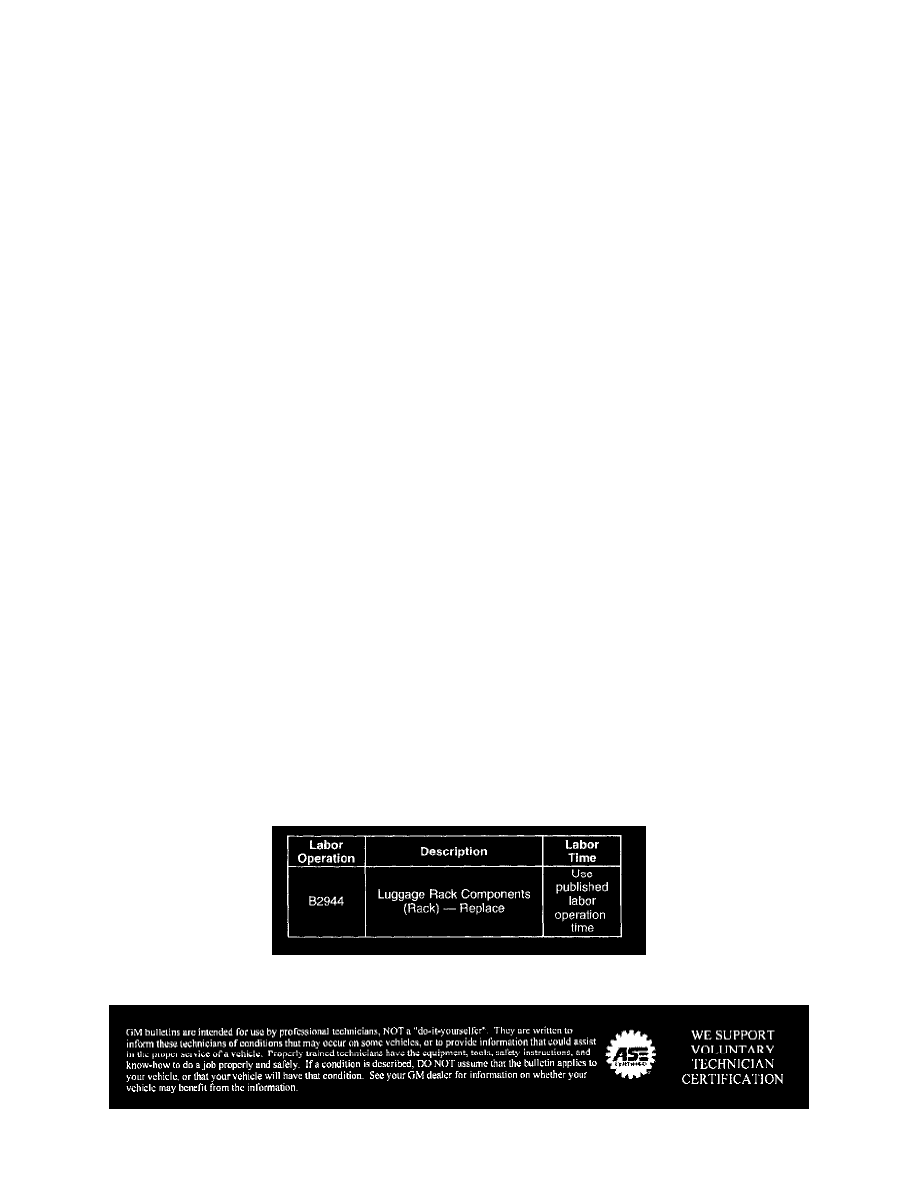
Warranty Information
For vehicles repaired under warranty, use the table.
Disclaimer