
Calais V6-3300 3.3L (1991)
^
Align fasteners at top of trim panel and engage fasteners over edge of door inner panel.
^
Align fasteners (2) to holes in door inner panel and push outboard until fasteners are engaged in holes.
2. Retractor cover (10).
3. Screws (8).
4. Locking knob, any electrical connections to escutcheon (3), if equipped.
5. Escutcheon (3).
6. Screw (11).
7. Screws (9).
8. Screws (7).
9. Screws (6).
10. Escutcheon (4).
11. Window regulator handle (12) if equipped.
Four Door
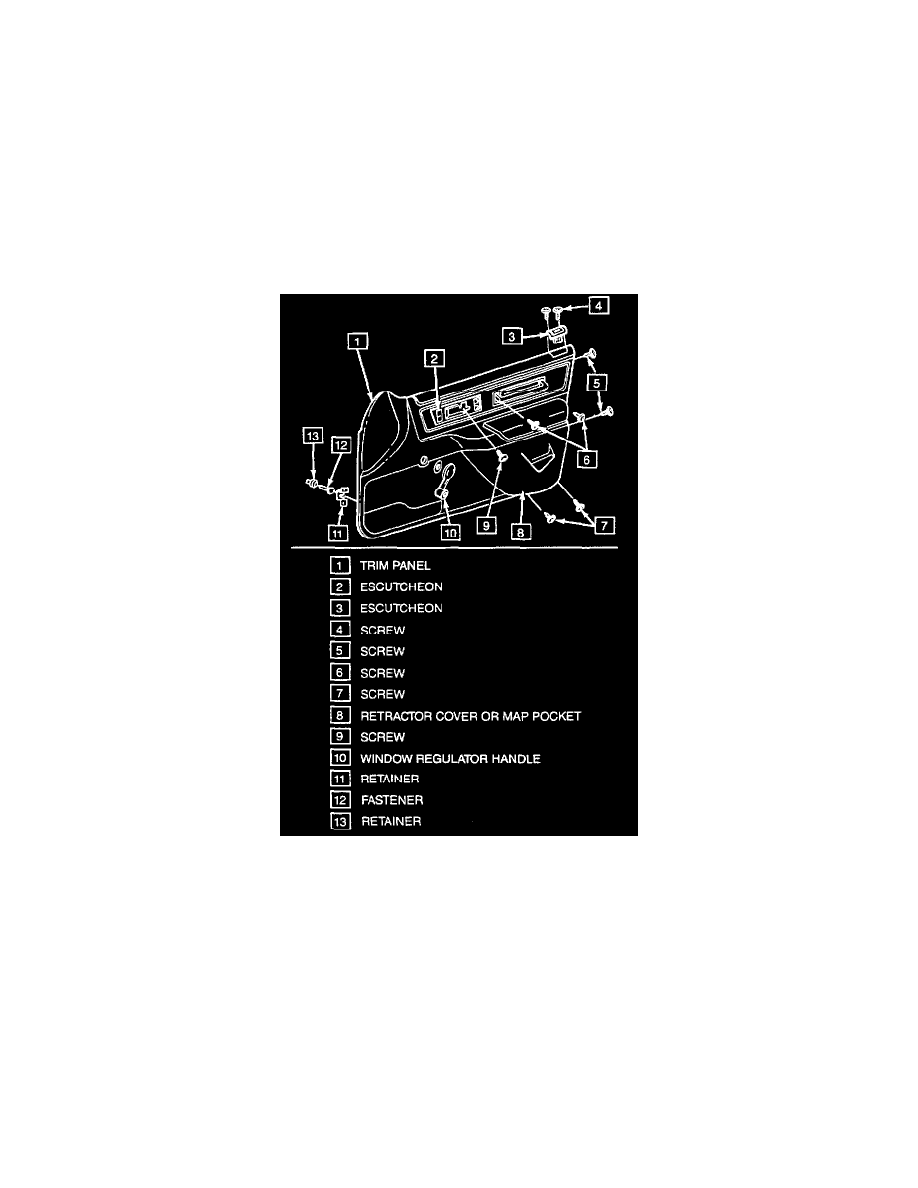
NOTICE: When removing a door trim panel that has a power window switch attached, the ignition switch must be in the "off" position. This will
eliminate the possibility of shorting out the switch if a screwdriver or awl is used to remove the switch from the harness.
2 and 4 door have an automatic safety belt system. The following procedures will cover the trim panels for this system.
Remove or Disconnect
1. Inner belt sealing strip.
2. Escutcheon (3).
3. Screws (5).
4. Screws (6).
5. Screws (8).
6. Retractor cover or map pocket (9).
7. Screws (7).
8. Screw (10).
9. Inside locking knob.
10. Escutcheon (2).