
Ciera V6-173 2.8L VIN W FI (1986)
Valve Cover: Service and Repair
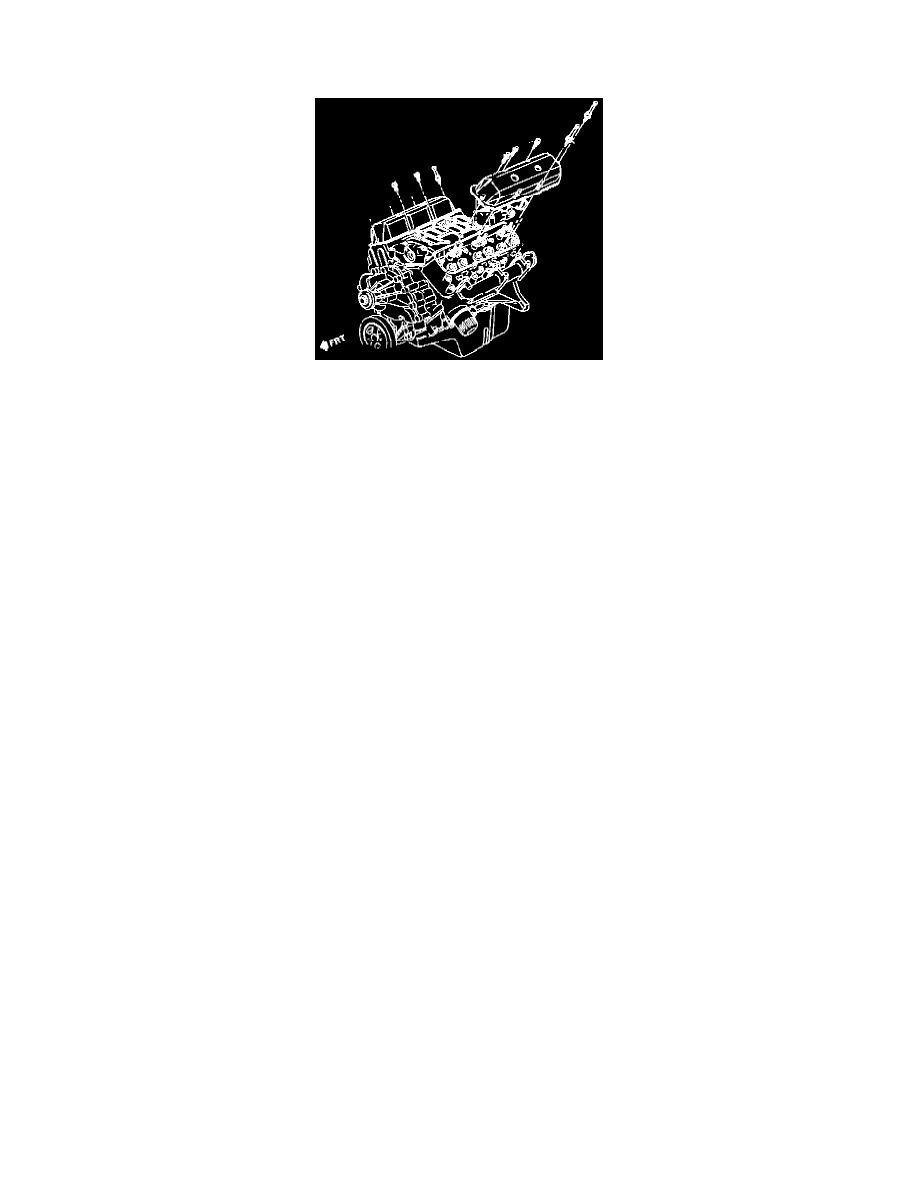
Rocker Arm Cover - Left
REMOVE OR DISCONNECT
1. Negative battery cable.
2. Remove necessary MPFI parts to gain access:
^ Intake Plenum.
^ Cold Start Injector.
^ Fuel Rail.
^ Fuel Rail Harness.
^ Intake Manifold Runners.
3. Front engine strut at radiator and engine bracket.
4. Coil at bracket.
5. PCV hose.
6. Spark plug wires from spark plugs.
7. Cover to head retention parts.
8. Cover.
Note It may be necessary to remove the two spark plug wire harness studs in order to get the Valve cover past the windshield wiper motor.
CAUTION If cover adheres to cylinder head, shear off by bumping end of rocker arm cover with palm of hand or soft rubber mallet. If cover still will
not come loose, CAREFULLY pry until loose. DO NOT DISTORT SEALING FLANGE.
CLEAN
^ Sealing surface on cylinder head and valve cover with degreaser.
INSTALL OR CONNECT
1. Place a 3 mm diameter (1/8 in.) bead of GM 1052917 RTV sealer or equivalent at the intake manifold and cylinder head split line.
2. Valve cover, gasket, load spreaders.
Tighten
^
Nuts to 10 Nm (90 lbs. in.) while RTV is still wet.
3. Front engine strut bracket to cylinder head.
Tighten
^
Bolts to 48 Nm (35 lbs. ft.).
4. Spark plug wires.
5. PCV hose.
6. Front engine strut at- radiator support and engine bracket.
7. Those MPFI parts removed.
8. Coil at bracket.
9. Negative battery cable.
INSPECT
^ For oil leaks at sealing surfaces.