
Cutlass L4-138 2.3L VIN A FI HP (1990)
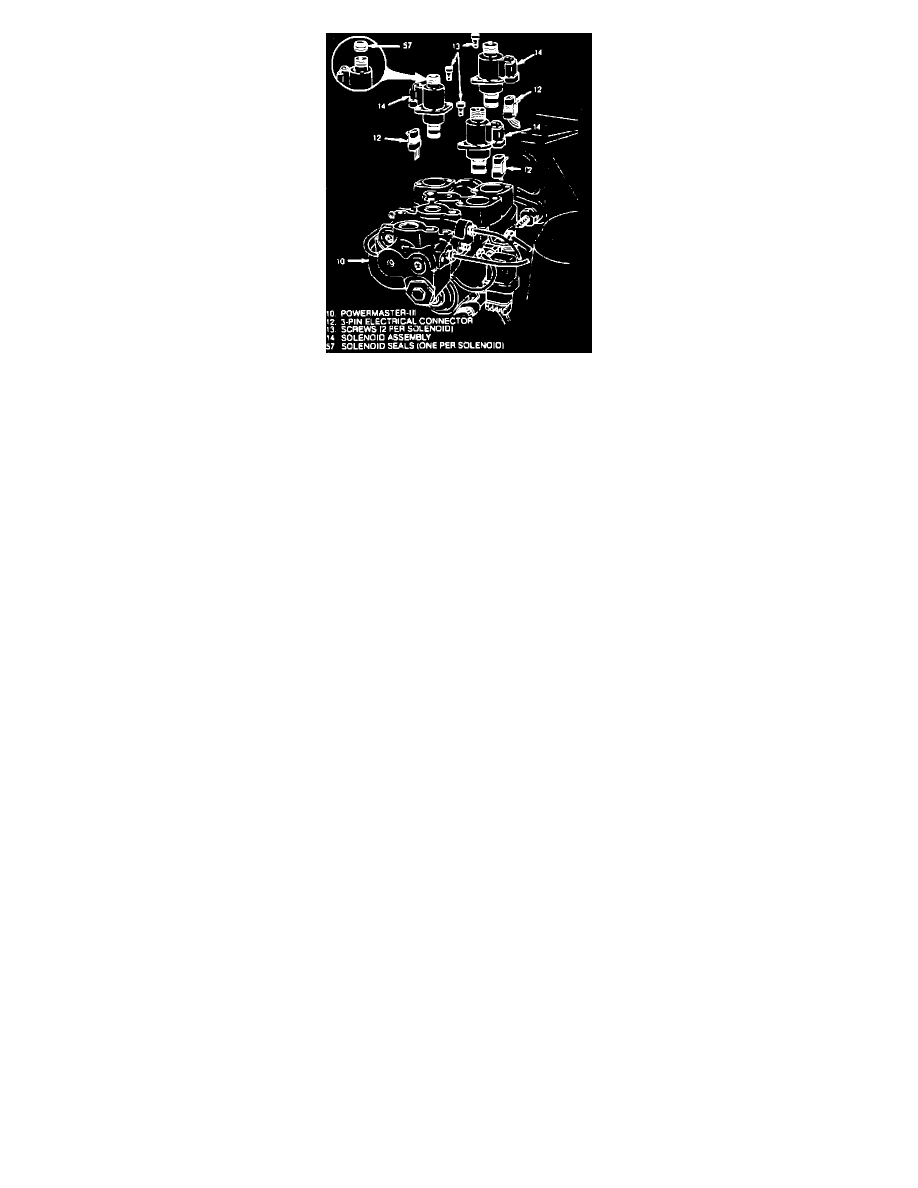
Fig. 77 Solenoid Assemblies
Clean reservoir cover assembly (5) and surrounding area before removing, Fig. 75.
1.
Depressurize Powermaster III, refer to DEPRESSURIZING POWERMASTER III.
2.
Clean surrounding area, then remove reservoir cover and assembly.
3.
Disconnect 3-pin connector (12), from solenoid assembly (14), Fig. 77.
4.
Remove solenoid attaching screws (13), then the solenoid assembly. Ensure lower solenoid O-rings are in place and in good condition.
5.
Reverse procedure to install, noting the following:
a. Torque solenoid assembly attaching screws to 33-45 ft. lbs.
b. Bleed Powermaster III, refer to DEPRESSURIZING POWERMASTER III.
Tube & Nut Assembly (High Pressure Side) (with ABS)