
Cutlass L4-138 2.3L VIN A FI HP (1990)
Coolant Pump: Fundamentals and Basics
Removal Tips and Hints
WATER PUMP REMOVAL NOTES, WARNINGS, AND HINTS
FROZEN AND BROKEN BOLTS
Frozen and broken bolts are often a major problem when removing water pumps. Coolant can seep into the bolt holes resulting in corrosion and
frozen bolts. Prior to starting the job, spray all water pump retaining bolts with a penetrating oil.
Upon removal, any bolt or nut which shows signs of corrosion should be replaced. The threads of the associated bolt hole should be re-tapped or
chased.
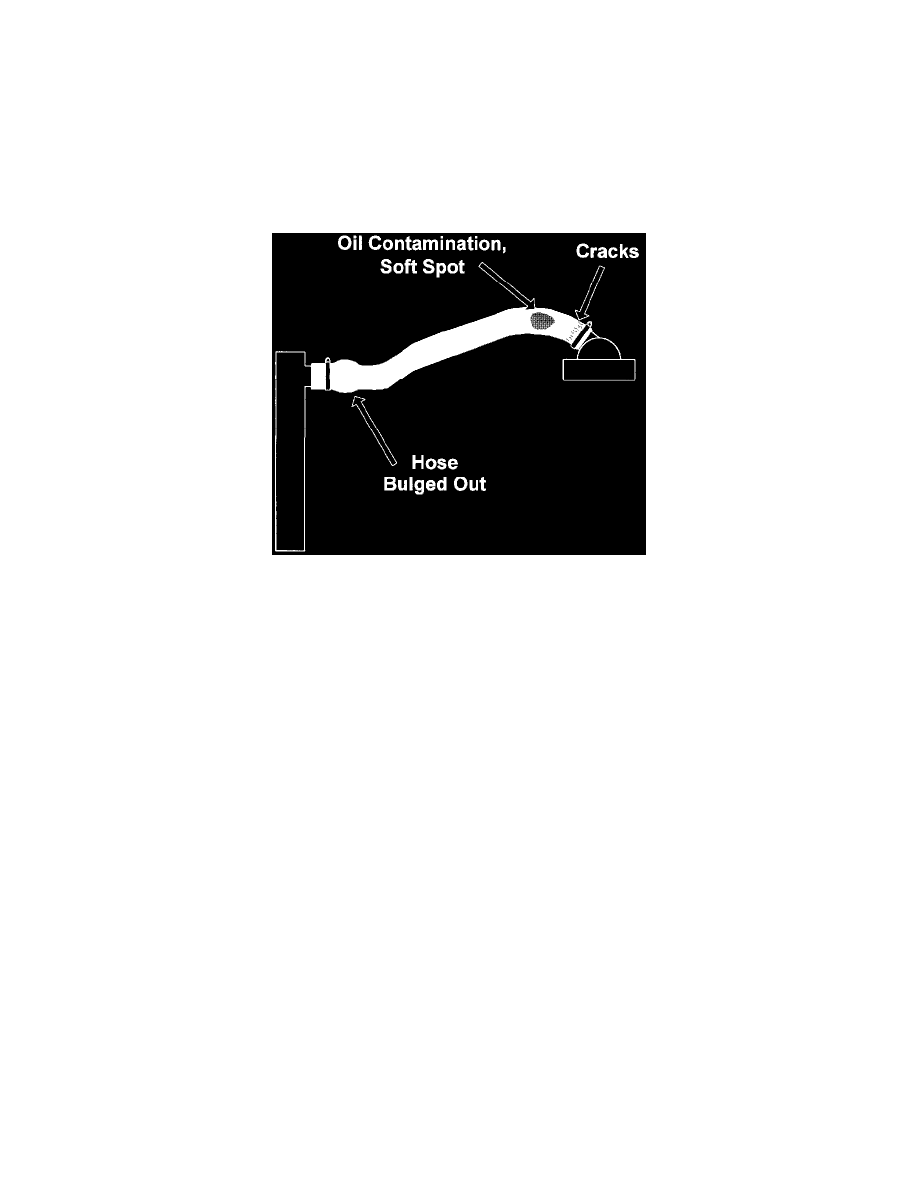
COOLANT HOSES
Inspect the hoses for the following:
-
Cracks, especially near the hose clamps.
-
Swelling, look for areas of the hose that appear unnaturally bulged outwards.
NOTE: This is often caused by improper removal techniques, see Hose Removal in this article.
-
Oil contamination and soft spots. Oil contamination breaks down the structure of the rubber and significantly weakens the hose.
NOTE: The oil leak should be fixed prior to replacing the hose.
-
Hard or brittle hoses, as the hoses age the rubber looses its resiliency and becomes brittle. The hoses need to be able to flex to compensate for
the movement of the engine.
DRIP PAN
Prior to removing any hose or the water pump, place a large drip pan under the engine. Although the coolant may be drained from the radiator,
there is still a large amount of residual coolant trapped in the hoses and water pump.