
Cutlass V6-191 3.1L VIN M SFI (1998)
Cross-Member: Service and Repair
Front Suspension
REMOVAL PROCEDURE
^
Tools Required
-
J 38892 Ball Joint Separator
1. Raise and support the vehicle.
2. If you use a suspension contact hoist:
-
Place the jack stands under the uni-body frame near the crossmember.
-
Lower the vehicle slightly so that the weight of the vehicle rests on the under uni-body frame and not on the control arms or crossmember.
3. Remove the tire and wheels assembly. Refer to Wheel Removal.
4. Remove the right and left wiring harnesses from the crossmember.
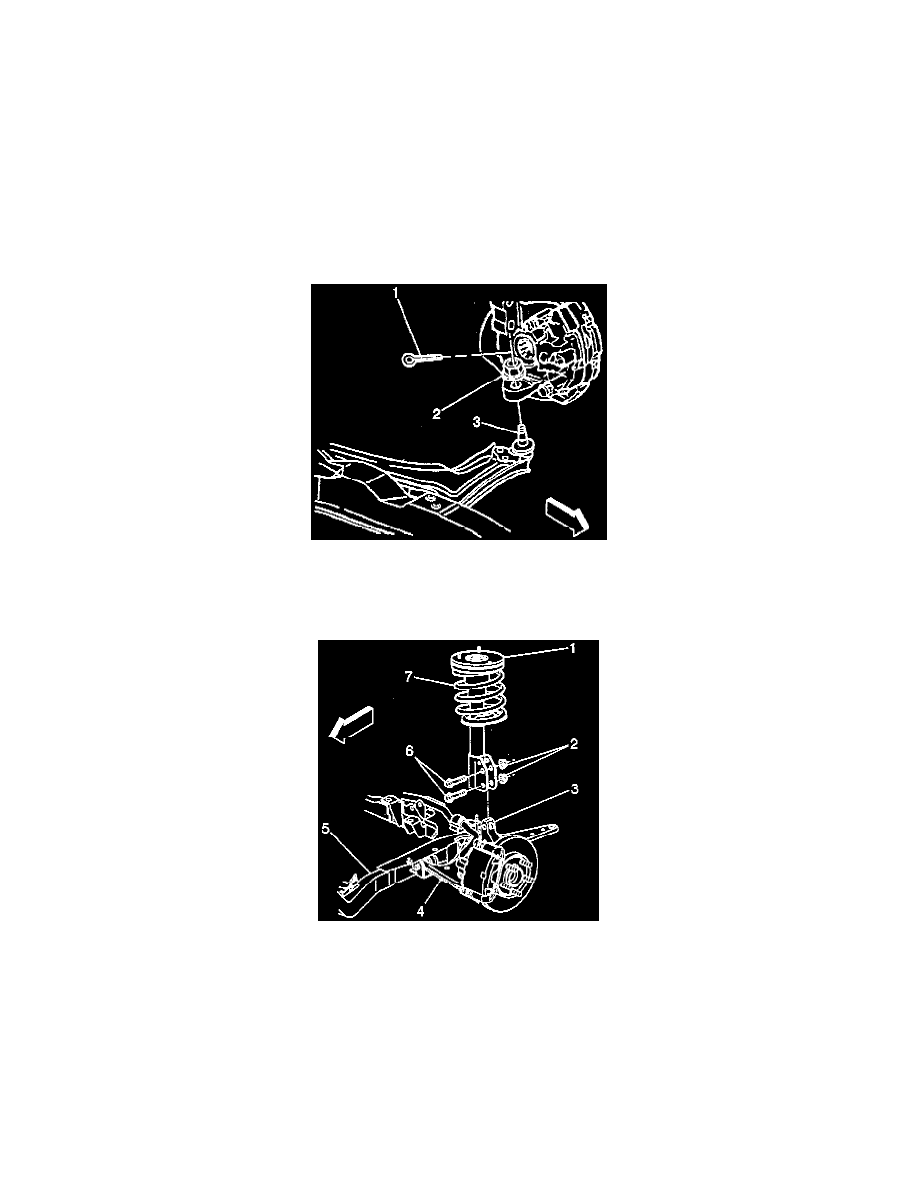
NOTICE: Use only the recommended tool for separating the ball joint from the knuckle. Failure to use the recommended tool may cause damage
to the ball joint and seal.
5. Remove the ball joint (3) from the knuckle using the J 38892.
6. Remove the engine strut (1) from the crossmember (5).
7. Remove the crossmember support braces.
8. Remove the front exhaust pipe while supporting the catalytic converter.
9. Remove the power steering gear bolts while supporting the power steering gear.
10. Remove the brake lines from the retainers on the crossmember.
11. Remove the splash shield from the crossmember.