Cutlass V6-191 3.1L VIN M SFI (1998)

Band Apply Servo: Service and Repair
Low/Reverse Servo Assembly Replacement
REMOVAL PROCEDURE
1. Remove the negative battery cable.
2. Raise and suitably support the vehicle. Refer to Vehicle Lifting.
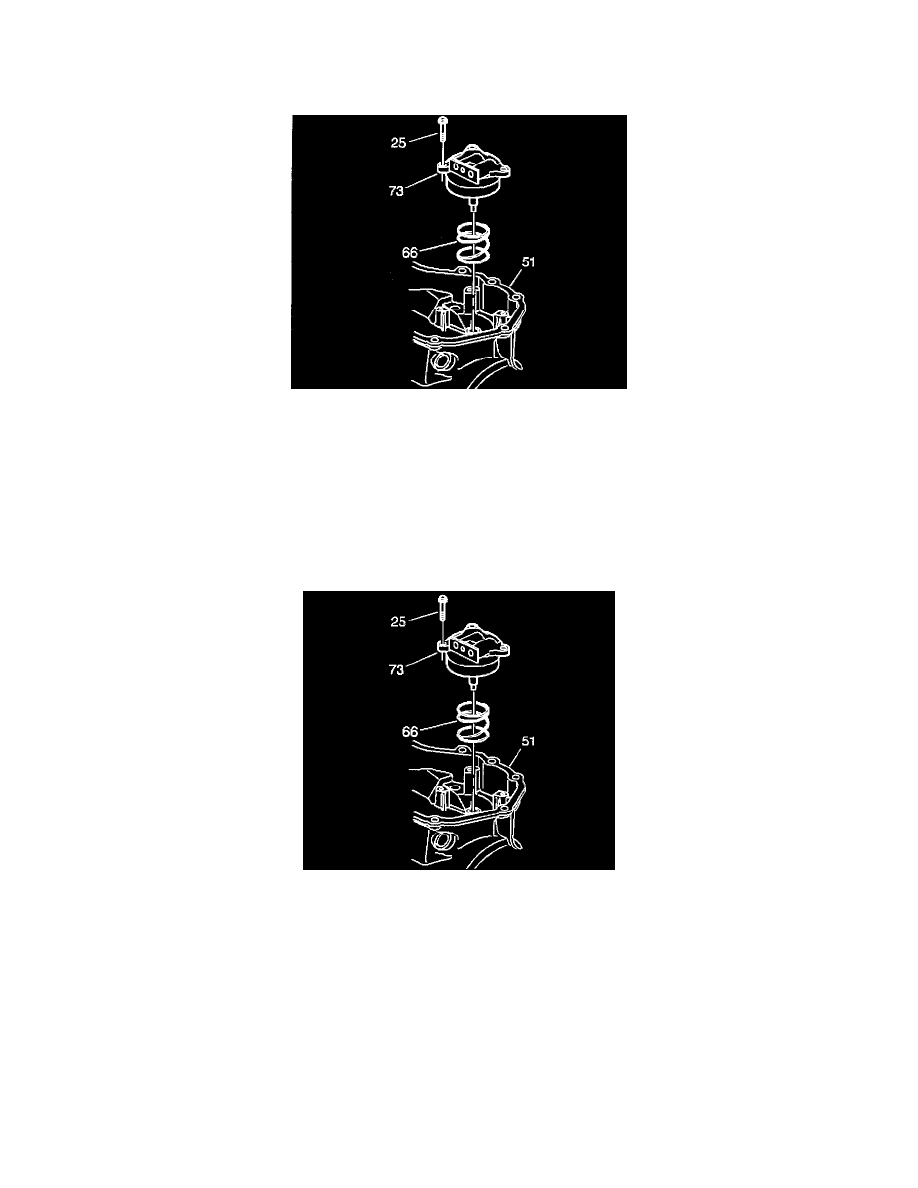
3. Remove the servo cover bolts (25) and cover (73).
4. Remove the bottom pan
5. Remove the snap ring.
6. Remove the piston assembly.
7. Remove the sealing ring.
8. Remove the servo spring (66). Refer to Transaxle Unit Repair.
INSTALLATION PROCEDURE
1. Install the servo spring (66), sealing ring, piston assembly, snap ring, cover assembly (73), and bolts (25).
^
Tighten the servo cover bolts on the 4T40E transmission to 12 Nm (9 ft. lbs.).
NOTICE: Refer to Fastener Notice in Service Precautions.
2. Install the bottom pan.
3. Lower the vehicle.
4. Connect the negative battery cable.
^
Tighten the bolt to 16 Nm (12 ft. lbs.).
5. Add transmission fluid.
6. Check fluid level.
