Cutlass Ciera V6-3100 3.1L VIN M SFI (1996)

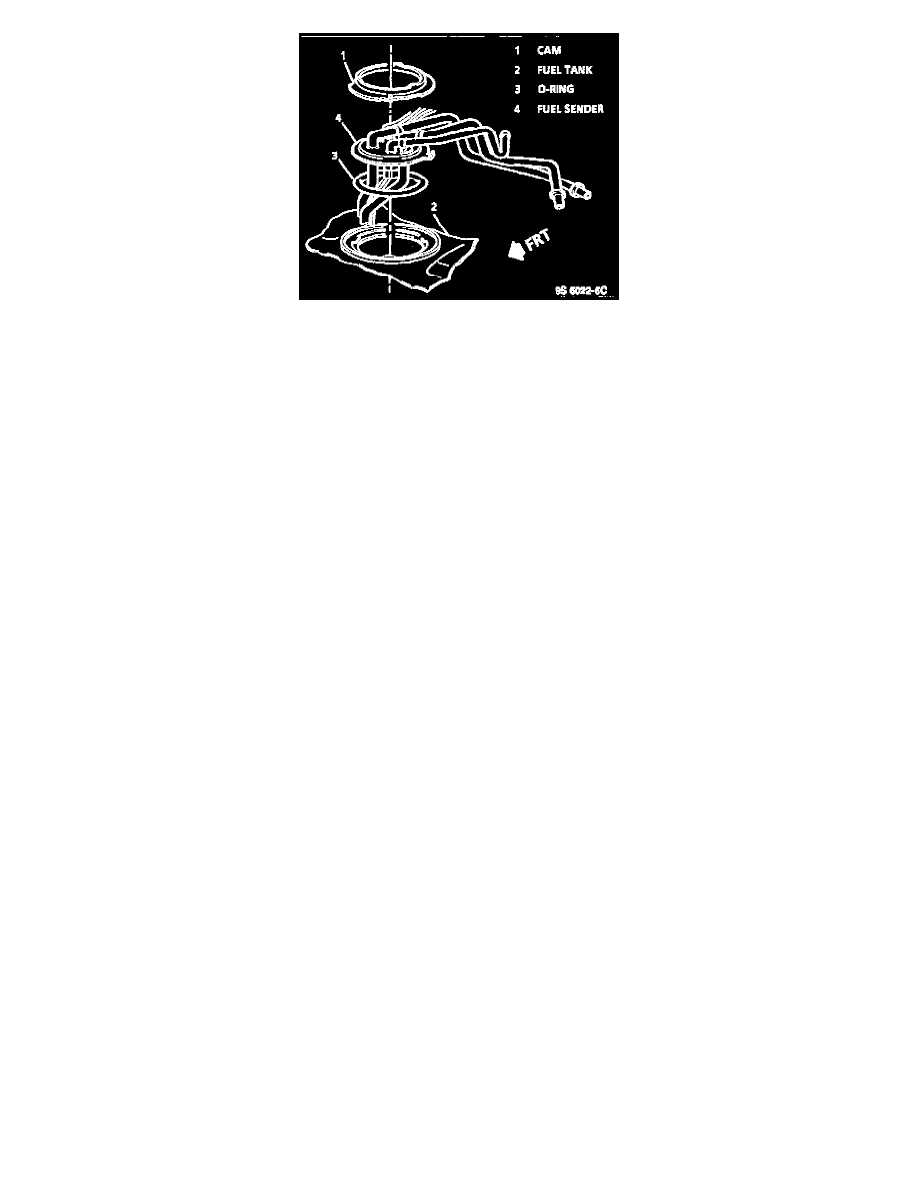
Fuel Sender Replacement
REMOVE OR DISCONNECT
1. Perform Fuel Pressure Release Procedure.
2. Drain fuel tank.
3. Raise vehicle on hoist.
4. Filler pipe hose and clamp at fuel tank.
5. Fuel filler vent hose and clamp at fuel tank.
6. Electrical connector.
7. Evaporative Emissions (EVAP) connecting hose at fuel sender pipe.
8. Quick connect fittings.
9. Exhaust pipe heat shield screws.
CAUTION: Do NOT bend fuel tank retaining straps, as this may damage straps.
10. With aid from an assistant, support fuel tank and remove rear fuel tank retaining strap attaching bolts and fuel tank.
-
Place fuel tank in a suitable work area.
DISASSEMBLE
1. Fuel sender assembly.
2. Insulator pads from fuel tank and spacers from front fuel tank strap mounting brackets if damaged or new fuel tank is to be installed. Note location
of pads for installation.
ASSEMBLE
1. Insulator pads on fuel tank and spacers on front fuel tank strap mounting brackets in same location as noted during disassembly.
2. Fuel sender assembly.
INSTALL OR CONNECT
1. With the aid of assistant, position and support fuel tank. Install fuel tank retaining strap rear attaching bolts (2).
Tighten
-
Rear fuel tank retaining strap bolts (2) to 34 Nm (25 lb. ft.).
2. Exhaust pipe heat shield screws.
3. Quick connect fittings.
4. EVAP connecting hose.
5. Fuel sender electrical connector.
6. Fuel filler vent hose and clamp.
Tighten
-
Fuel filler vent hose clamp to 2.5 Nm (22 lb. in.).
7. Filler pipe hose and clamp.
Tighten
-
Fuel filler pipe hose clamp to 2.5 Nm (22 lb. in.).
8. Lower vehicle.
9. Add fuel and install fuel filler cap.
