
Cutlass Ciera Cruiser V6-3100 3.1L MFI VIN M (1994)
Front Door Window Electric Regulator Assembly
Tool Required:
M 30910 Heavy Duty Rivet Gun
Remove or Disconnect
1. Water deflector.
2. Raise window to full-up position and tape window to door frame using cloth-backed body tape.
3. Lower sash bolts.
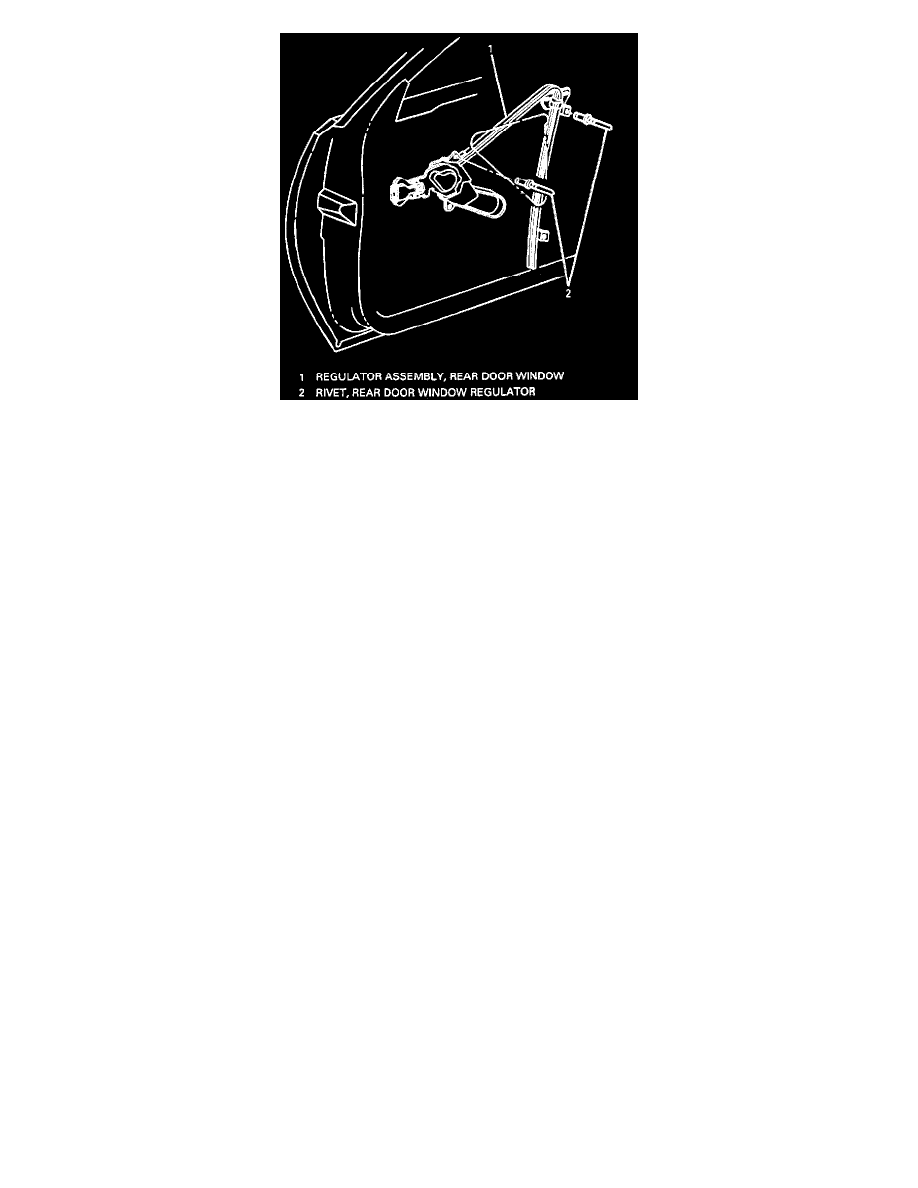
4. Punch out center pins of regulator rivets. Drill out rivets using 1/4 inch drill bit.
5. For manual regulator, remove regulator through rear access hole. For electric regulator, remove window as stated previously. Move regulator and
motor assembly rearward and remove electrical connector. Remove regulator and motor assembly through rear access hole.
Install or Connect
1. Using M 30910, rivet regulator to inner panel using 1/4 inch x 1/2 inch aluminum peel type rivets (part no. 9436175 or equivalent). If rivet tool
is not available, use the following nuts and bolts method.
2. U clips on regulator at three attaching locations. Be sure to install clips with clinch nuts on outboard side of retainers.
3. Slide regulator through the rear access hole and align regulator attaching clips with holes in inner panel. Attach regulator metal retainers with M6.0
x 1 x 13 (1/4-20 x 1/2 inch) screws (part no. 9419723 or equivalent). Attach housing part of regulator with M6.0 x 1 x 13 (1/4-20 x 1/2 inch)
screws into 6 mm (1/4 inch) nuts with integral washers.
Tighten
^
Screws to 12 N.m (106 lb. in.).
4. Lower sash bolts.
5. Water deflector.
6. Tape from window.
Regulator Sash
Remove or Disconnect
1. Door trim panel. Detach inner panel water deflector enough to gain access to window regulator sash bolts.
2. With window in raised position tape glass to upper frame. Remove sash bolts.
3. Lower regulator sash to full-down position and remove by twisting 90 degrees and pulling outboard.
Install or Connect
1. Regulator sash.
2. Sash bolts.
Tighten