
Cutlass Supreme V6-191 3.1L VIN M SFI (1997)
Brake Caliper: Service and Repair
Front Caliper Replacement
1. Remove two-thirds of the brake fluid from master cylinder.
2. Raise vehicle and suitably support.
3. Mark relationship of wheel to hub.
4. Remove tire and wheel. Install two wheel nuts to retain rotor.
5. Push piston's onto caliper bores to provide clearance between linings and rotor.
a. Install a large C-clamp over top of caliper housing and against back of outboard pad.
b. Slowly tighten C-clamp until pistons are pushed into the caliper bores enough to slide the caliper off rotor.
NOTE: If C-clamp is tightened too far, the outboard pad will be deformed and require replacement.
6. Remove brake hose bolt attaching inlet fitting only if caliper is to be removed from vehicle for unit repair (overhaul). If only brake pads are
being replaced, there is no need to disconnect inlet fitting.
NOTE: Plug openings in caliper housing and pipe to prevent brake fluid loss and contamination.
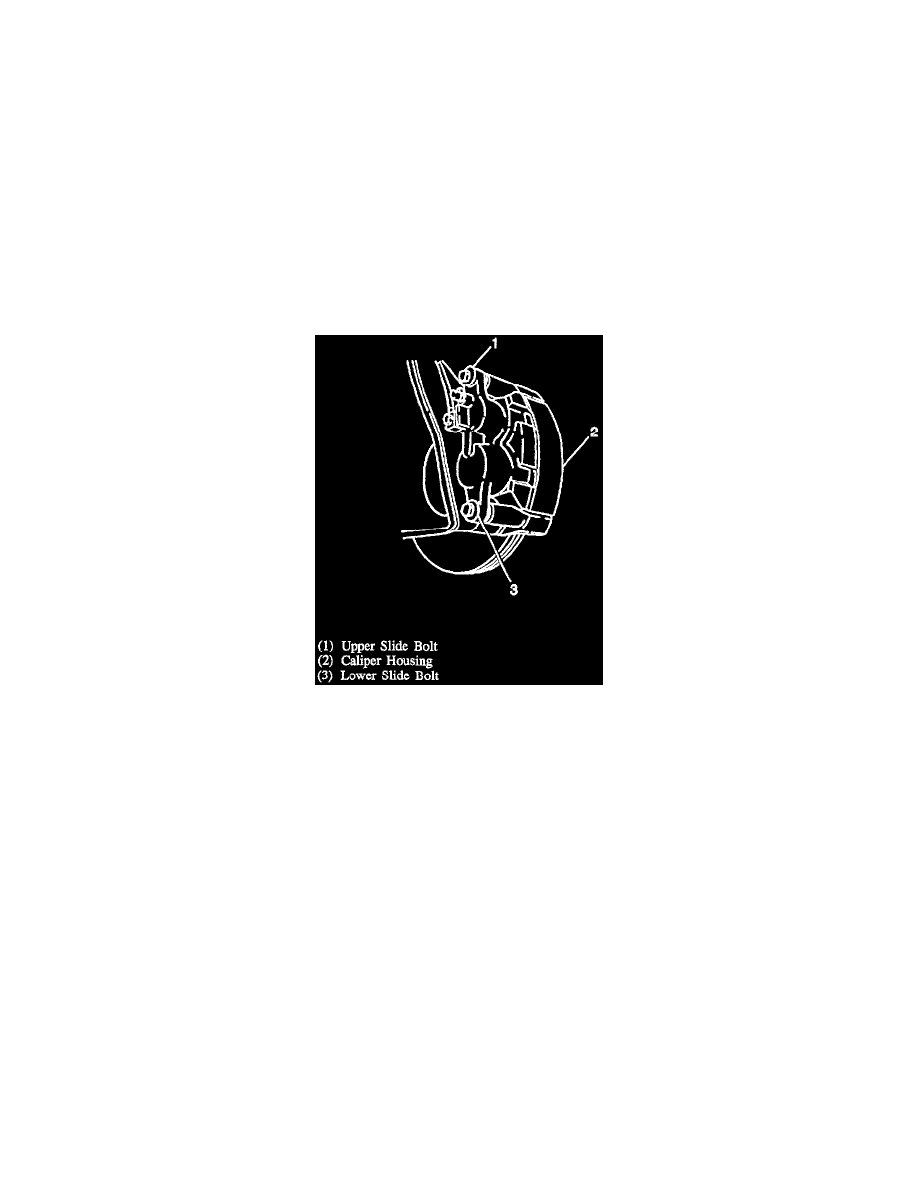
7. Remove caliper slide pin bolts.
8. Remove caliper housing from rotor and caliper mounting bracket.
NOTE: Inspect pin boots for cuts, tears or deterioration. Replace if damaged. Inspect piston boot for cuts, tears, or deterioration. If damaged,
replace boots. Inspect rubber bushing in caliper mounting bracket for cuts, tears, or deterioration. If damaged, replace bushing. Inspect slide
pin bolts for corrosion or damage. If corrosion is found, use new parts including bushings when installing caliper. Do not attempt to polish
away corrosion.
Each caliper is marked with a "L" or "R" for Left side, Right side. Proper caliper position also requires that the bleeder valve is on top.
9. Install caliper over rotor and caliper mounting bracket. Make sure bushings are in place.