
Cutlass Supreme V6-204 3.4L DOHC VIN X SFI (1995)
10. Pinch bolt at intermediate steering shaft.
11. Ball joints at steering knuckle.
12. Support right and left sides of frame with jackstands.
13. Left side frame to body bolts/screws.
14. Loosen right side frame to body bolts/screws.
15. Left side steering rack bolt/screw.
16. Wiring hamess.
17. Left drive axle.
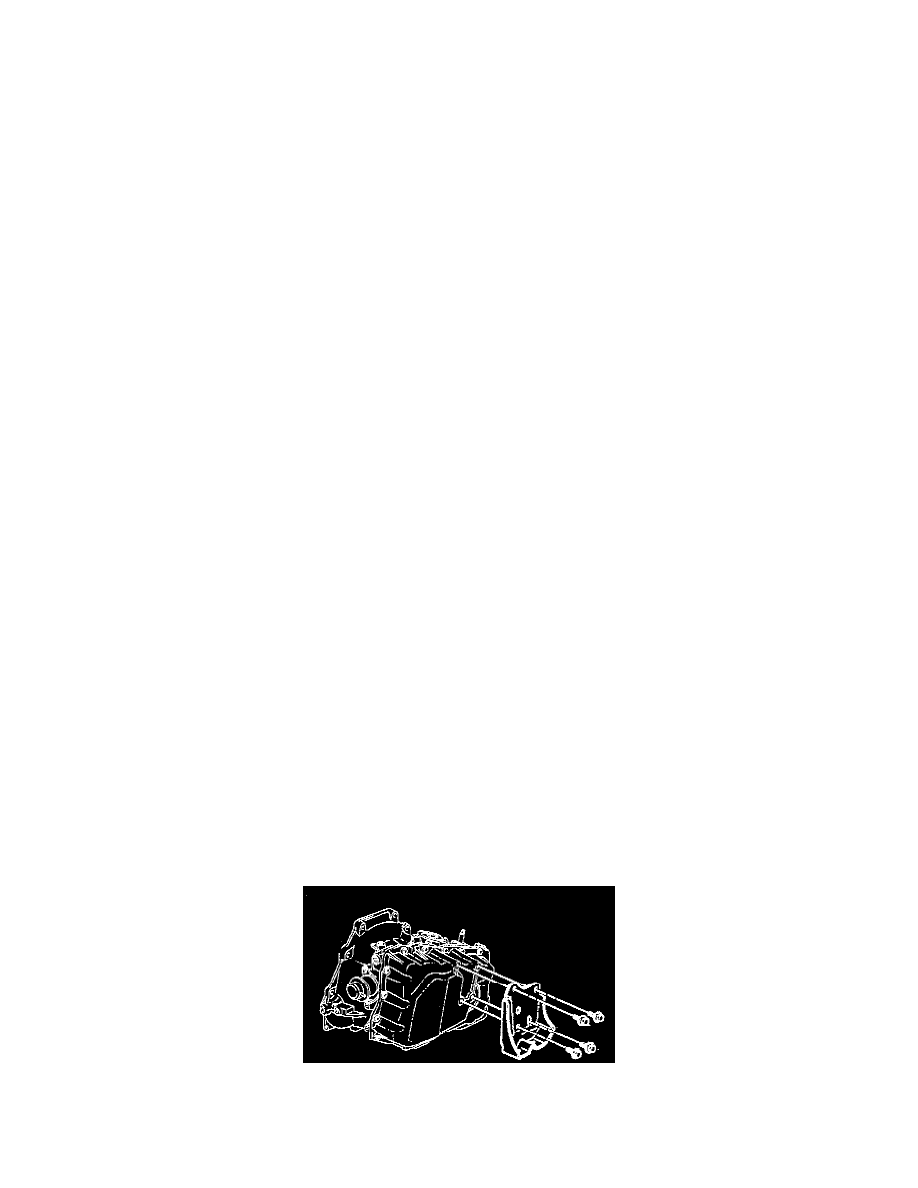
18. Transaxle mount bracket. Refer to "Transaxle Mount".
19. Position drain pan under transaxle.
20. Bolts/screws and nuts.
21. Case side cover pan and gasket.
CLEAN
^
Case and side cover gasket surfaces.
INSTALL OR CONNECT
1. Case side cover pan and gasket.
2. Bolts/screws and nuts.
TIGHTEN
^
Bolts/screws to 11 Nm (97 lb. in.).
^
Nuts to 8 Nm (71 lb. in.).
3. Transaxle mount bracket. Refer to "Transaxle Mount".
4. Left drive axle.
5. Wiring harness.
6. Left side steering rack bolt/screw.
7. Frame to body bolts/screws.
8. Remove support from frame.
9. Ball joints at steering knuckle.
CAUTION: When installing the Intermediate shaft make sure the shaft is seated prior to pinch bolt Installation. If the pinch bolt is inserted
into the coupling before shaft installation, the two mating shafts may disengage.
10. Pinch bolt at intermediate steering shaft.
11. Engine mount at frame.
12. Left inner fender splash shield.
13. Left front wheel.
14. Lower vehicle.
15. Remove J 28467-A, J 28467-90 and J 36462.
16. Shift cable clip at lever and mount bracket.
17. Crossover pipe.
18. Air cleaner.
Transaxle Support Assembly (Bracket)
TRANSAXLE BRACKET