
Cutlass Supreme V6-3100 3.1L VIN M SFI (1996)
Intake Manifold: Service and Repair
Upper Intake Manifold
CAUTION: This engine uses a sequential multiport fuel injection system. Connect the injector connectors to their appropriate fuel injector or exhaust
emissions and engine performance may be seriously affected.
REMOVAL
1. Disconnect the negative battery cable.
2. Remove the air cleaner duct.
3. Remove the accelerator control and cruise control cable from the throttle body. See Powertrain Management.
4. Remove the accelerator control cable bracket. Move the cable aside.
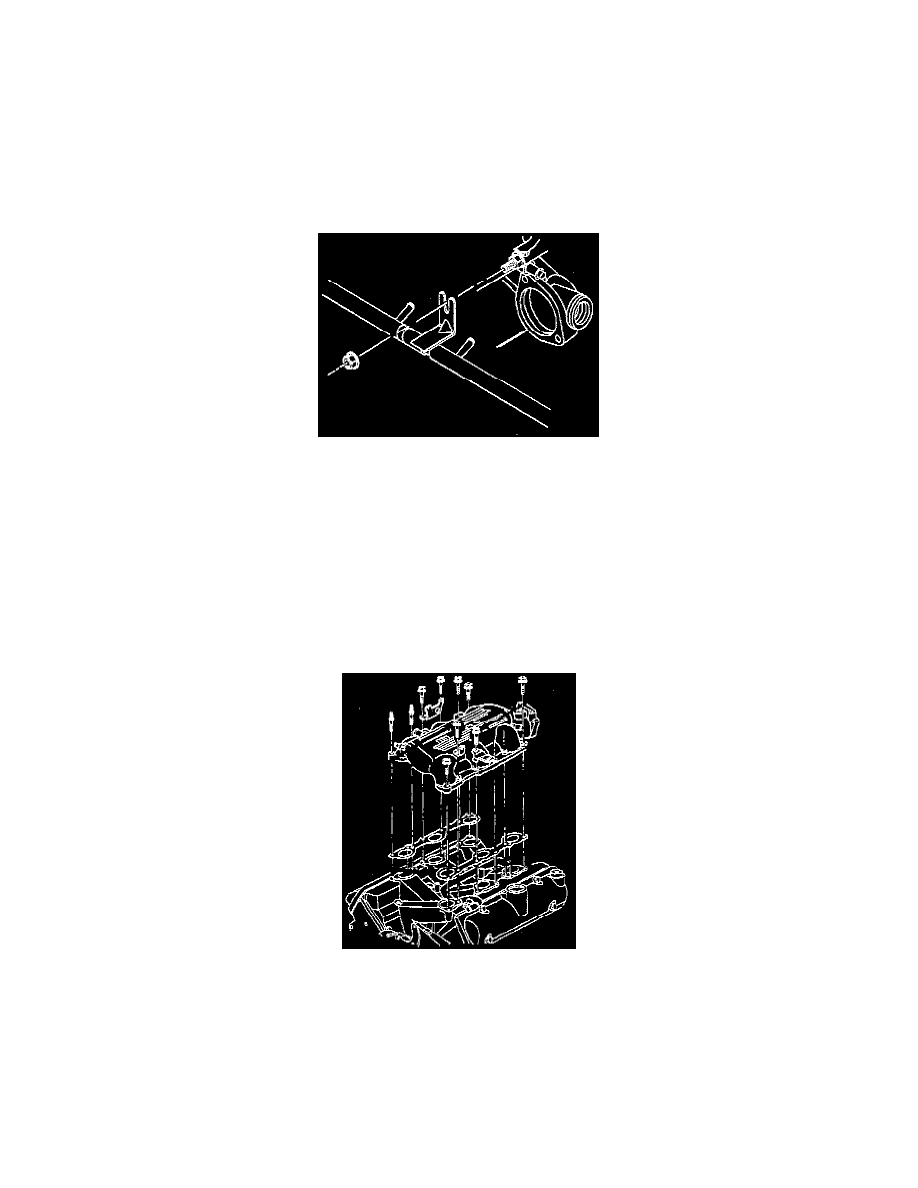
5. Remove the thermostat bypass pipe clip nut from the upper intake manifold.
6. Remove the automatic transaxle vacuum modulator pipe. See Transmission and Drivetrain.
7. Remove the power brake booster vacuum hose from the manifold. See Brakes and Traction Control.
8. Remove the engine mount strut at the engine.
9. Rotate the engine.
10. Remove the electrical connectors from the ignition coil.
11. Remove the ignition coil. See Powertrain Management.
12. Remove the generator front and rear braces. See Starting and Charging.
13. Remove the electrical connectors from the manifold.
14. Remove all of the necessary vacuum hoses.
15. Remove the MAP sensor. See Powertrain Management.
16. Remove the exhaust gas recirculation (EGR) valve.
17. Remove the upper intake manifold studs.
18. Remove the upper intake manifold bolts.
19. Remove the upper intake manifold.
20. Remove the upper intake manifold gasket.
21. Clean the gasket with degreaser.
22. Clean the seal surfaces on the manifold with degreaser.
INSTALLATION
1. Install the upper intake manifold gasket.
2. Install the upper intake manifold.