
Firenza L4-112 1.8L VIN 0 TBI (1982)
Timing Cover: Service and Repair
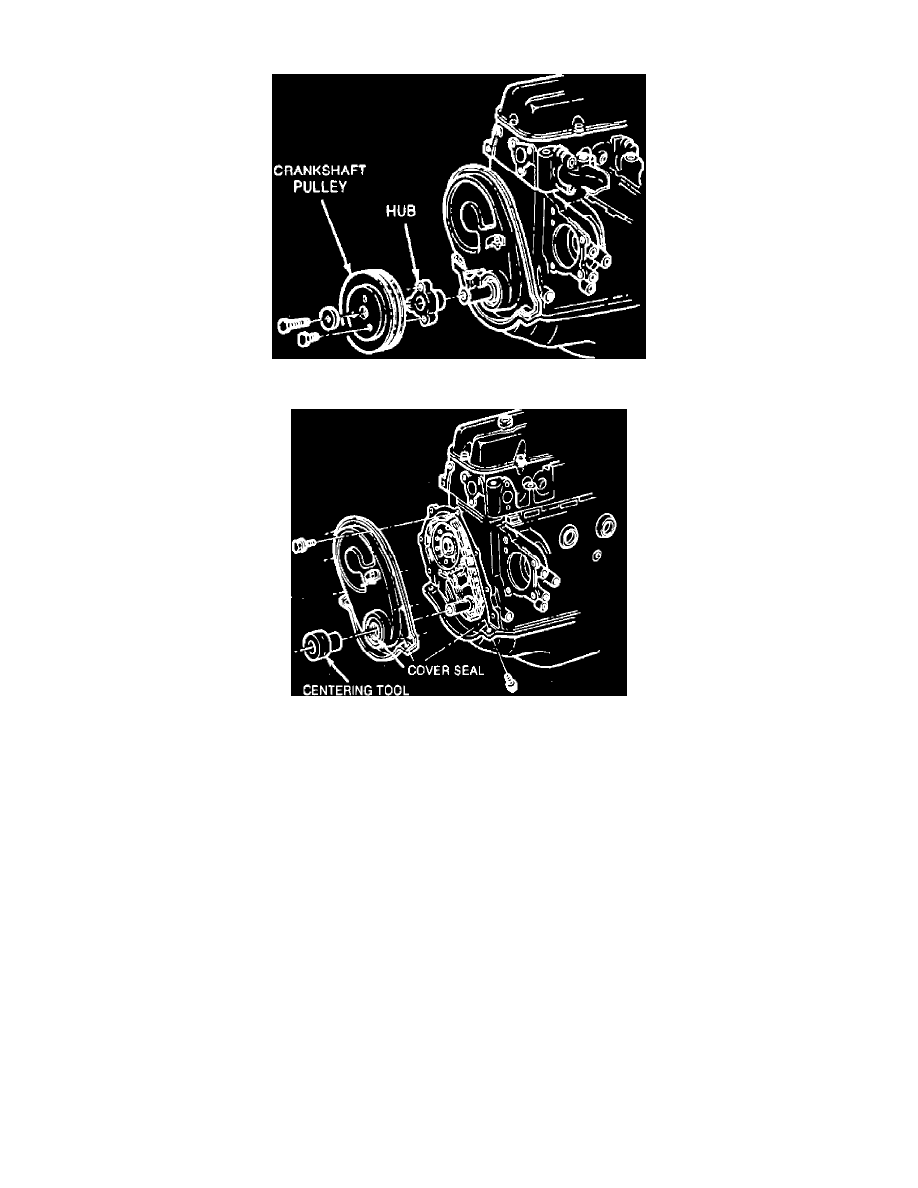
Fig. 10 Removing crankshaft pulley & hub
Fig. 11 Installing front cover
SPECIAL TOOLS REQUIRED (or equivalents)
^
J-24420, Crankshaft hub puller.
^
J-23042, Centering tool.
^
J-29113, Crankshaft hub installer.
REMOVE OR DISCONNECT
1. Battery ground cable.
2. Accessory drive belts, then raise and support vehicle.
3. Right front wheel and inner fender splash shield.
4. A/C drive belt (if equipped).
5. Accessory drive belt (crankshaft) pulley.
6. Crankshaft hub from crankshaft using tool J-24420.
7. Engine front cover retaining bolts and front cover. If the cover is difficult to remove, use a rubber mallet to loosen.
8. Clean sealing surface of front cover and engine block.
INSTALL OR CONNECT
1. Apply a 2 mm bead of RTV sealant GM P/N 1052917 or equivalent to front cover sealing surface. Sealant must be wet to touch when bolts are
torqued.
NOTE: When applying sealant, keep sealant out of bolt holes as this could cause a "hydraulic lock" condition.
2. Tool J-23042 in crankcase front cover seal.
3. Position front cover to engine block and install retaining bolts. Torque bolts to 10-18 Nm (7-13 ft lbs).