
Firenza V6-173 2.8L (1986)
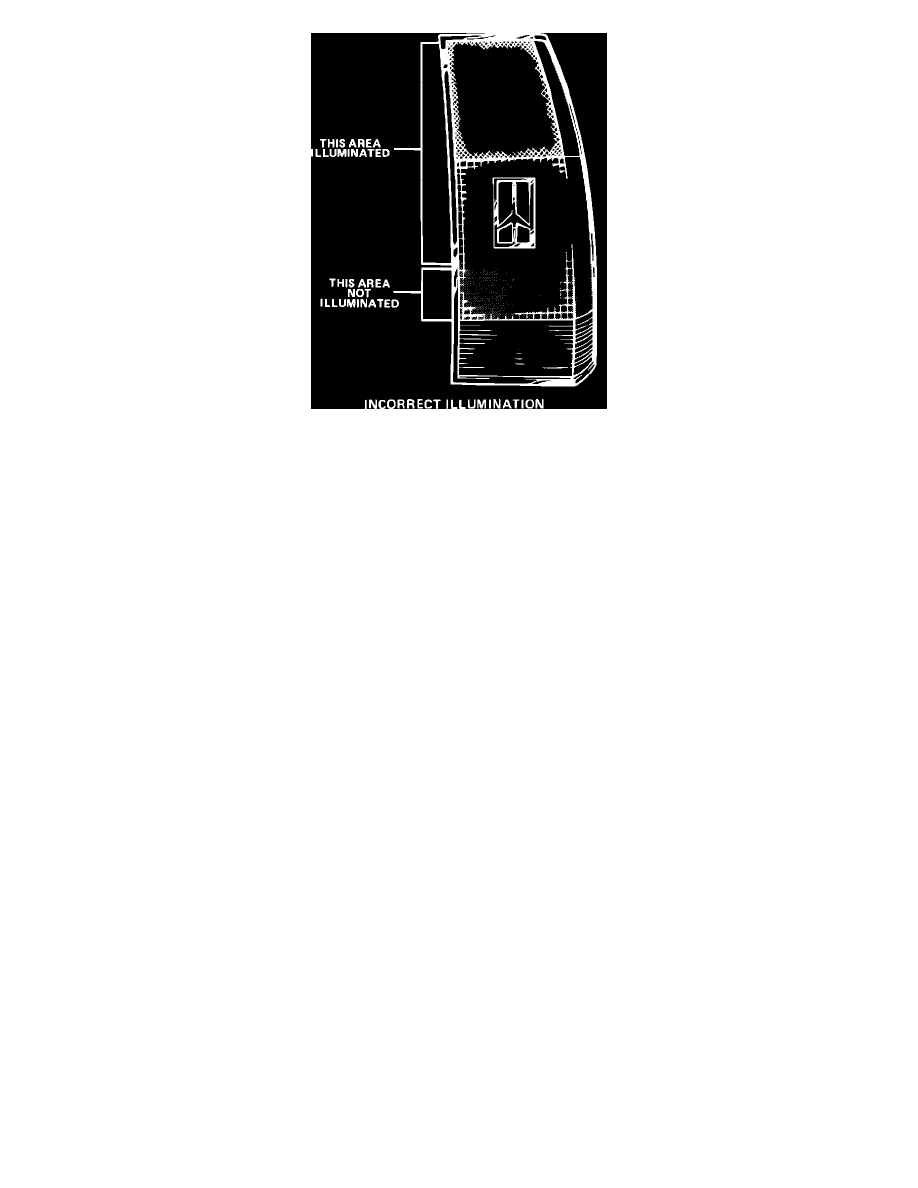
FIGURE 2
SERVICE PROCEDURE
I.
INSPECTION
1.
With headlight switch on, visually inspect the right rear tail lamp for full illumination of the red lens as shown in figure 1.
2.
If the red tail lamp lens is only partially illuminated as shown in figure 2, proceed to part II step 1.
3.
If the tail lamp fully illuminates as shown in figure 1, proceed to part II step 5.
II. REPLACEMENT OF TAIL LAMP ASSEMBLY
1.
Open tailgate.
2.
Remove two (2) screws attaching tail lamp assembly to body.
3.
Pull tail lamp assembly rearward and disengage tail lamp light sockets from lamp assembly.
4.
Install new tail lamp assembly by reversing steps 1 through 3.
5.
Install a Campaign Identification label. Each vehicle modified in accordance with the instruction outlined in this Service Procedure will
require a Campaign Identification label. Each label provides a space to include the campaign number, the five (5) digit dealer code of the
dealer performing the campaign service, and the date vehicle was campaigned. This information may be inserted with a typewriter or
ballpoint pen. When installing label, clean the surface of the radiator upper mounting support and apply the campaign label where it is readily
visible.
PARTS INFORMATION
Parts for this campaign are to be obtained from WDDGM using the following part number:
Description
Part Number
Right Rear
Tail Lamp Assembly
917940
To ensure these parts will be obtained as soon as possible, they should be ordered from GM Parts (WDDGM) on a C.I.O. order with NO special
instruction code, but order on an advise code (2).
WARRANTY CLAIM INFORMATION
Failure
Labor
Labor
Operation
Code
Operation
Hours