
Intrigue V6-3.8L VIN K (1998)
Hood Latch: Service and Repair
Hood Latch Replacement
REMOVAL PROCEDURE
CAUTION: Be careful when you handle a sensor. Do not strike or jolt a sensor. Before applying power to a sensor
^
Remove any dirt, grease, etc. from the mounting surface.
^
Position the sensor horizontally on the mounting surface.
^
Point the arrow on the sensor toward the front of the vehicle.
^
Tighten all of the sensor fasteners and sensor bracket fasteners to the specified torque value.
Failure to follow the correct procedure could cause air bag deployment, personal injury, or unnecessary SIR system repairs.
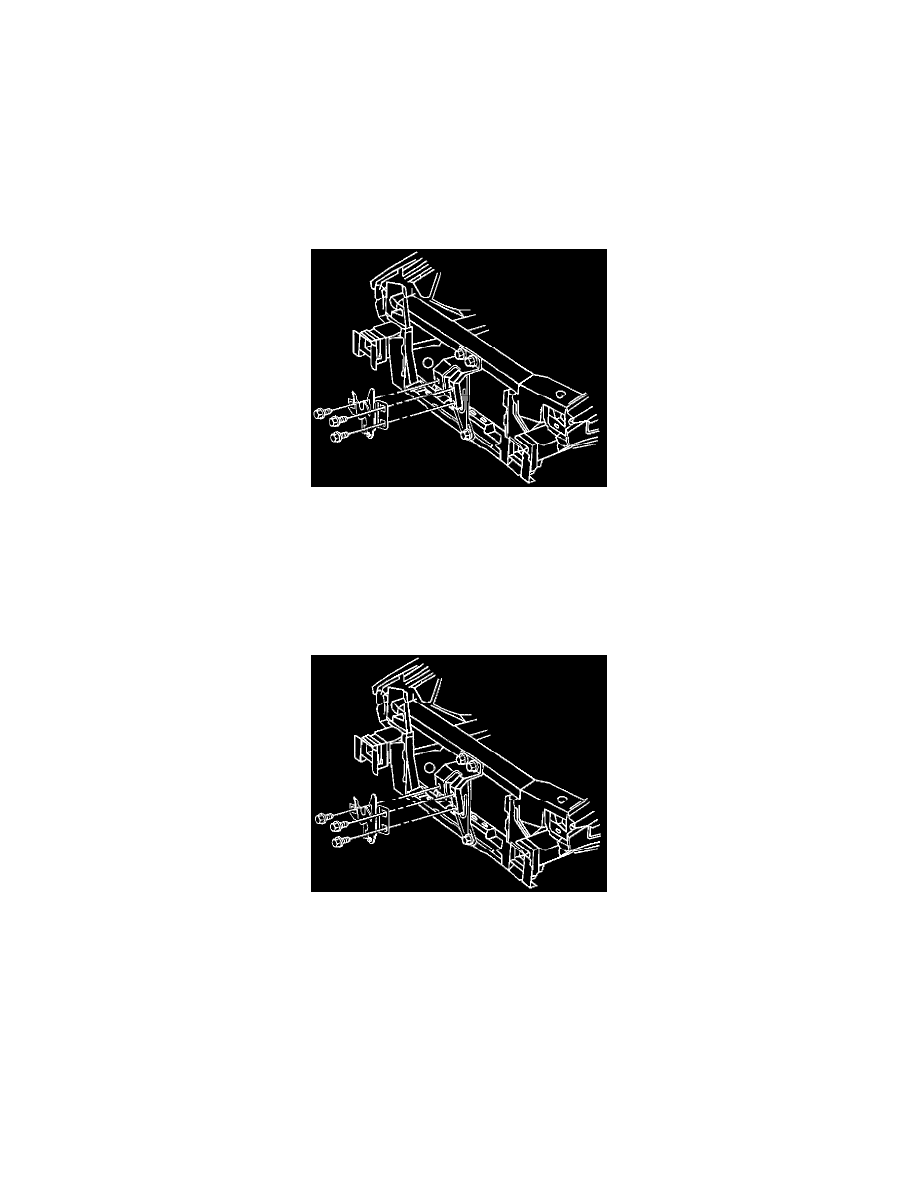
Hood Latch Replacement: Removal Procedure
1. Open the hood.
2. Remove the hood primary latch bolts.
3. Remove the hood primary latch from the front end sheet metal support.
4. Disconnect the hood release cable from the hood primary latch.
INSTALLATION PROCEDURE
Hood Latch Replacement: Installation Procedure
1. Install the hood release cable to the hood primary latch.
2. Install the hood latch to the front end sheet metal support.
3. Install the hood primary latch bolts.
Tighten
Tighten the hood primary latch bolts to 10 N.m (89 lb in).
4. Close the hood.