Intrigue V6-3.8L VIN K (1998)

8.2.
Slide the new seal onto the shaft using a rotary motion of the J 23128-A.
8.3.
Ensure that the seal makes good contact with the O-ring.
Do not dislodge the O-ring.
8.4.
Disengage the J 23128-A from the seal.
8.5.
Remove the J 23128-A and the J34614 from the compressor.
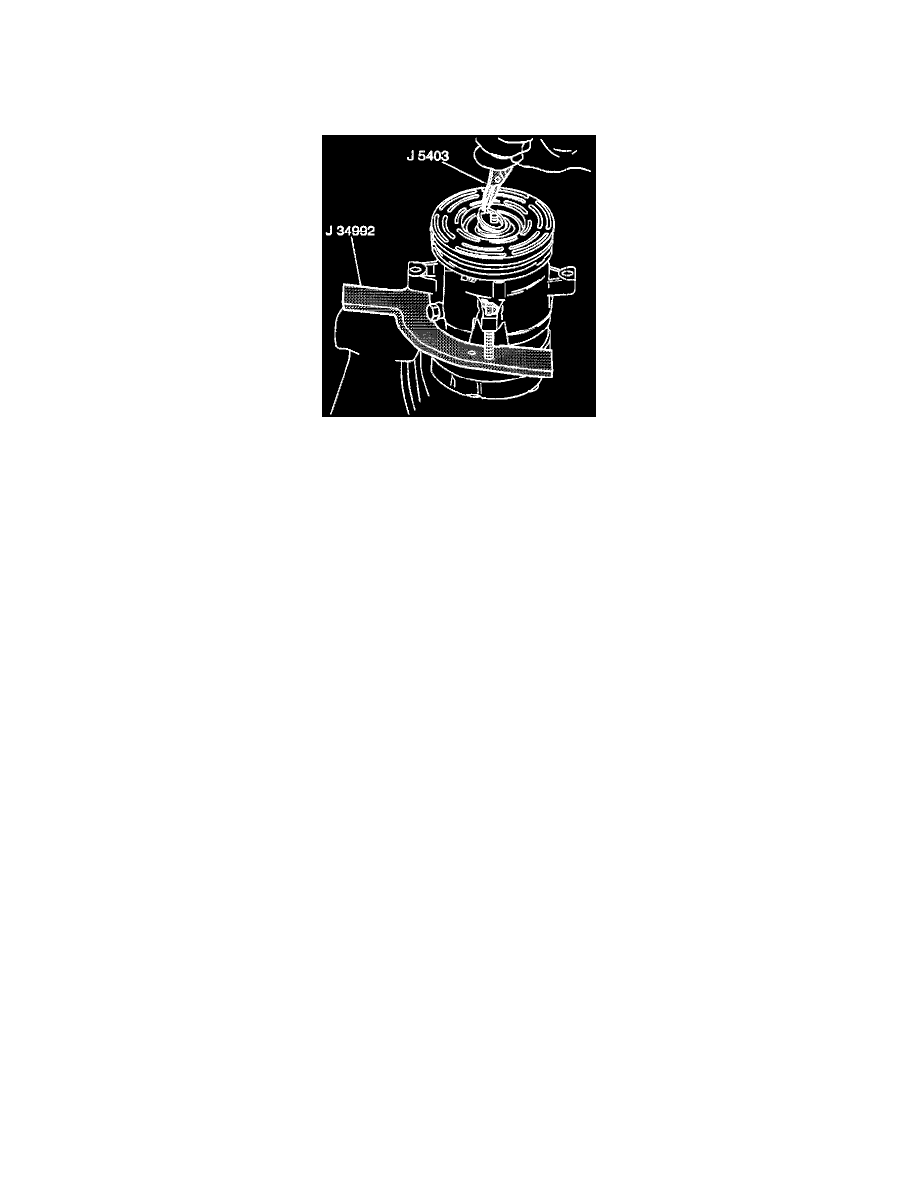
9. Use the J 5403 in order to install the new seal retainer ring with the flat side against the seal.
10. Use the sleeve of the J33011 in order to press in the seal retainer ring. Ensure that the ring snaps into the groove.
11. Leak test the compressor.
11.1.
Install the J39893on the rear head of the compressor.
11.2.
Connect the gage charging lines using the J 39500.
11.3.
Pressurize the suction and the high-side of the compressor using R-134a Refrigerant.
11.4.
Temporarily install the shaft nut.
11.5.
With the compressor in a horizontal position, rotate by hand the compressor shaft several turns in the operating direction.
11.6.
Leak test the seal area. Correct any leaks found.
11.7.
Recover the refrigerant.
11.8.
Remove the shaft nut.
12. Remove any excess oil from the shaft and the inside of the compressor neck.
13. Install the clutch plate and hub assembly.
14. Install the compressor and the compressor belt. Tighten the bracket.
15. Evacuate and charge the refrigerant system using the J 39500.
