
Intrigue V6-3.8L VIN K (1998)
Windshield Replacement: Installation Procedure
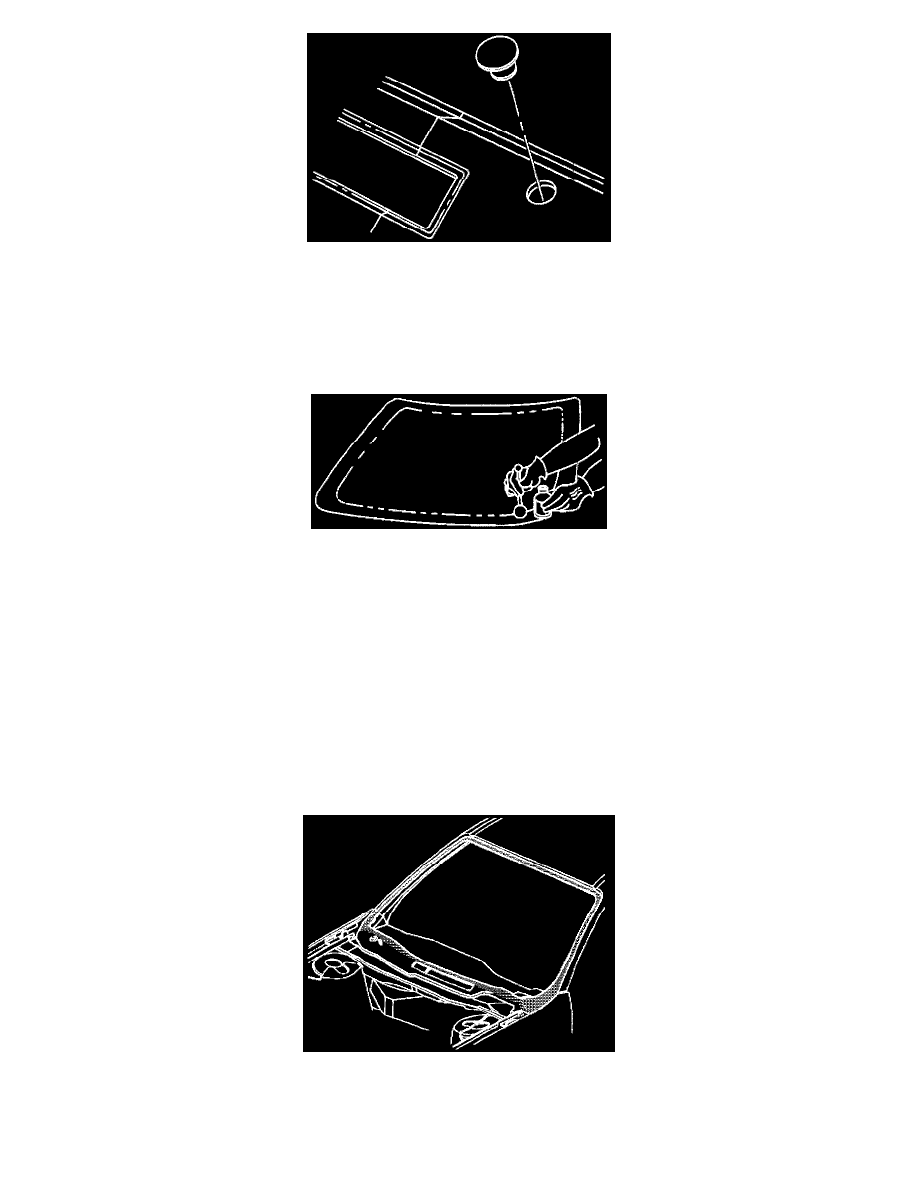
8. Install the windshield accessory hole plug, if required.
9. Shake the primers vigorously that are provided in urethane adhesive kit GM P/N 12346284, or equivalent.
IMPORTANT: Window Prep Primer (Clear #1) etches the window. Care should be taken to apply Window Prep Primer (Clear #1) only to the
blacked out area on the window.
Windshield Replacement: Installation Procedure
10. Apply Glass Prep Primer (Clear #1) to the blacked out area on the window.
IMPORTANT:
^
Urethane will not bond to the windshield unless Black Primer #2 has been applied to the windshield.
^
DO NOT apply Black Primer #2 to existing urethane.
11. Apply the Glass Prep Primer (Black #2) around the entire perimeter of the windshield edge and 6 mm (1/4 inch) inboard on inner surface. Allow
Glass Prep Primer (Black #2) to dry 6 to 10 minutes.
IMPORTANT:
^
Urethane will not adhere to the pinchweld unless Black Primer #3 is applied to the pinchweld.
^
The pinchweld to be primed must be free of urethane and an original paint or primed surface not an aftermarket finished painted surface.
^
Do Not apply Black Primer #3 to existing urethane.
Windshield Replacement: Installation Procedure
12. Apply the Pinch-Weld Primer (Black #3) to any pinchweld area lacking urethane that has been properly prepared. Allow the primer to dry 10
minutes.