
Ninety-Eight V6-252 4.1L VIN 4 4-BBL (1982)
Turn Signal Switch: Service and Repair
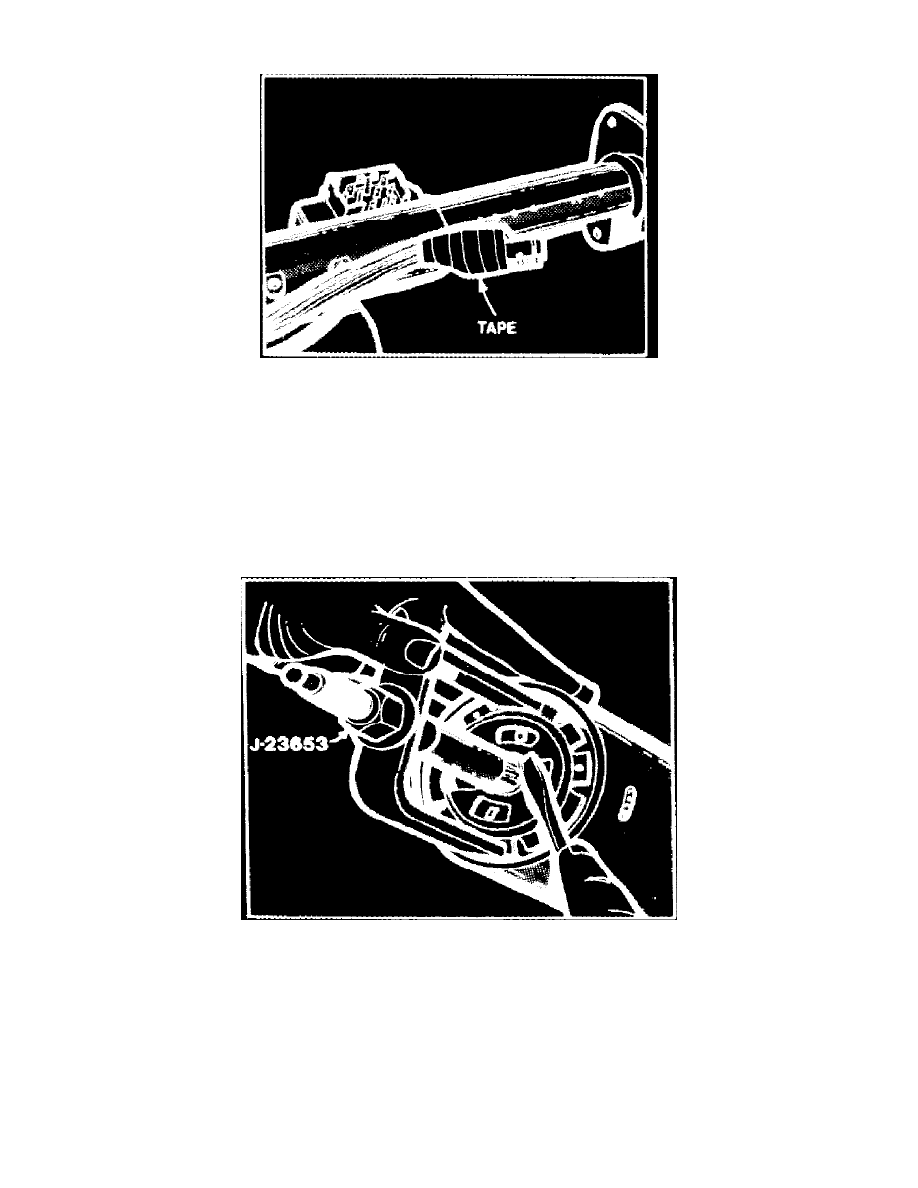
Fig. 9 Taping turn signal connector & wires
TILT & TELESCOPE
1.
Disconnect battery ground cable and remove steering wheel.
2.
Remove instrument panel lower trim panel, then disconnect turn signal harness connector. Remove connector from packet mounting bracket and
wrap tape around connector and wires to prevent wires from snagging when removing switch, Fig. 9.
3.
Remove four bolts securing column bracket assembly to mast jacket.
4.
Disconnect shift indicator.
5.
Hold column in position and remove two nuts securing column bracket assembly. Then, remove bracket and turn signal wiring connector. Loosely
reinstall bracket to hold column in place.
6.
Remove rubber bumper and plastic retainer.
Fig. 10 Compressing lock plate & removing retaining ring
7.
Using a suitable compressor, Fig. 10, depress lock plate far enough to remove C-ring from shaft. Compressor must be positioned on large lips
of cancelling cam.
8.
Remove lock plate and carrier assembly, then the upper bearing spring.
9.
On models less column mounted dimmer switch, place turn signal lever in right turn position and unscrew lever. Lift tilt lever and position in
center position.
10.
On models with column mounted dimmer switch, remove actuator arm screw and actuator arm, then remove turn signal lever by pulling straight
out to disengage.
11.
Push in hazard warning knob, then remove screw and hazard warning knob.
12.
Remove turn signal switch attaching screws, then pull switch and wiring from top of column.