
Ninety-Eight V6-3800 3.8L (1989)
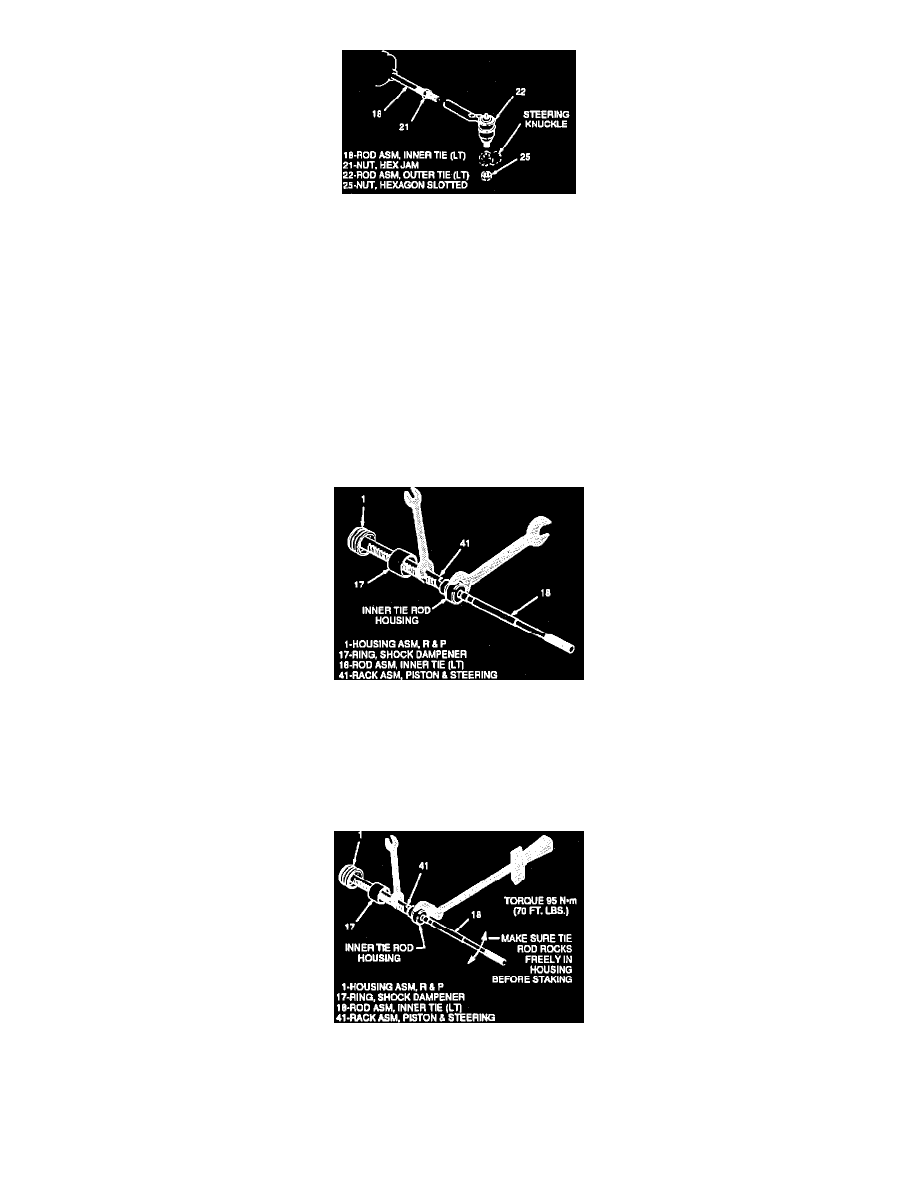
Fig. 2 Outer Tie Rod Replacement
1.
Remove cotter pin, then hex slotted nut from outer tie rod assembly, Figs. 1 and 2.
2.
Loosen jam nut, then remove outer tie rod from steering knuckle using steering linkage remover tool No. J 24319-01.
3.
Remove outer tie rod from inner tie rod.
4.
Reverse procedure to install, noting the following:
a. Torque hex slotted nut to 35 ft. lbs. with a maximum of 45 ft. lbs. to install cotter pin.
b. Adjust toe by turning inner tie rod.
c. Torque jam nut against outer tie rod to 50 ft. lbs.
Inner Tie Rod
To prevent damage to the rack and pinion boot seal when removing it, the following should be noted. Slide the small end of the boot towards
the rack until the groove is exposed. Place a small rubber band in the groove then, slide the small end of the boot over the rubber band and off
the threaded end of the tie rod. This will prevent boot damage.
Fig. 5 Inner Tie Rod Removal
Removal
1.
Remove rack and pinion steering assembly from vehicle.
2.
Remove outer tie rod from inner tie rod assembly, then rack and pinion boot.
3.
Place wrench on flat of rack assembly and place wrench on flats of inner tie rod housing Fig. 5.
4.
Rotate housing counterclockwise until inner tie rod separates from rack.
Fig. 6 Inner Tie Rod Installation