Ninety-Eight V6-3800 3.8L Supercharged (1993)

Pressure Bleeding Adaptor
NOTICE: Pressure bleeding equipment must be of the diaphragm type. It must have a rubber diaphragm between the air supply and the brake fluid to
prevent air, moisture, oil and other contaminants from entering the hydraulic system.
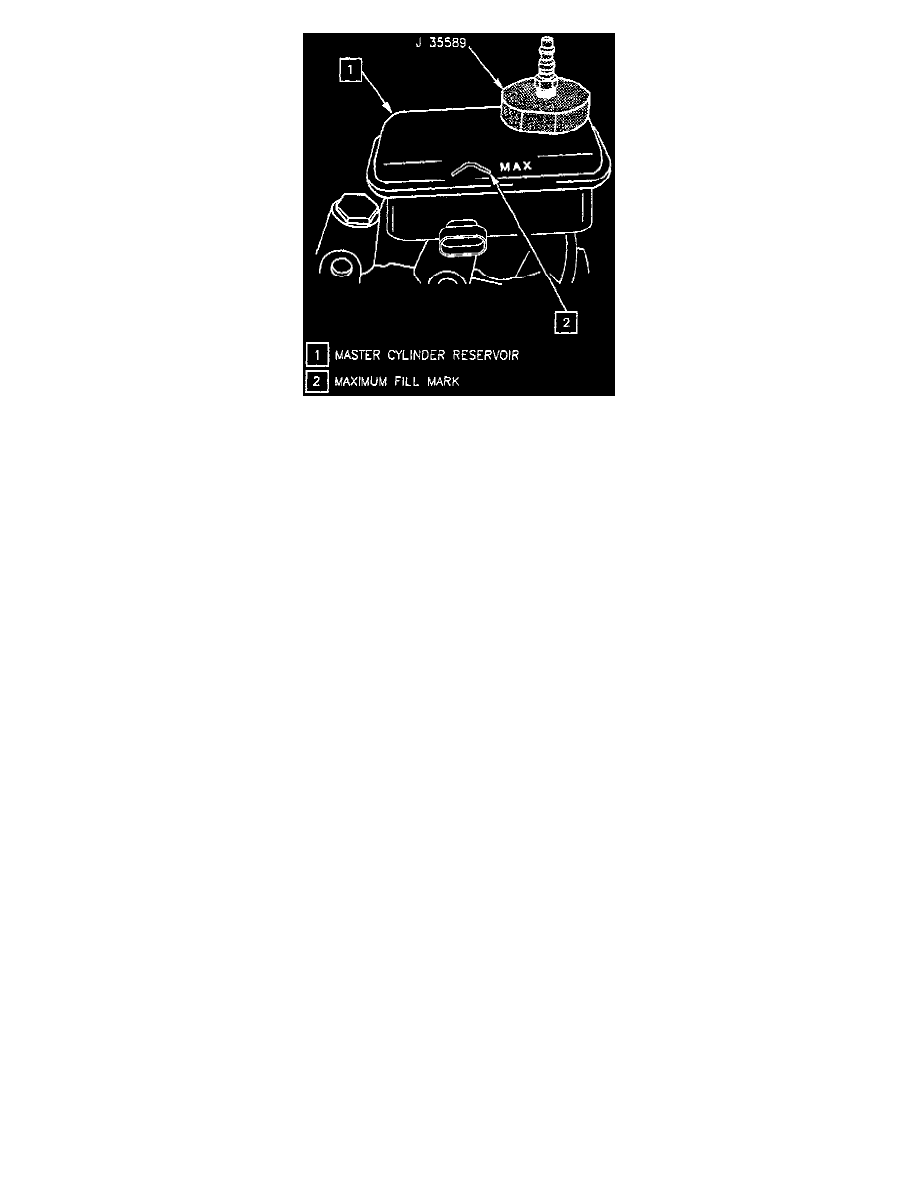
IMPORTANT: The correct master cylinder bleeder adapter must be used to avoid possible damage to the master cylinder reservoirs.
TOOLS REQUIRED:
^
J 21472 Brake Bleeder Wrench
^
J 29532 Diaphragm Type Brake Bleeder
^
J 35589 Compact Brake Bleeder Adapter
^
J 28434 Wheel Cylinder Bleeder Wrench
1. Fill master cylinder reservoir to proper level.
2. Install J 35589 to the master cylinder.
3. Charge 3 29532 to 140 - 172 kPa (20 - 25 psi).
4. Connect J 29532 hose to adapter and open the line valve.
5. Raise vehicle and suitably support.
6. When bleeding all the wheel circuits, use the following sequence:
a. Right rear.
b. Left rear.
c. Right front.
d. Left front.
7. Remove bleeder valve cap and place proper size box-end wrench, J 28434 or J 21472, over caliper/cylinder bleeder valve.
8. Attach a transparent tube to bleeder valve; submerge other end of tube in a clear container partially filled with clean brake fluid.
9. Loosen bleeder valve at least 3/4 turn, and allow fluid to flow until no air is seen in the fluid.
10. Tighten bleeder valve.
TIGHTEN
^
Wheel cylinder bleeder valve to 7 Nm (62 lb. in.).
^
Caliper bleeder valve to 13 Nm (115 lb. in.).
11. Repeat Steps 7 through 10 until all calipers/cylinders have been bled. Then install bleeder valve caps.
12. Lower vehicle.
13. Check brake pedal for "sponginess."
^
Repeat entire bleeding procedure to correct "sponginess."
14. Remove J 29532 and J 35589.
15. Fill master cylinder to proper level.
