
Ninety-Eight V6-3800 3.8L Supercharged (1993)
3. Using an equivalent male terminal from the Terminal Repair Kit, check the retention force of the female terminal in question by inserting and
removing the male terminal to the female terminal in the connector body. Good terminal contact will require a certain amount of force to separate
the terminals.
4. Using an equivalent female terminal from the Terminal Repair Kit, compare the retention force of this terminal to the female terminal in question
by joining and separating the male terminal to the good female terminal, and then joining and separating the male terminal to the female terminal
in question. If the retention force is significantly different between the two female terminals, replace the female terminal in question.
If a visual (physical) check does not reveal the cause of the problem, the vehicle may be able to be driven with a DVM connected to the suspected
circuit. An abnormal voltage reading when the problem occurs indicates the problem may be in that circuit.
General
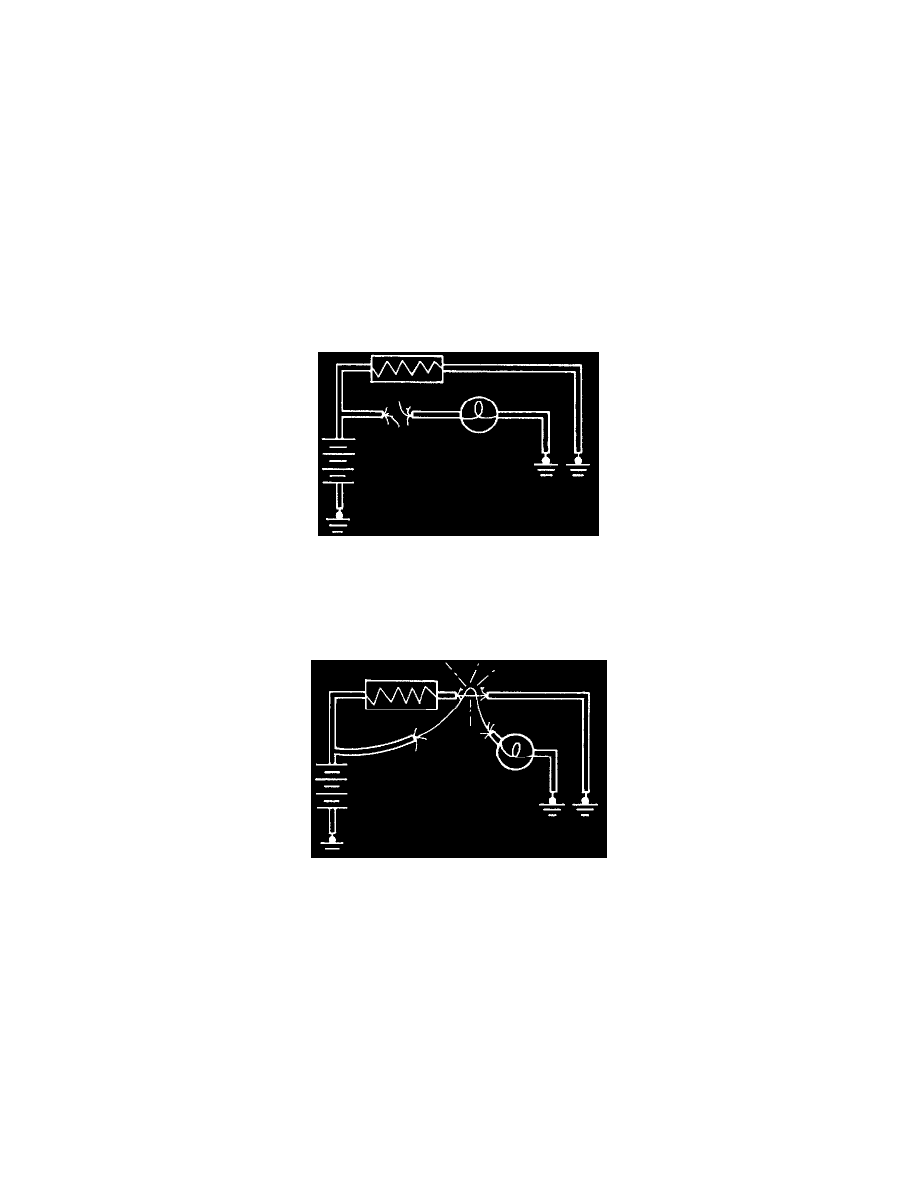
There are three electrical conditions that can cause a non-working circuit: an "Open Circuit," a "Short Circuit" or a "Grounded Circuit." The break
can also be caused by intermittent or poor connections.
Open Circuit
Open Circuit
An open circuit occurs whenever there is a break in the circuit. The break can be corrosion at the connector, a wire broken off in a component, a
wire that burned open from too much current or a component nor operating as it should.
Short Circuit
Short Circuit
A short circuit happens when the current bypasses part of the normal circuit. This bypassing is usually caused by wires touching, salt water in or on
a component such as a switch or a connector, or solder melting and bridging conductors in a component.
Grounded Circuit