
Silhouette V6-3.4L VIN E (1996)
Control Arm Bushing: Service and Repair
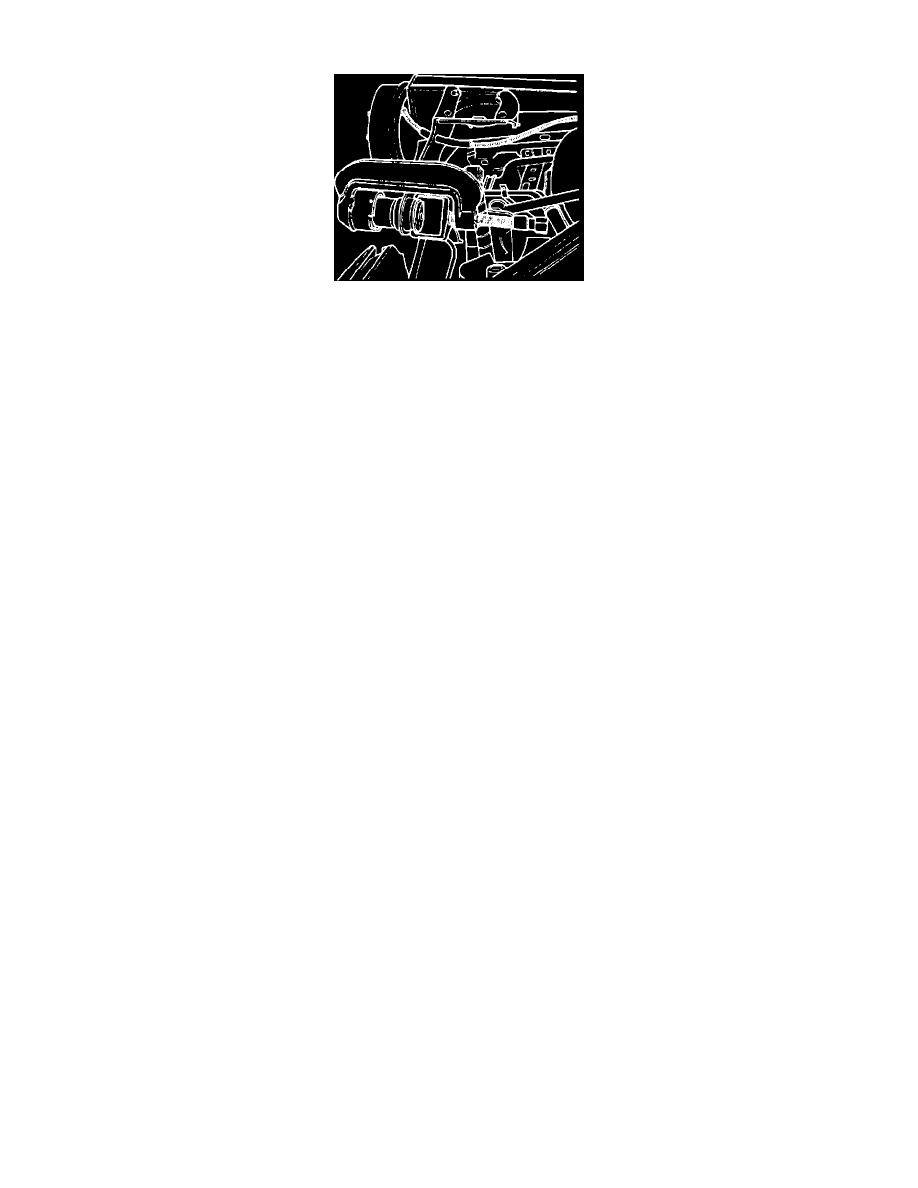
Fig. 4 Control Arm Bushing Removal
1.
Raise and support vehicle.
2.
Support rear axle under front side of spring seat.
3.
If removing right side bushing, disconnect parking brake cable from hook guide.
4.
Disconnect dual parking brake cables from bracket attachment and pull out of the way.
5.
Remove brake line bracket attachment from frame.
6.
Remove lower shock attaching nut and bolt, then pull spring out of way.
7.
Remove control arm bracket to underbody attaching bolts and allow control arm to rotate downward.
8.
Remove nut and bolt from bracket attachment.
9.
Remove control arm bushing from control arm as follows:
a.
Install control arm bushing removal and installation tool No. J-28685-2 or equivalent into ball joint pressing tool No. J-9519-23 or
equivalent.
b.
Install control arm bushing removal and installation tool No. J-28685-1 or equivalent onto bushing behind flange.
c.
Place ball joint pressing tool No. J-9519-23 into position on bushing, Fig. 4. Install bushing bolt for correct positioning.
d.
Remove bushing from control arm by turning bolt.
10.
Reverse procedure to install, insert new bushing into control arm as follows:
a.
Invert control arm bushing removal and installation tool No. J-28682-2 or equivalent and install it into ball joint pressing tool No. J-9519-23
or equivalent.
b.
Using ball joint pressing tool Nos. J-9519-23 and J-9519-16 or equivalent, press bushing into control arm.
c.
Install bushing bolt to align tool and bushing into place. Cut-outs on rubber portion of bushing must face front and rear.
d.
Press bushing into control arm by turning bolt.