
Silhouette FWD V6-3.4L VIN E (2004)
Front Door Weatherstrip: Service and Repair
Weatherstrip Replacement - Drip Rail
Front Side Door Roof Drip Weatherstrip Replacement
Removal Procedure
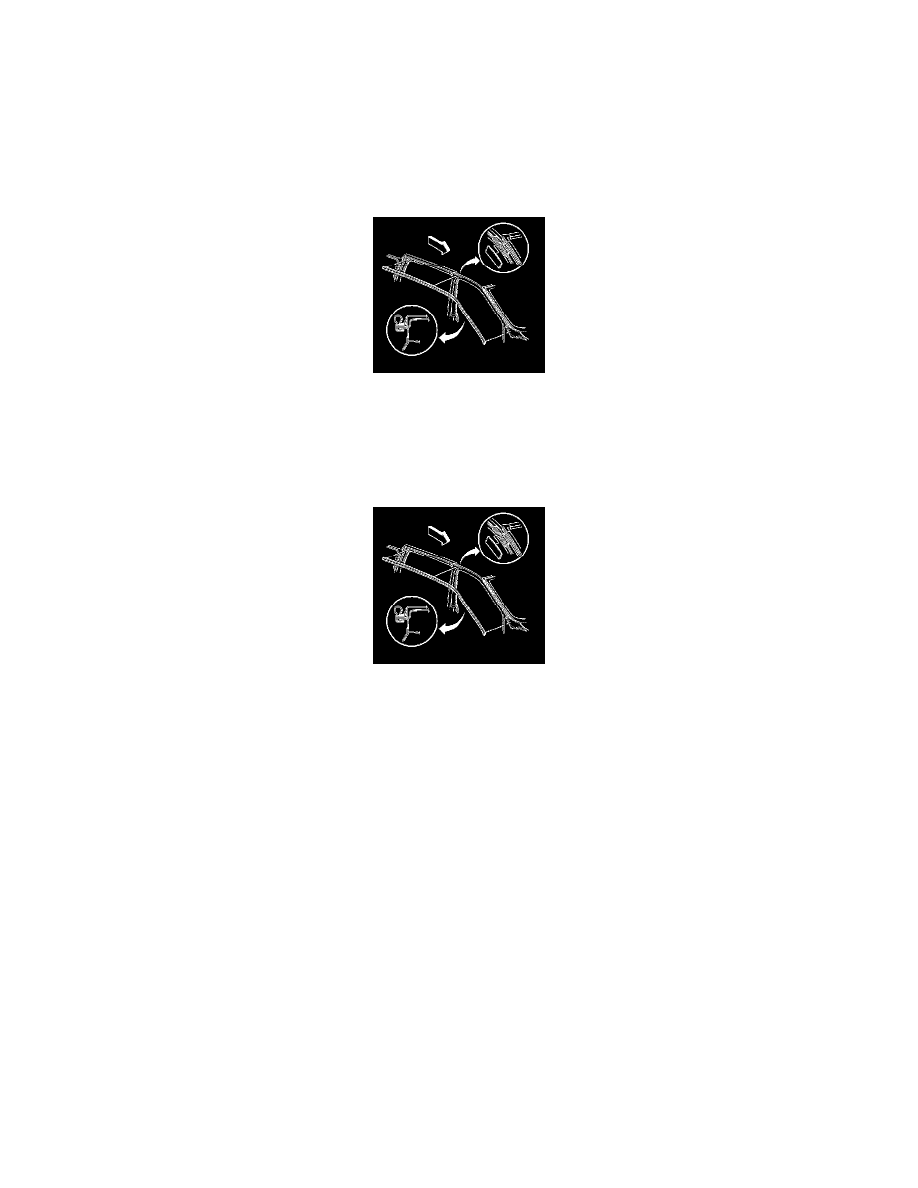
With Sliding Door
1. Open the front door and the sliding side door.
2. Pull the front door roof drip rail weatherstrip from the pinch-weld flange.
3. Clean all of the adhesive from the pinch-weld flange using 3M(TM) P/N 8984 adhesive remover or equivalent.
Installation Procedure
With Sliding Door
Important: A mastic/sealer/glue is inside of the new front door opening drip rail weatherstrip. If you are using a new front door opening
drip rail weatherstrip, DO NOT use any weatherstrip adhesive.
1. If the old front door roof drip rail weatherstrip is reused, apply weatherstrip adhesive GM P/N 12345096, Canadian P/N 993365 or equivalent.
2. Align the front door roof drip rail weatherstrip to the pinch-weld flange at the upper C-pillar.
3. Push the weatherstrip onto the pinch-weld flange, working it forward and down the A-pillar.
4. Position the forward end of the front roof drip rail weatherstrip under the fender.
5. Close the front door and the sliding side door.