
Silhouette FWD V6-3.4L VIN E (2004)
3. Remove the interior lamp/multifunction switch/reading lamp housing from the overhead console.
4. Disconnect the electrical connectors from the interior lamp/multifunction switch.
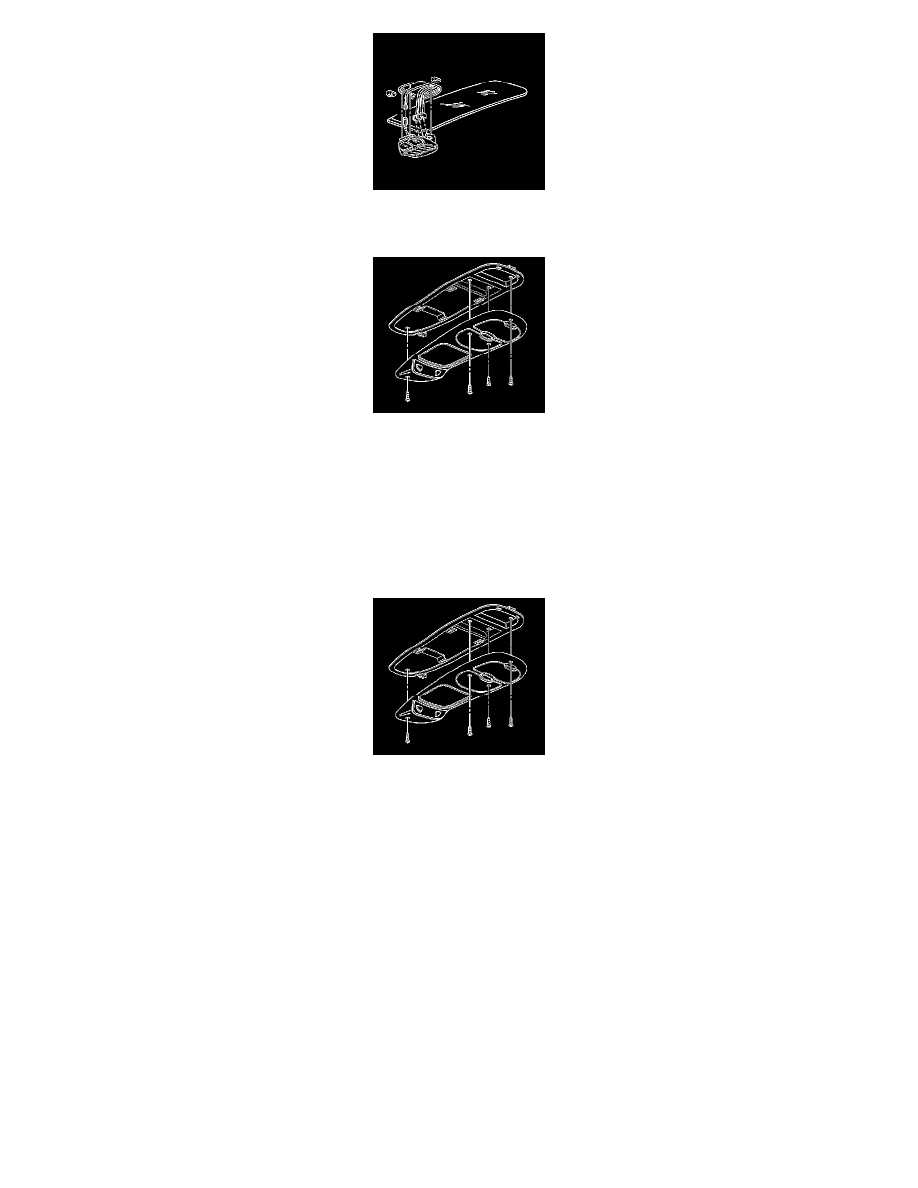
5. Remove the screw from the front of the overhead console.
6. Open the rear storage compartment in the overhead console in order to access the rear screws.
7. Remove the screws from the rear of the front overhead console.
8. Remove the overhead console from the headliner.
9. Remove the driver information center. Refer to Driver Information Center Replacement in Instrument Panel, Gauges and Console.
Installation Procedure
1. Install the driver information center. Refer to Driver Information Center Replacement in Instrument Panel, Gages and Console.
2. Align the overhead console to the headliner.
Notice: Refer to Fastener Notice in Cautions and Notices.
3. Install the screw to the front of the overhead console.
Tighten the screw to 2 N.m (18 lb in).
4. Open the rear storage compartment in the overhead console in order to access the holes for the rear mounting screws.
5. Install the screws to the rear of the overhead console.
Tighten the screw to 2 N.m (18 lb in).