Silhouette FWD V6-3.4L VIN E (2004)

Luggage Rack: Service and Repair
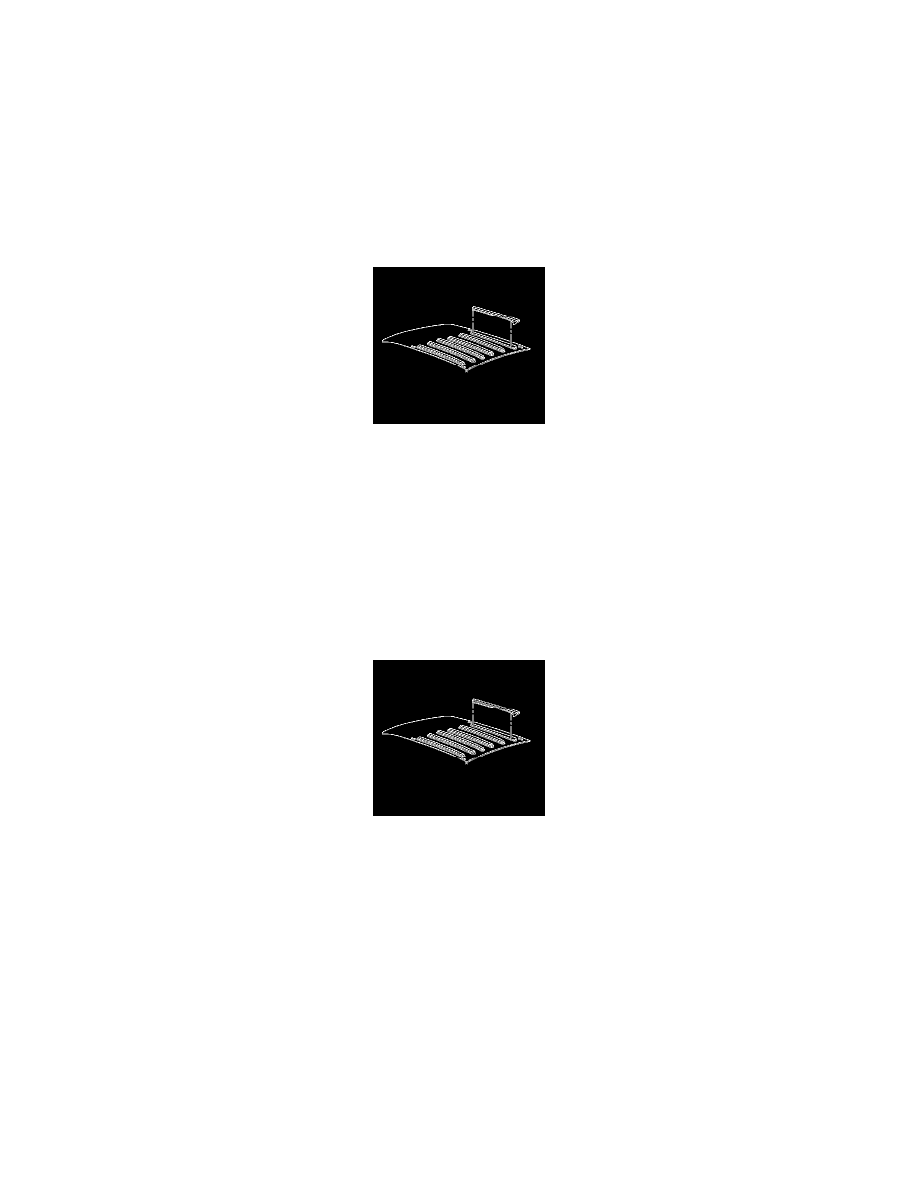
Luggage Carrier Slats Replacement
Luggage Carrier Slats Replacement
Tools Required
J 25070 Heat Gun
Removal Procedure
1. Mark the location of the luggage carrier slats on the roof with masking tape.
2. Use tape to protect the mounting surface during removal.
3. To remove the luggage carrier slats, heat the slats using J 25070 . Apply heat in a circular motion for 30 seconds.
Notice: Refer to Exterior Trim Emblem Removal Notice in Cautions and Notices.
4. Use a plastic, flat-bladed tool to remove the slats from the roof.
5. Remove all of the adhesive using a 3M(TM) Scotch Brite molding adhesive remover disk, 3M(TM) P/N 07501 or equivalent.
Installation Procedure
Important: Apply the slats in an environment that is free from dust or other dirt that could come into contact with the sticky backing.
Foreign material may cause improper adhesion.
1. Heat the mounting surface to approximately 27-41°C (80-105°F).
2. Ensure that the temperature of the slats is approximately 29-32°C (85-90°F).
Important: DO NOT touch the adhesive backing.
3. Remove the backing from the adhesive on the slats.
4. Align the luggage carrier slats with the masking tape.
5. Install the luggage carrier slats to the vehicle.
6. Apply equal pressure along the slats in order to uniformly bond the item to the mounting surface.
7. Remove the masking tape from the vehicle.
