
Silhouette FWD V6-3.4L VIN E (2004)
Refrigerant Filter: Service and Repair
A/C Refrigerant Filter Replacement
AIR CONDITIONING (A/C) REFRIGERANT FILTER INSTALLATION
TOOLS REQUIRED
J 39400-A Halogen Leak Detector
REMOVAL PROCEDURE
1. Recover the refrigerant from the A/C system.
2. Raise and support the vehicle. Refer to Vehicle Lifting.
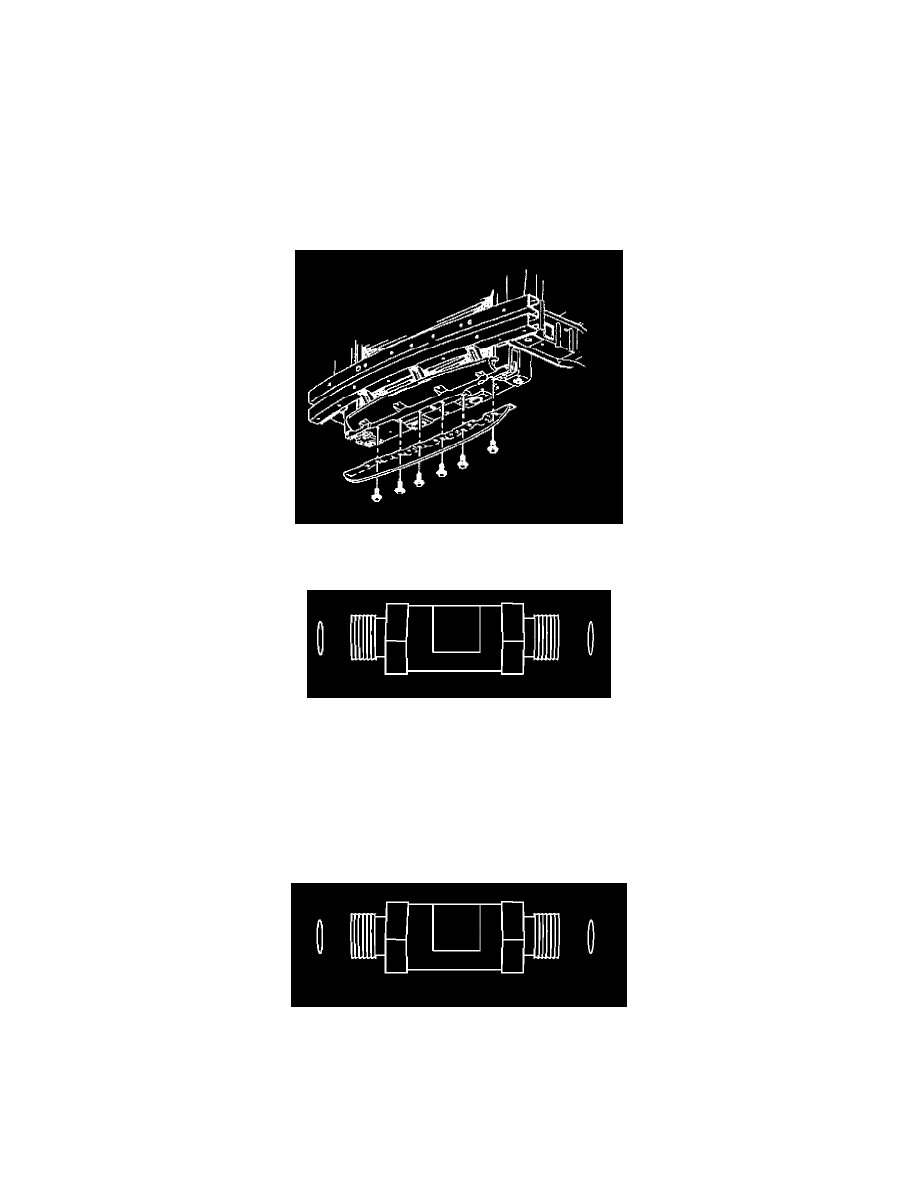
3. Remove the air baffle bolts.
4. Remove the air baffle.
5. Loosen the A/C refrigerant filter flare nuts.
6. Remove the A/C refrigerant filter from the evaporator inlet tube.
IMPORTANT:Immediately cap or tape the open evaporator inlet tube and the condenser in order to prevent contamination.
7. Discard the O-rings.
INSTALLATION PROCEDURE
1. Remove the cap or the tape from the evaporator inlet tube and condenser.
2. Lubricate and install new O-rings to each end of the evaporator inlet tube.
3. Install the A/C refrigerant filter to the evaporator inlet tube with the arrow pointing toward the evaporator.
NOTE: Refer to Fastener Notice in Service Precautions.
See: Service Precautions/Vehicle Damage Warnings
IMPORTANT:Fully seat the A/C filter to the ferrules in order to ensure that the O-rings seat inside the filter housing.