
Silhouette FWD V6-3.4L VIN E (2004)
If the strut lower hole is NOT oblong, perform the following steps:
3.1.
Remove the strut from the vehicle.
3.2.
Secure the strut in a vise.
3.3.
File the strut lower hole laterally (3) in order to allow for camber adjustment.
3.4.
Install the strut to the vehicle.
3.5.
Install the strut bolts.
Notice: Refer to Fastener Notice in Service Precautions.
4. Adjust the camber.
^
Tighten the strut lower nuts to 123 Nm (90 lb ft).
5. Install the tire and wheel.
6. Lower the vehicle.
Front Toe Adjustment
1. Remove the power steering gear seal small clamps.
2. Verify that the steering wheel is centered and the wheels are in the straight ahead position.
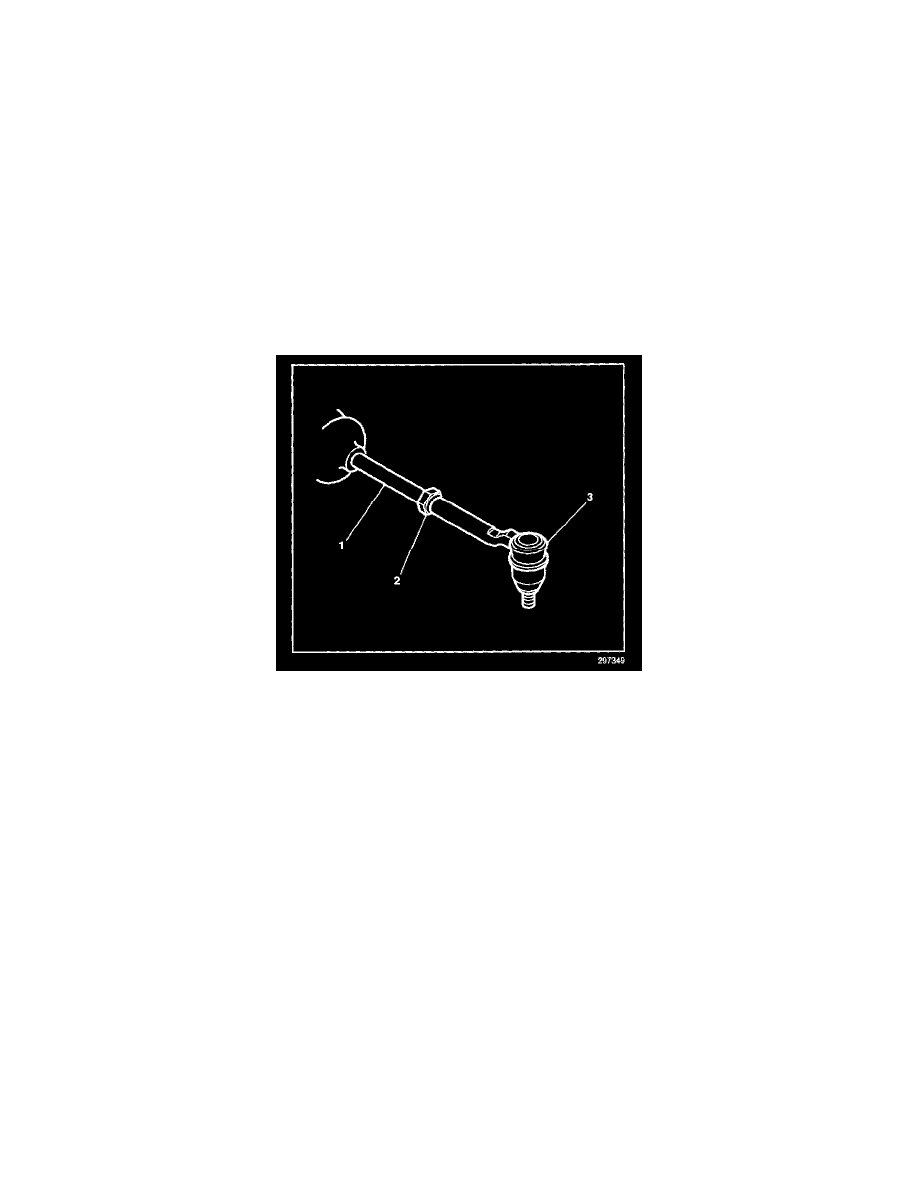
3. Loosen the left and right tie rod jam nuts (2).
Important: Verify that the number of threads showing on both inner tie rod ends are approximately equal.
4. Rotate the inner tie rods in order to obtain the proper toe angle of 0 degrees.
Notice: Refer to Fastener Notice in Service Precautions.
5. Tighten the tie rod end jam nuts.
^
Tighten the left and right tie rod jam nuts (2) to 68 Nm (50 lb ft).
Important: Verify that the power steering gear seal is not twisted.
6. Install the power steering gear seal small clamps.
Rear Camber Adjustment
Removal Procedure
1. Place vehicle on alignment machine with rear wheels supported by Weaver plates.