
Toronado V6-231 3.8L (1986)
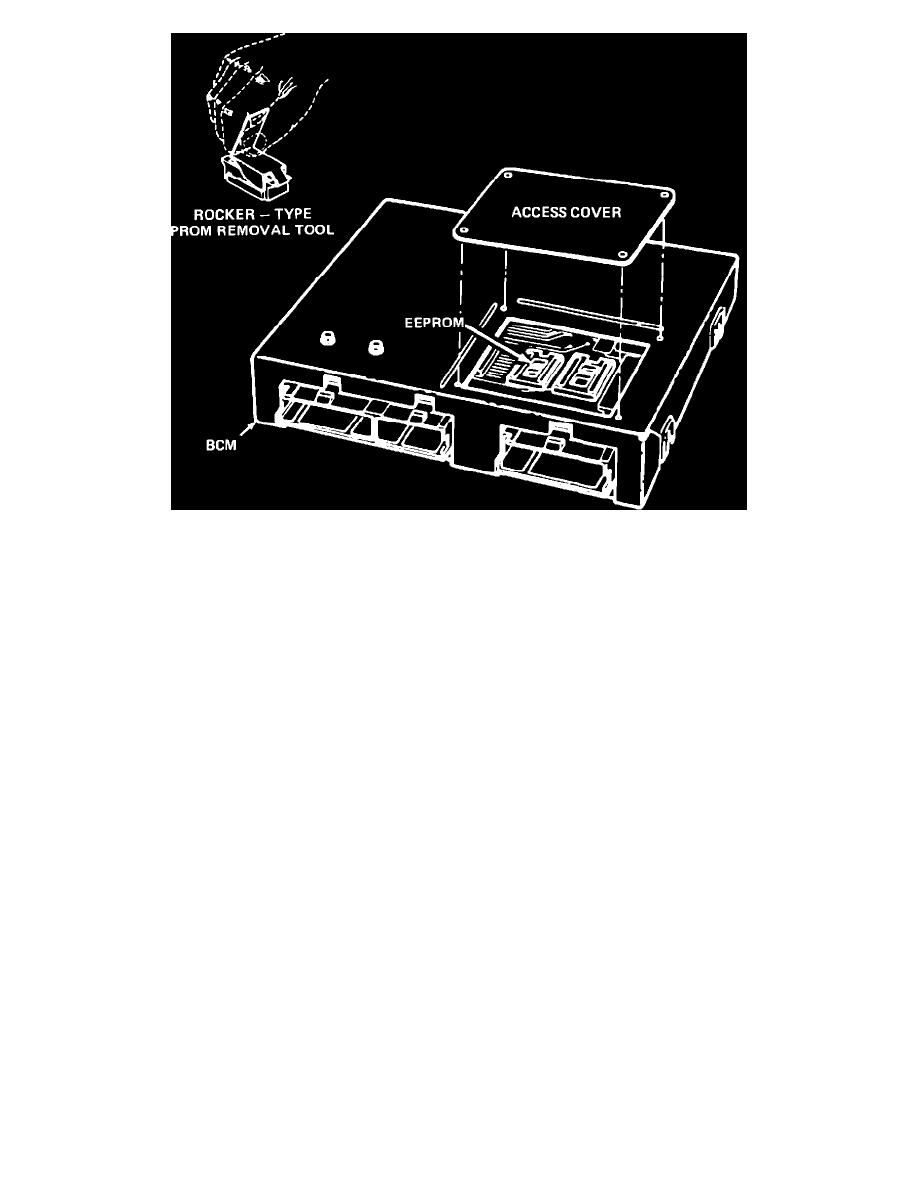
FIGURE 3
9.
Remove 4 screws from access cover and remove cover. Refer to Figure 3.
10.
Remove EEPROM as follows: Using the rocker type PROM removal tool (Figure 3), engage one end of the EEPROM carrier with the hook
end of the tool. Press on the vertical bar end of the tool and rock the engaged end of the EEPROM carrier up as far as possible. Engage the
opposite end of the EEPROM carrier in the same manner and rock this end up as far as possible. Repeat this process until the EEPROM
carrier and the EEPROM are free of the EEPROM socket.
11.
Install EEPROM mounted in carrier, in EEPROM socket. Small notch in carrier must be aligned with small notch in socket. Press on
EEPROM carrier until it is firmly seated in the socket. Do not press on EEPROM; only the carrier.
NOTE:
Care must be taken when installing the EEPROM to prevent damage.
12.
Install access cover and secure with four screws.
13.
Reinstall BCM (reverse Steps 1 through 7)
14.
Proceed to Part E of this service procedure