
Acclaim L4-153 2.5L SOHC Turbo (1989)
Rear Door Panel: Service and Repair
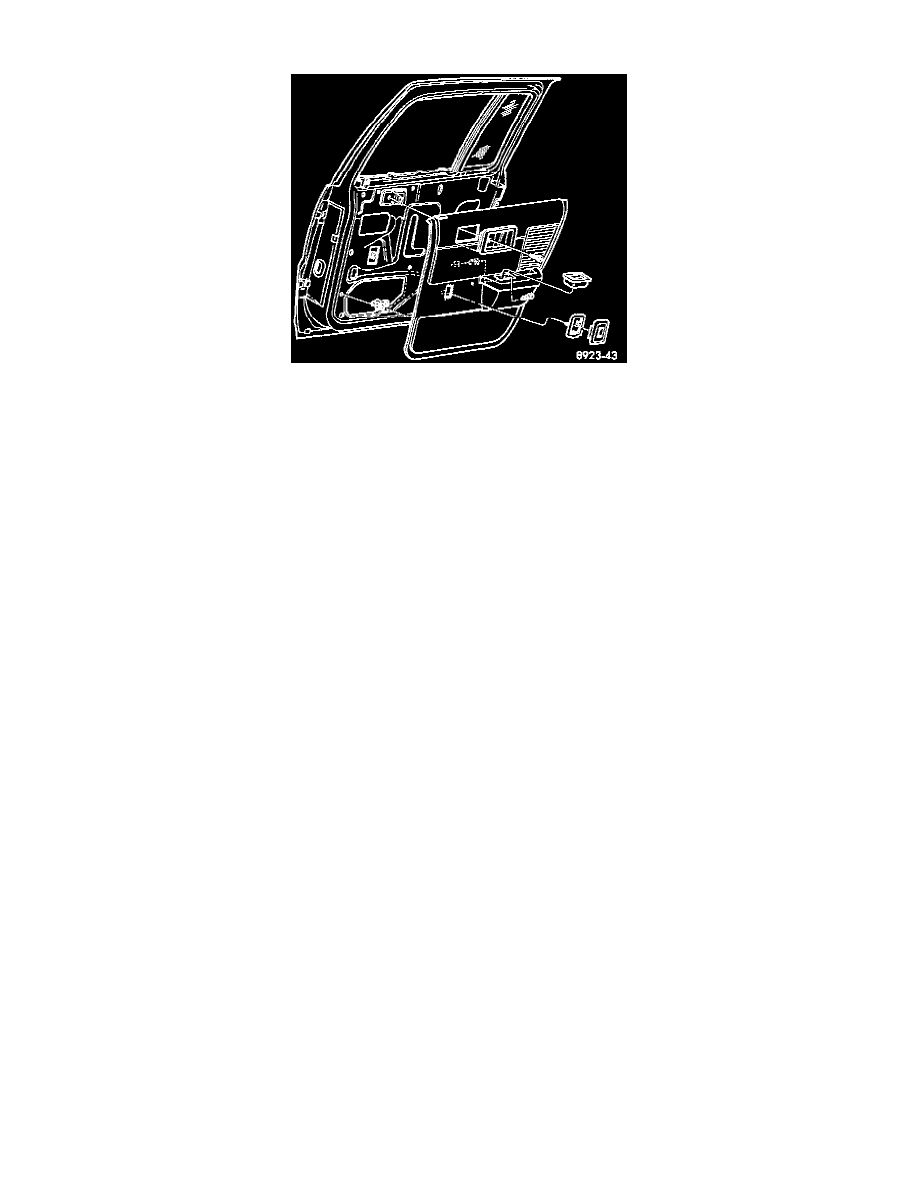
Rear Door Trim Panel
TRIM PANEL (ELECTRIC REGULATOR)
1. Move glass to down position.
2. Disconnect negative battery cable.
3. Unsnap switch plate by lifting at lower edge, and disconnect wiring at quick disconnect.
4. Remove 1 screw from under inside handle, and slide inside handle bezel forward to remove.
5. Remove ash receiver by lifting upward.
6. Remove 1 screw from under ash receiver.
7. Disengage 8 clips used to fasten trim panel to door, then remove trim panel.
8. Make sure water shield is installed properly to prevent water leaks.
9. Reverse above procedure for installation.
TRIM PANEL (MANUAL REGULATOR)
1. Move glass to down position.
2. Remove the regulator crank handle cover, screw, and crank handle.
3. Remove 1 screw from under inside handle, and slide inside handle bezel forward to remove.
4. Remove ash receiver by lifting upward.
5. Remove 1 screw from under ash receiver.
6. Disengage 8 clips used to fasten trim panel to door, then remove trim panel.
7. Make sure water shield is installed properly to prevent water leaks.
8. Reverse above procedure for installation.