
Acclaim L4-153 2.5L SOHC Turbo (1989)
Control Assembly: Testing and Inspection
Heater-A/C Control Assembly Vacuum Test
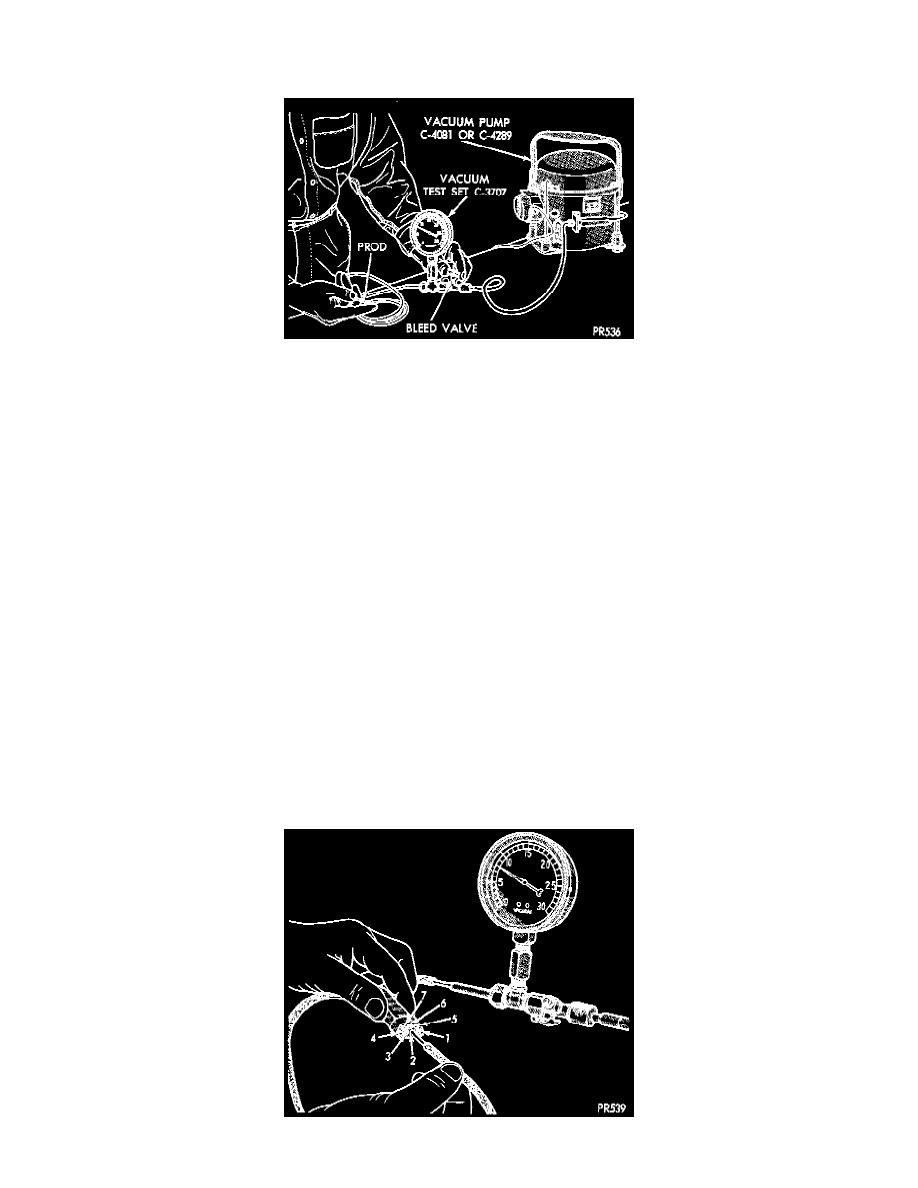
Adjusting Test Bleed Valve
Start vacuum pump Tool 0-4081, or C-4289, and connect the vacuum test set Tool 0-3707. Adjust bleed valve on test set to obtain a vacuum reading of
exactly 8 inches of mercury (-27 kPag) with a finger blocking the prod on end of test hose.
It is essential that the bleed valve be adjusted so the vacuum gauge pointer will return to exactly 8 inches (-27 kPag) when the prod is covered by a
finger. Otherwise a false reading will be obtained when the control circuit is tested.
Alternately release and reblock the hose prod several times. Make sure the bleed valve is adjusted so the vacuum gauge pointer returns to exactly 8
inches of vacuum (-27 kpag) when the prod is covered with a finger.
Disconnect engine vacuum source hose in the engine compartment and insert vacuum tester hose prod into source hose leading to control switch. Place
vacuum gauge on the cowl so it can be observed from the driver's position as control is operated.
Start the test by setting the control selector on FLOOR position. Vacuum tester gauge needle will drop until the actuator has operated, and should then
return to 7-1/4 to 8 inches (-25 to -27 kPag) Then change mode selector to DEFROST, BI-LEVEL, PANEL, and if so equipped RECIRC (allow 15
seconds in each mode setting to assure full operating cycle).
Allowing time for actuators to operate after each selection, and for the vacuum to stabilize. Note the vacuum drop below 8 inches (-27 kPag) after each
operation. The maximum allowable vacuum drop below 8 inches (-27 kPag) after each operation is 3/4 inch (-3 kPag).
If the vacuum drop is more than 3/4 inch (-3 kPag), first recheck the tester for reading exactly 8 inches (-27 kPag). If correct, inspect the 7-port hose
connector plug for leaks. This plug must be positioned all the way onto the 7-port receiver pigtail at the control.
CAUTION: Do not use lubricant on the switch ports or in the holes in the plug, as lubricant will damage the vacuum valve in the switch. If it is difficult
to properly position the connector plug all the way on the switch ports, put a drop or two of clean water in the holes of the connector plug. This will
allow the plug to slide completely on the switch ports.
Vacuum Tube Assembly Test