
Breeze L4-2.0L VIN C (1997)
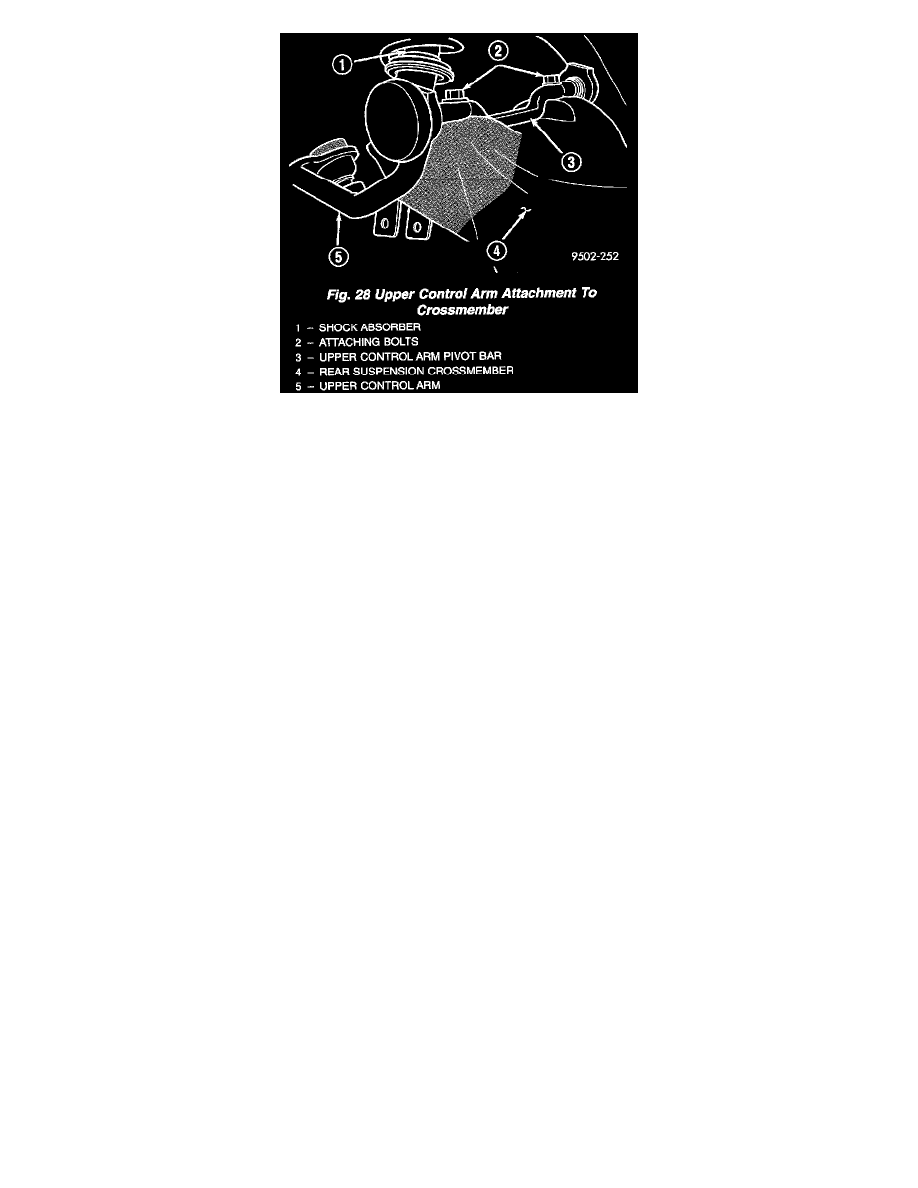
10. Lower the rear suspension crossmember enough to access the upper control arm pivot bar to crossmember attaching bolts. Remove the 4 bolts
attaching the upper control arms to the suspension crossmember. Remove the control arms from the crossmember.
11. Lower the rear suspension crossmember, lateral arms and stabilizer bar as far as possible using the transmission jack. Then with the aid of a helper
remove rear suspension crossmember from the vehicle.
12. Transfer the lateral arms, stabilizer bar mounting brackets and the stabilizer bar and bushings to the replacement crossmember before installing the
replacement crossmember in the vehicle. Tighten the stabilizer bar mounting bracket to rear crossmember mounting bolts to a torque of 27 Nm (20
ft. lbs.). Tighten the 4 lateral arm to crossmember attaching bolts to a torque of 95 Nm (80 ft. lbs.). Install the lateral arm to crossmember bolts so
head of bolt will be toward the front of the vehicle when the crossmember is installed.